
You wish to personalize your invoices in the image of our agency, go to the style guide.
🔓 Required permissions
Super Admin
| Reading time | 1 min |
| Setup length | 2 min |
| Steps | 2 |
Summary
I/ Agency Logo
II/ Customizing Labels and Footer
I/ Agency Logo
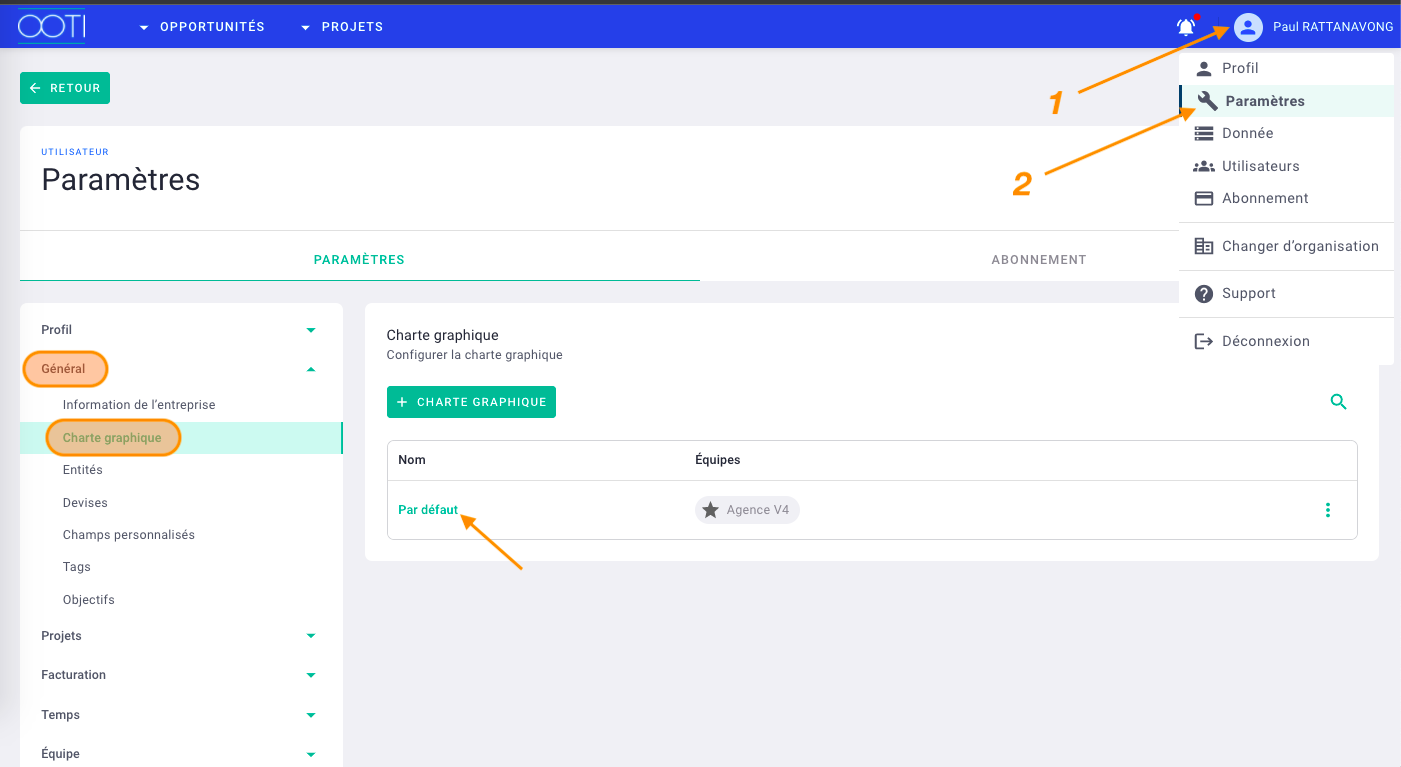
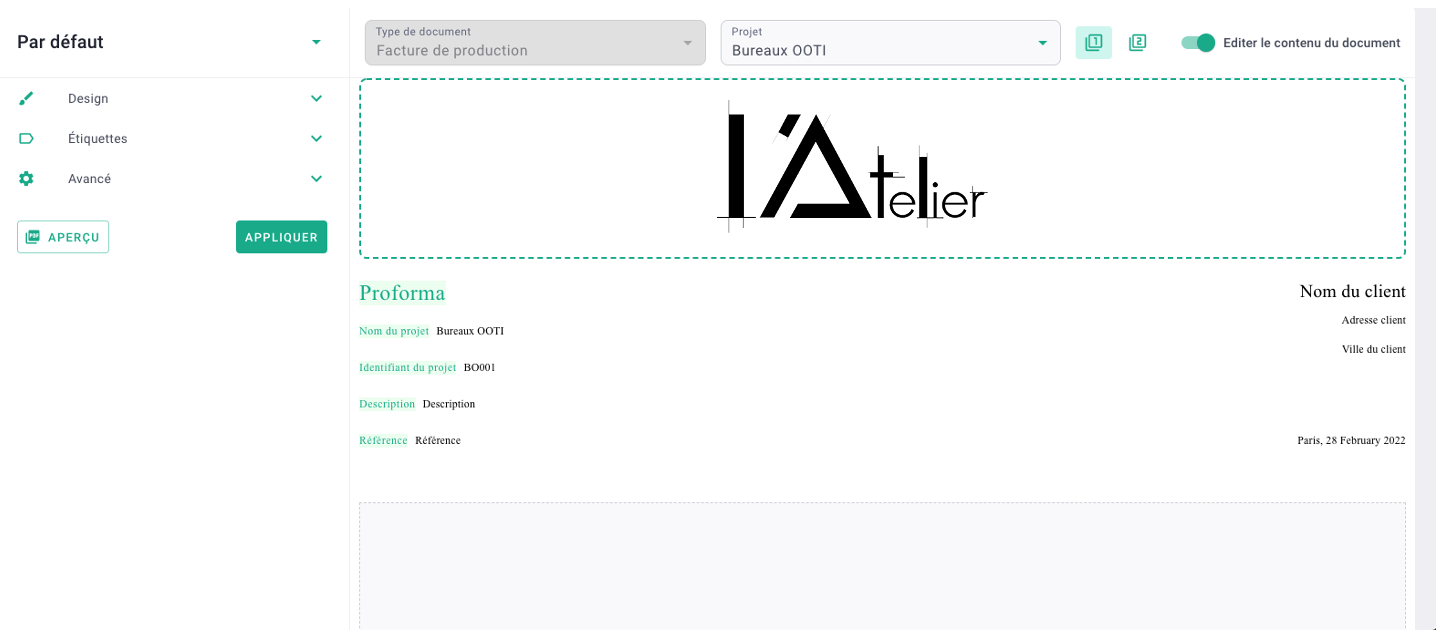
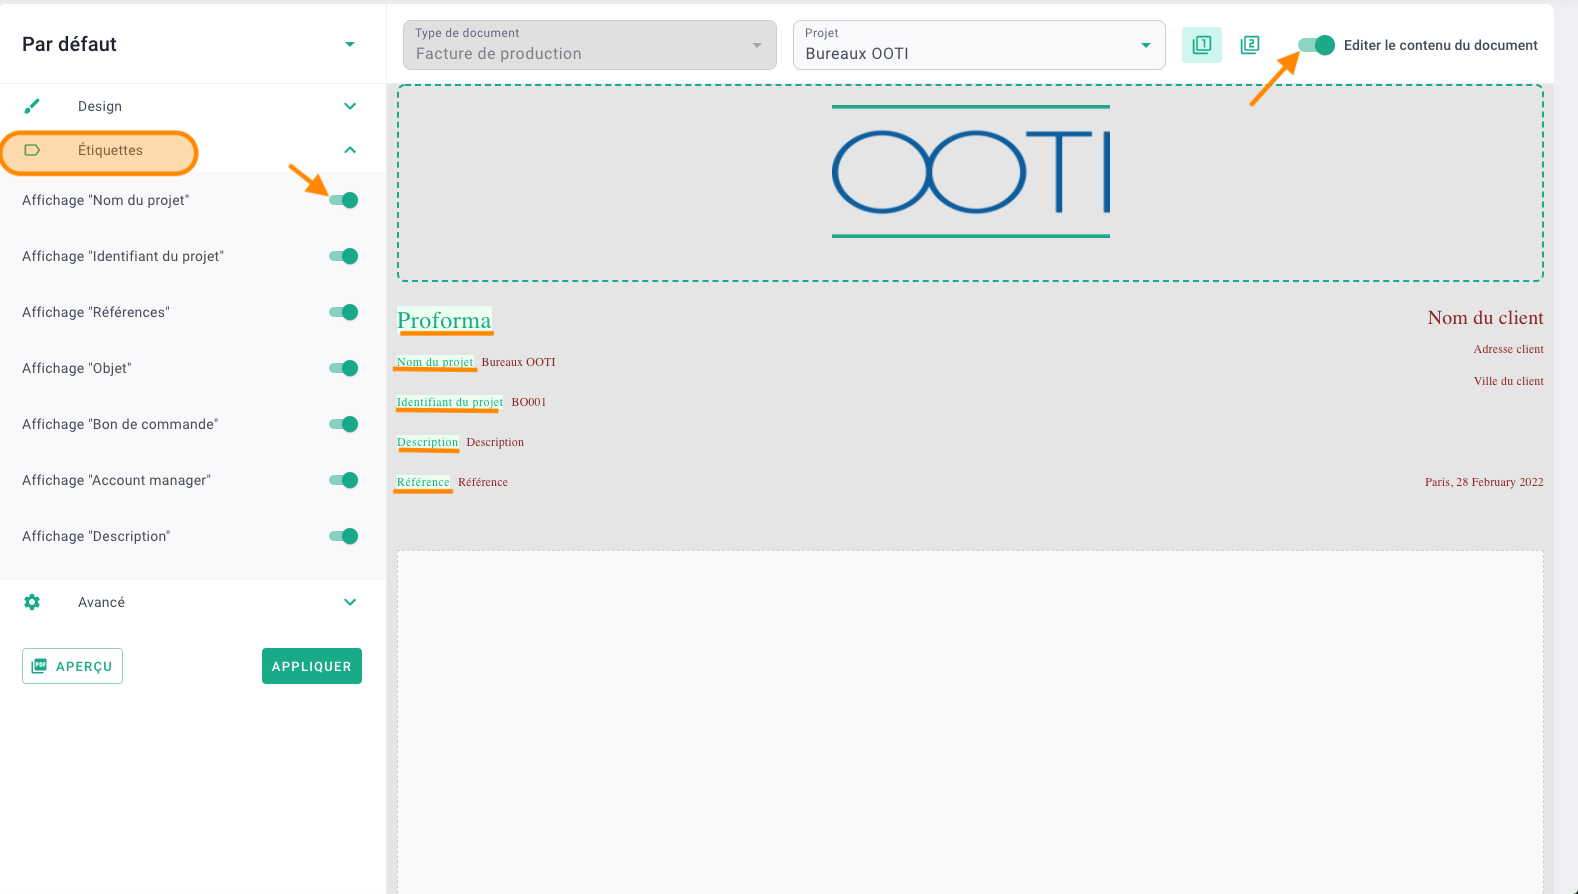
Click on your First name at the top right > Settings > Style guide on the left then click on the "Par défaut" style guide.
Check Edit document content then click OOTI logo.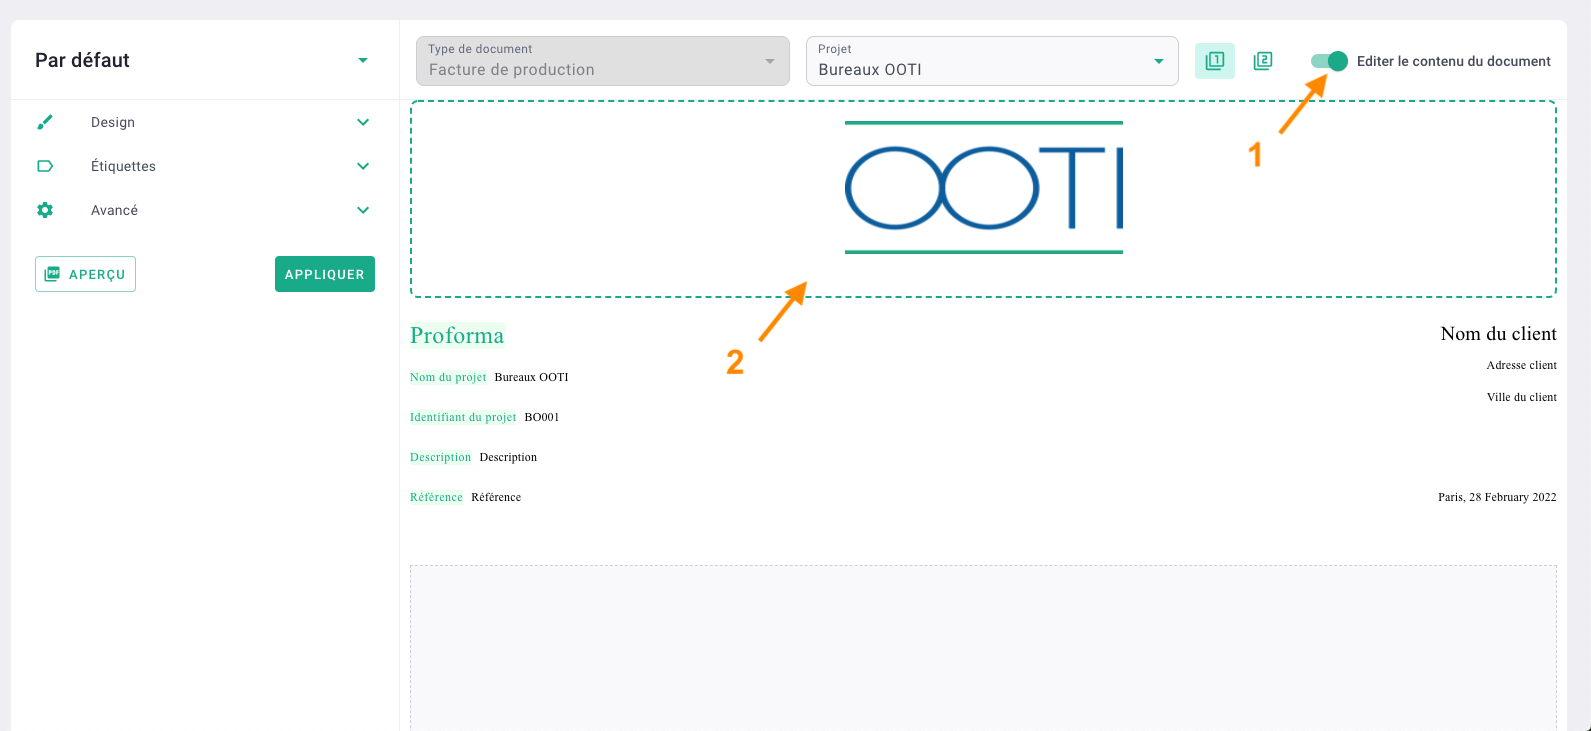
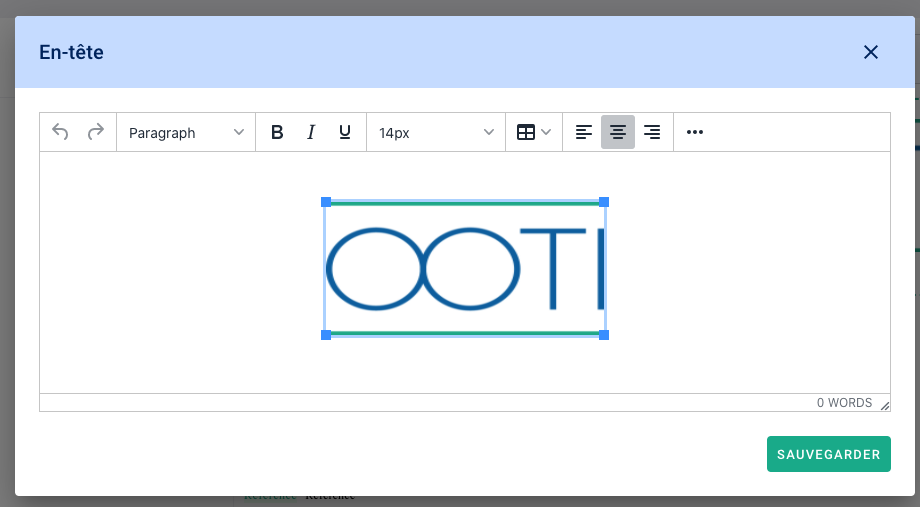
Delete the logo by clicking on it then delete on your keyboard.
Click on the "..." options and then the image icon.
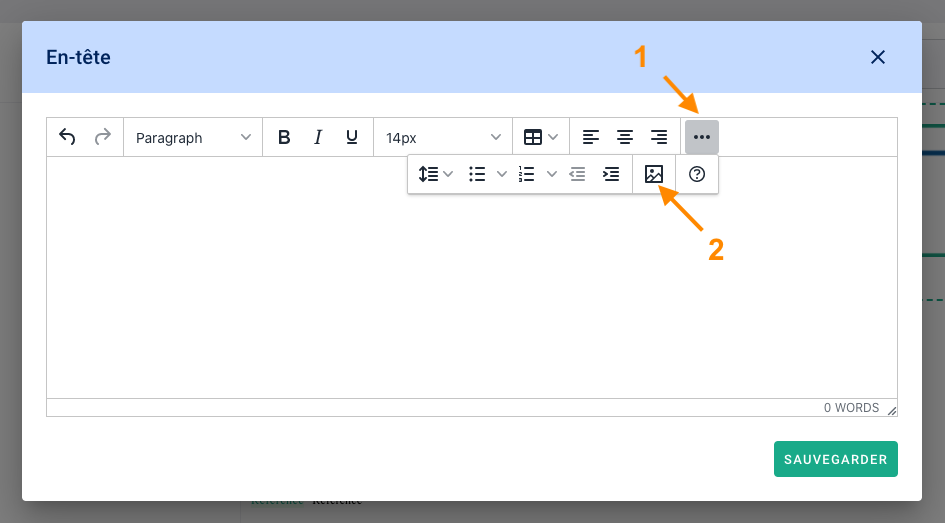
Click on the square with the up arrow to add your logo from your documents ideally in PNG or JPEG formats.
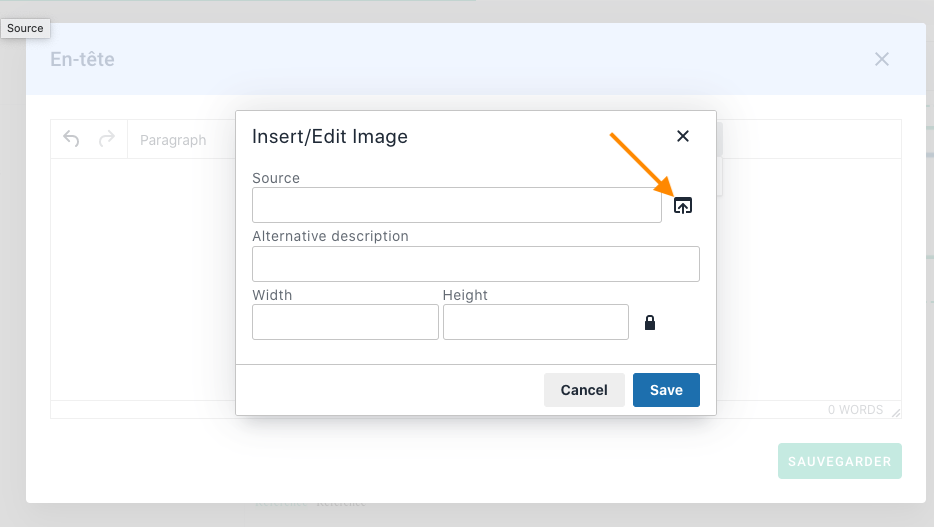
Once the logo has been added, you will see a strange link in the "Source" field, it's normal: your logo has been added.
💡 Put in width 200, you can then adapt the size directly in the charter.
Click Save.

You have added your logo!
Use the toolbar to position the logo left, center, or right.
On the logo, click on the squares to enlarge/reduce the size of the logo.

It's done ! You have added your agency's logo to the graphic charter.
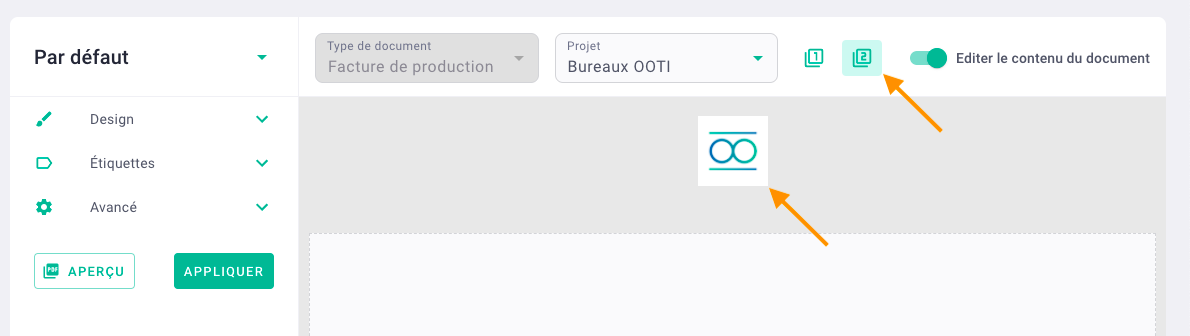
Go to the 2nd tab and then change your logo back to reduced size.
This tab is intended for the other pages of your invoices if they have several pages. Instead of making your logo big, make it smaller.
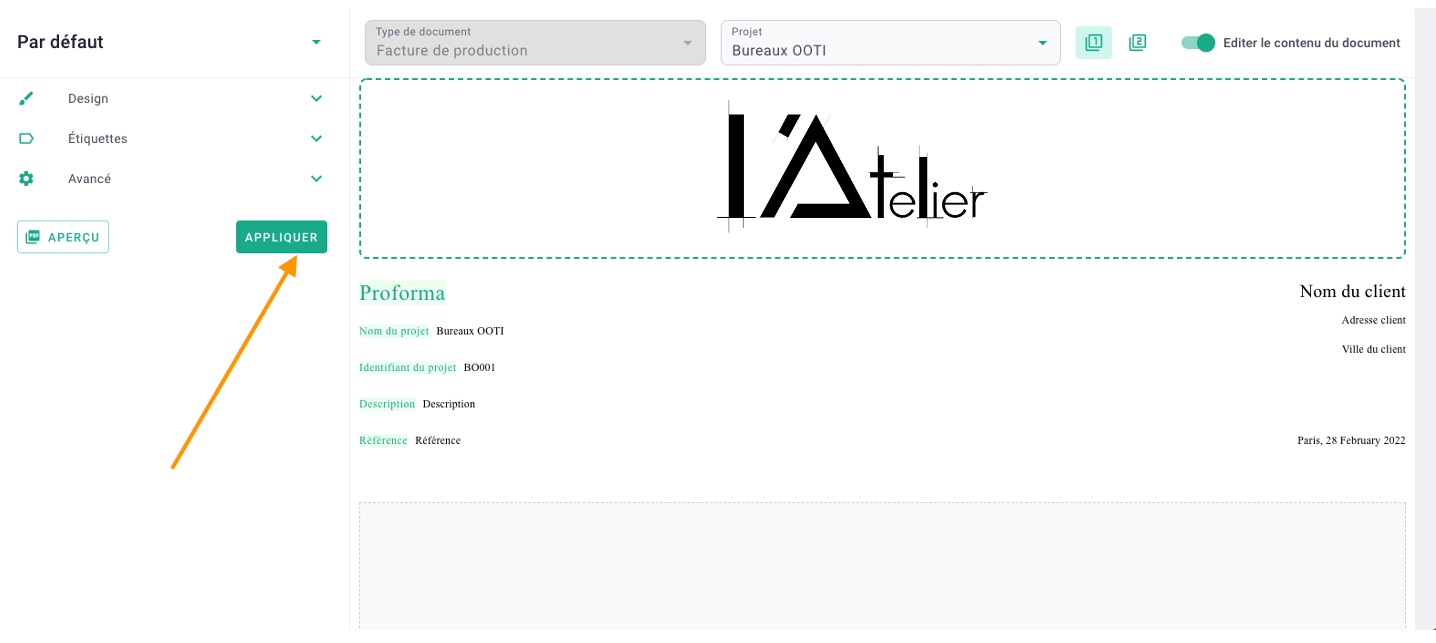
Click the Apply button to Save.
II/ Customizing Labels and Footer
Fields are created by default and appear in the invoice.
Check Edit document content where you can change the label titles by clicking on them.
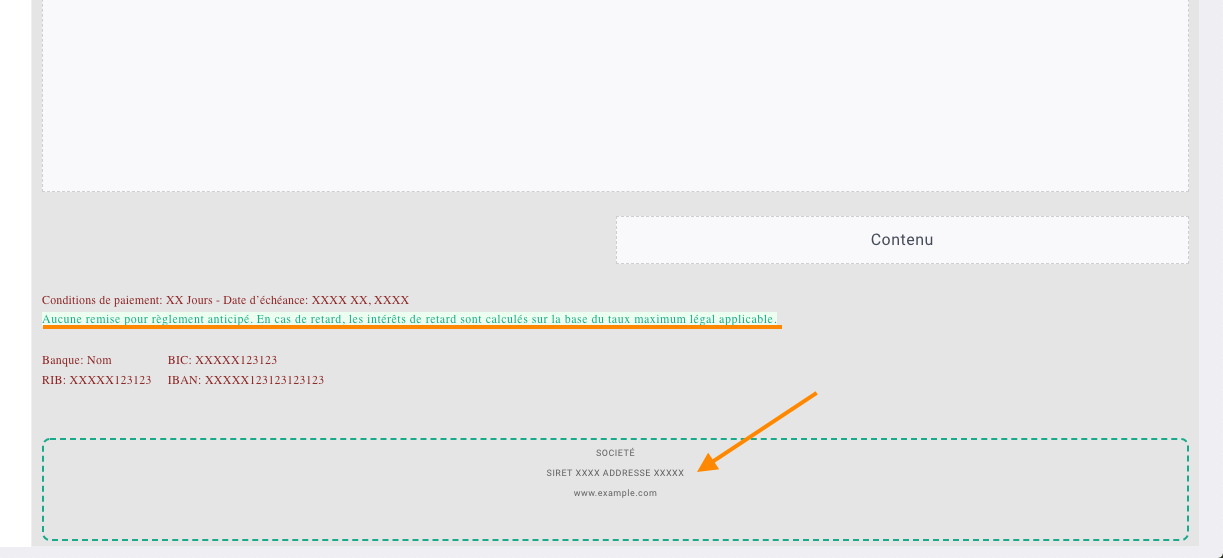
At the bottom of the visual, you can complete the legal notices and the footer.
Once all your changes have been made, click the Apply button.
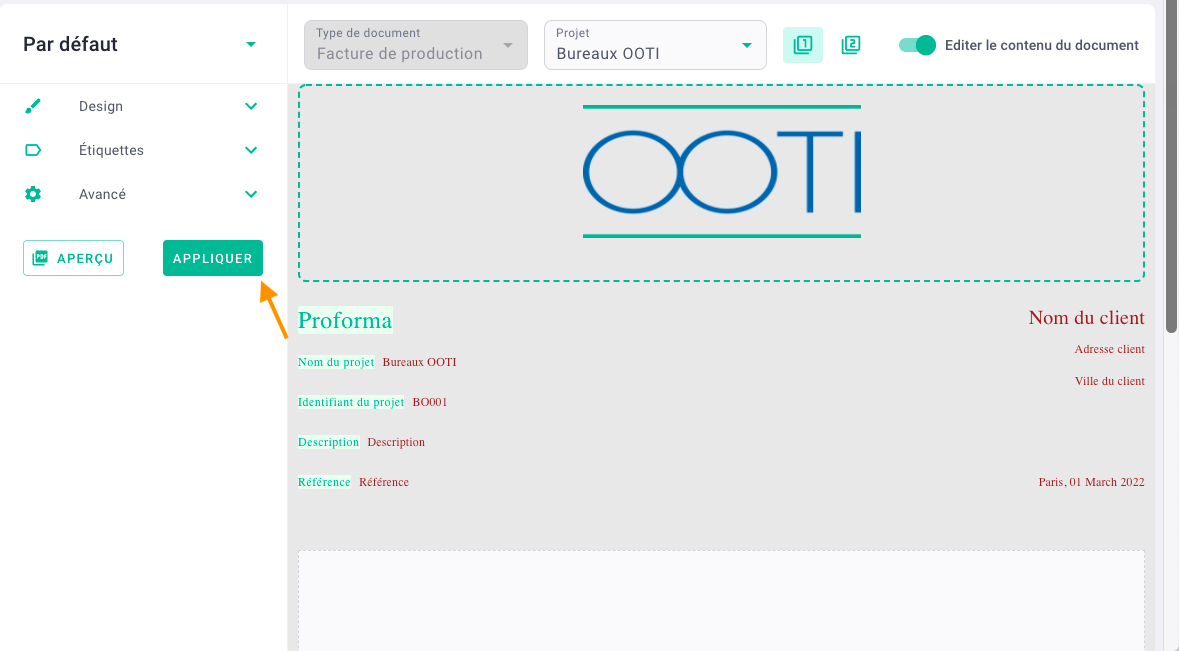
⚠️ It will probably be necessary to recreate an invoice PDF already created for the changes to be applied.
You have configured the header and footer of your invoices!