
Do you have several agencies within your company with specific or joint projects? Is each entity independent or is re-invoicing to be done?
✅ You must first have created your first entity in OOTI before creating the second one.
🔓 Required Permissions
Super admin
| Reading time | 5 min |
| Setup length | 10 min |
| Steps | 3 |
Summary
I/ Definition
II/ Create an Entity
III/ Granting Access to Another Entity for Collaborators
I/ Definition
When you log in to OOTI, you are logging into a billing entity.
This entity has its own SIRET (business registration number), meaning it has its own revenue, projects, costs, finances, and team.
Does your company have multiple distinct entities, each with its own SIRET, revenue, and projects?
If yes, you can add multiple entities to OOTI. You will be able to navigate through the entities and have an overall view, from the "holding" level, of the synthesis of all entities in terms of revenue, costs, margins, etc.
Your collaborators can have access to other entities or not; this is a permission you need to grant them.
Adding an entity does not incur any additional costs in your subscription.
If your company has multiple branches but they share the same SIRET, then there is no need for entities in OOTI because an entity here is a separate billing entity.
It is not possible to delete an entity if there are data associated with it, such as projects, members, contacts, timesheets, etc. You will need to delete all related elements on your side before being able to delete the entity.
II/ Create an Entity
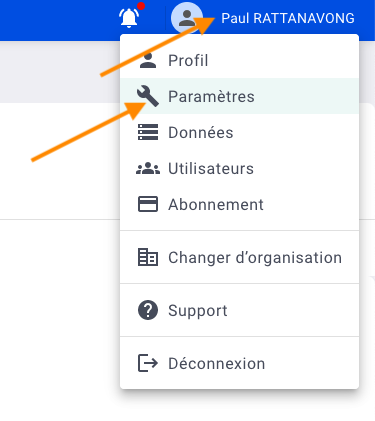
Go to your profile > settings
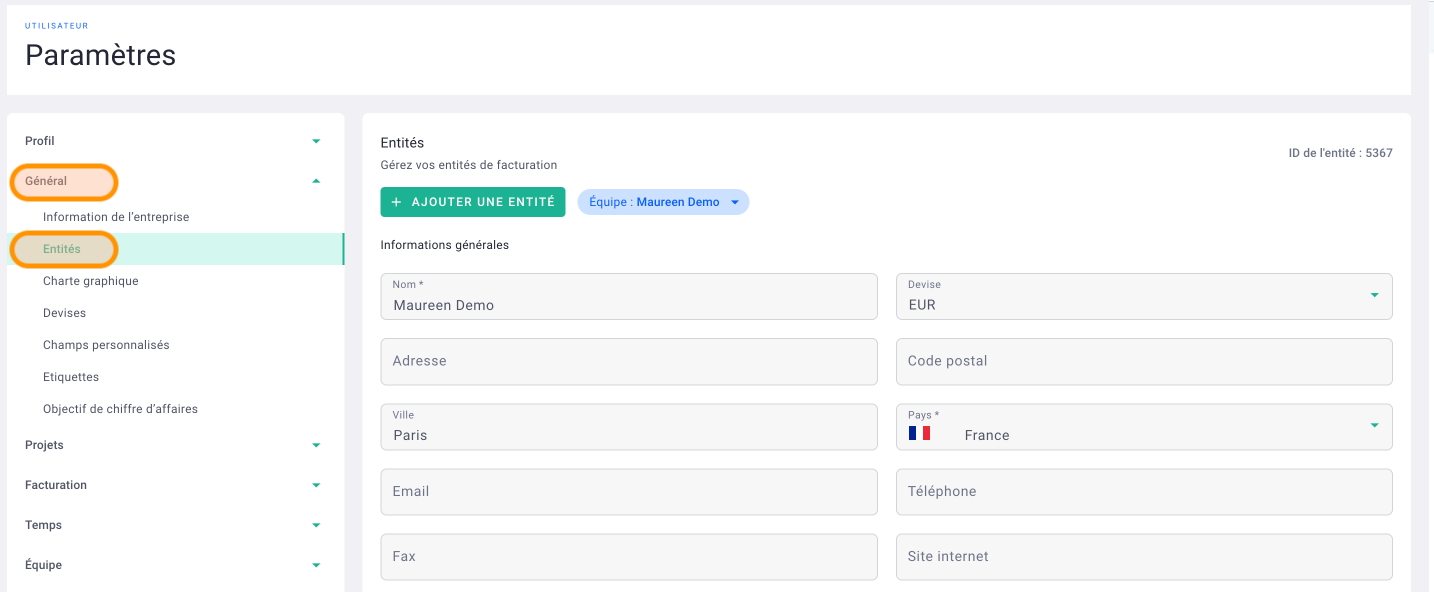
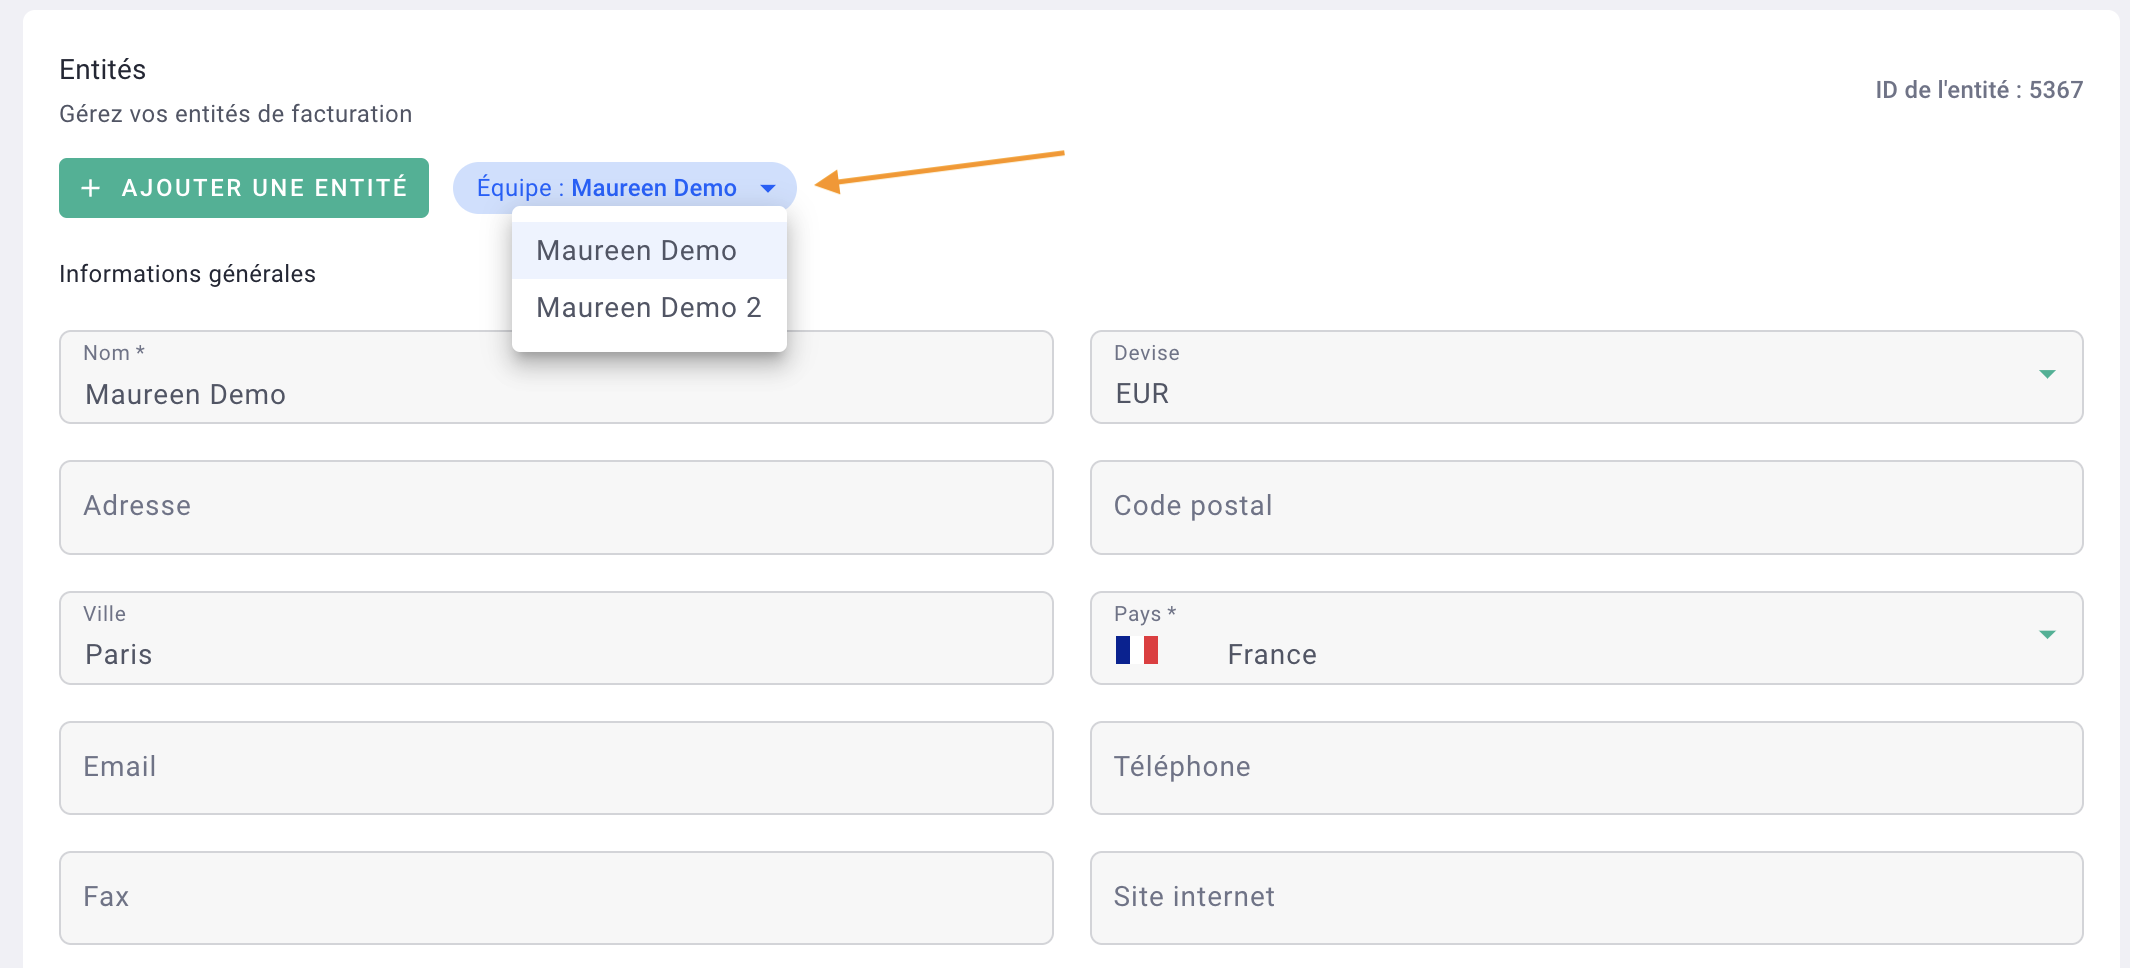
Navigate to General > Entities.
This is where you can update the name of your first entity.
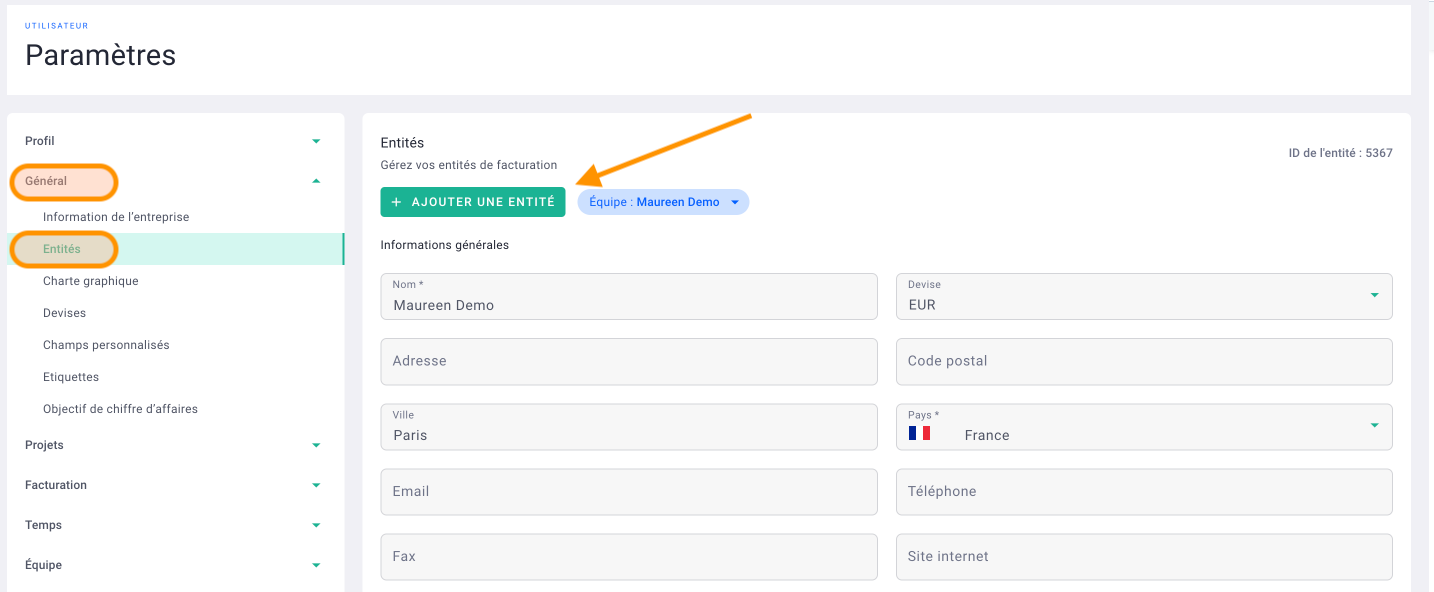
Next, click on "+ Add team."
Fill out the form and then save.
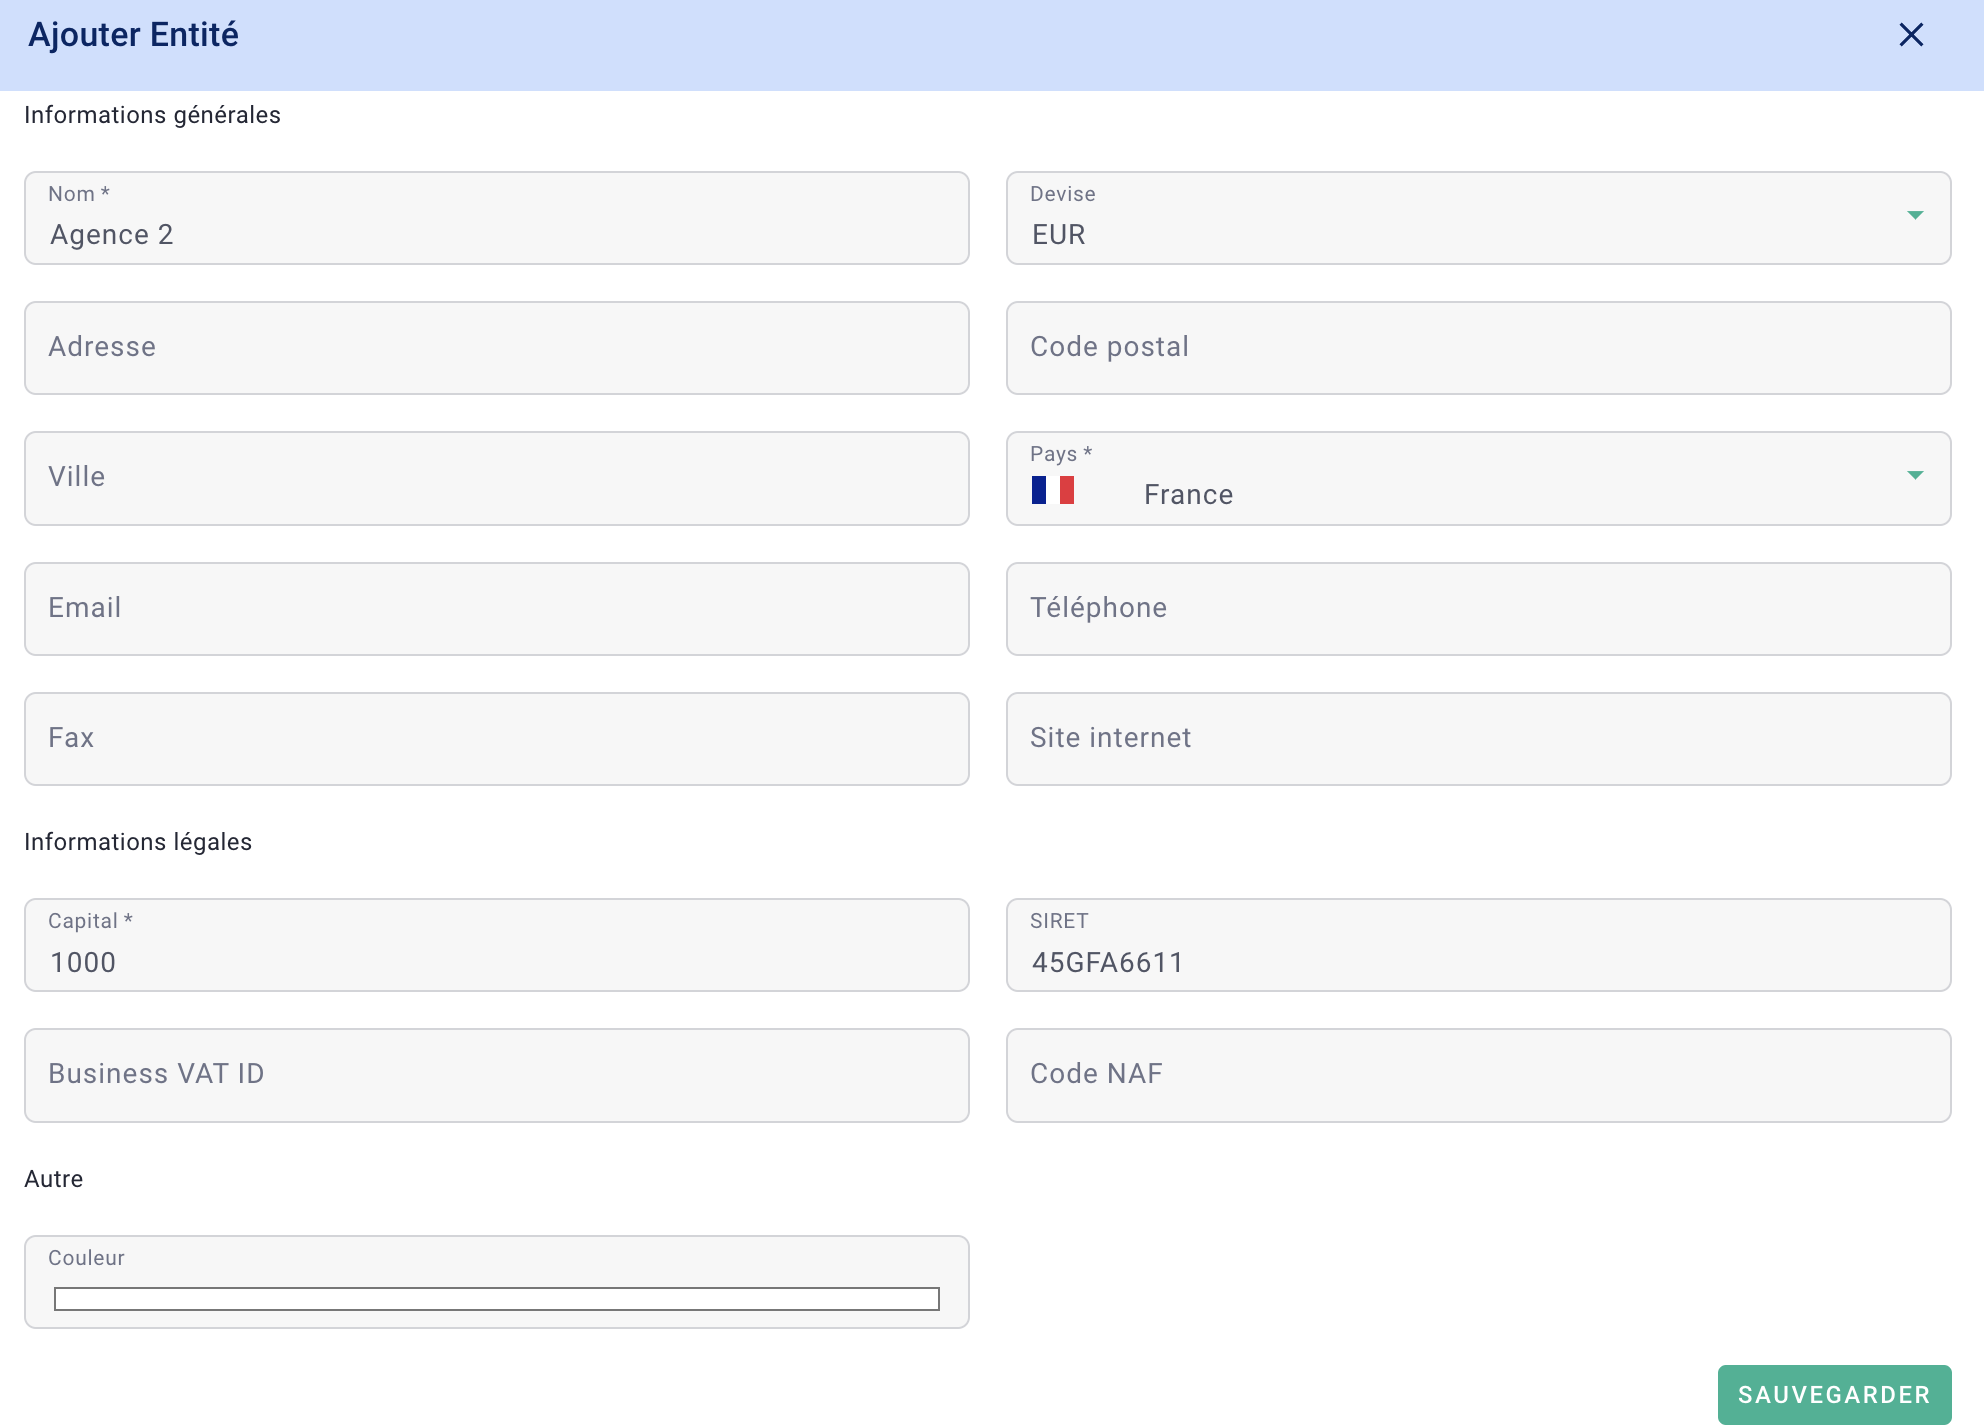
Done! 🎉
You have created a new entity!
You can update the information for each entity by clicking on the dropdown menu.
To name the "holding" or the "group," click on your profile > settings.
Then, click on General > Company Information. Update the group name and then save.
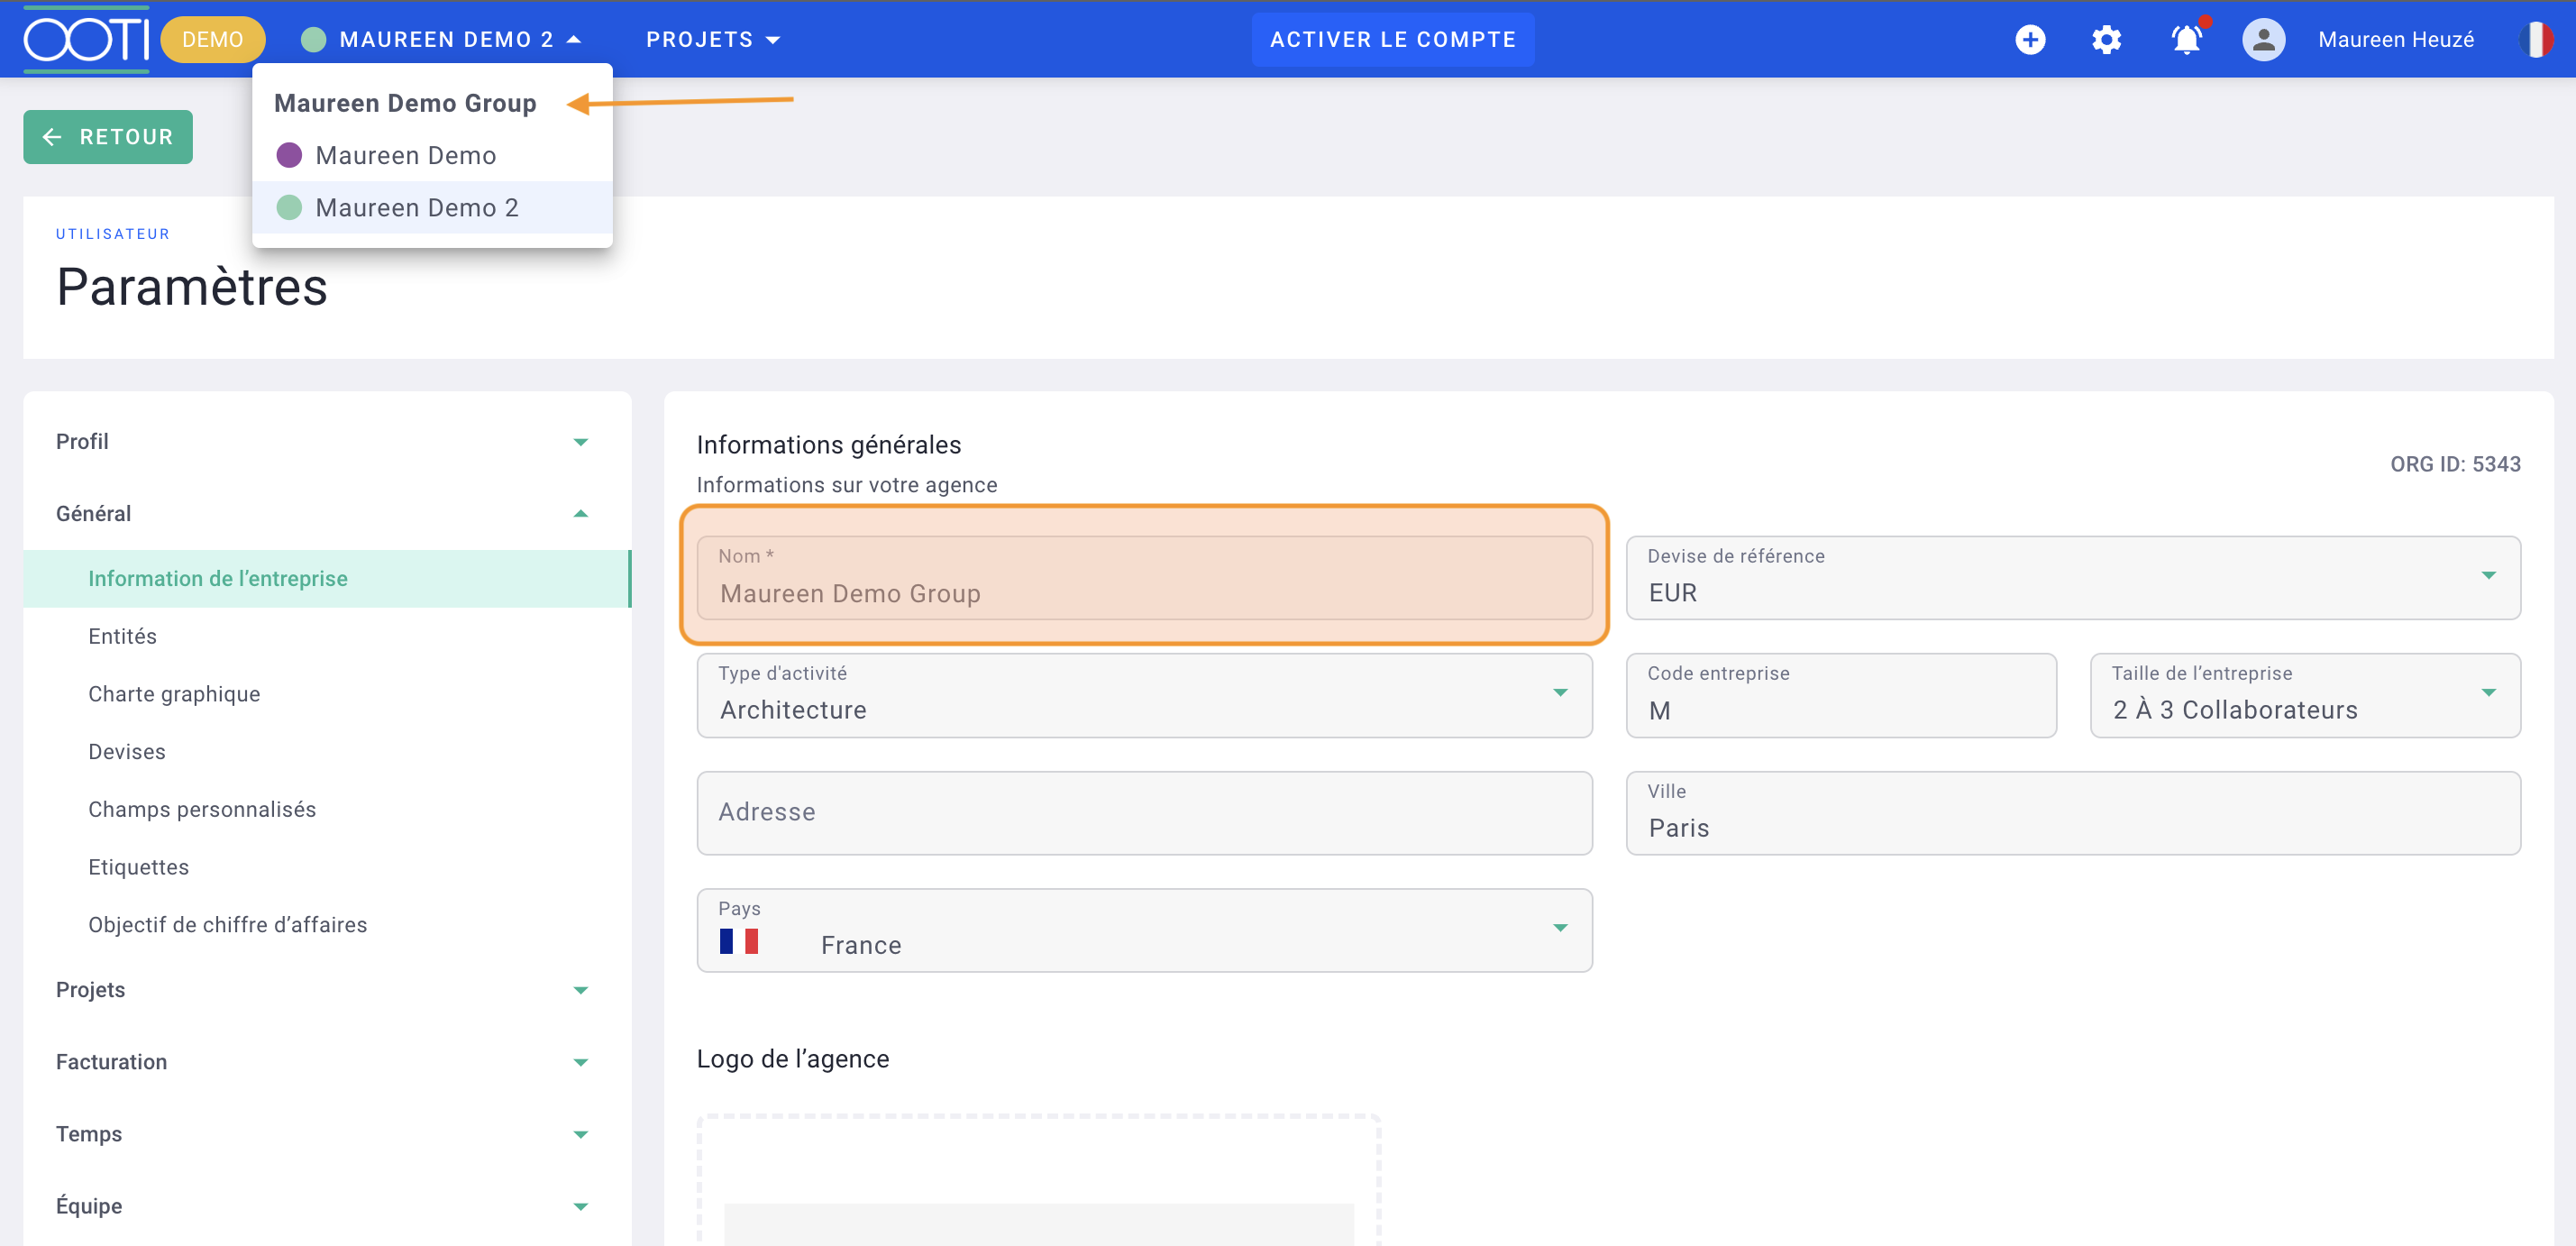
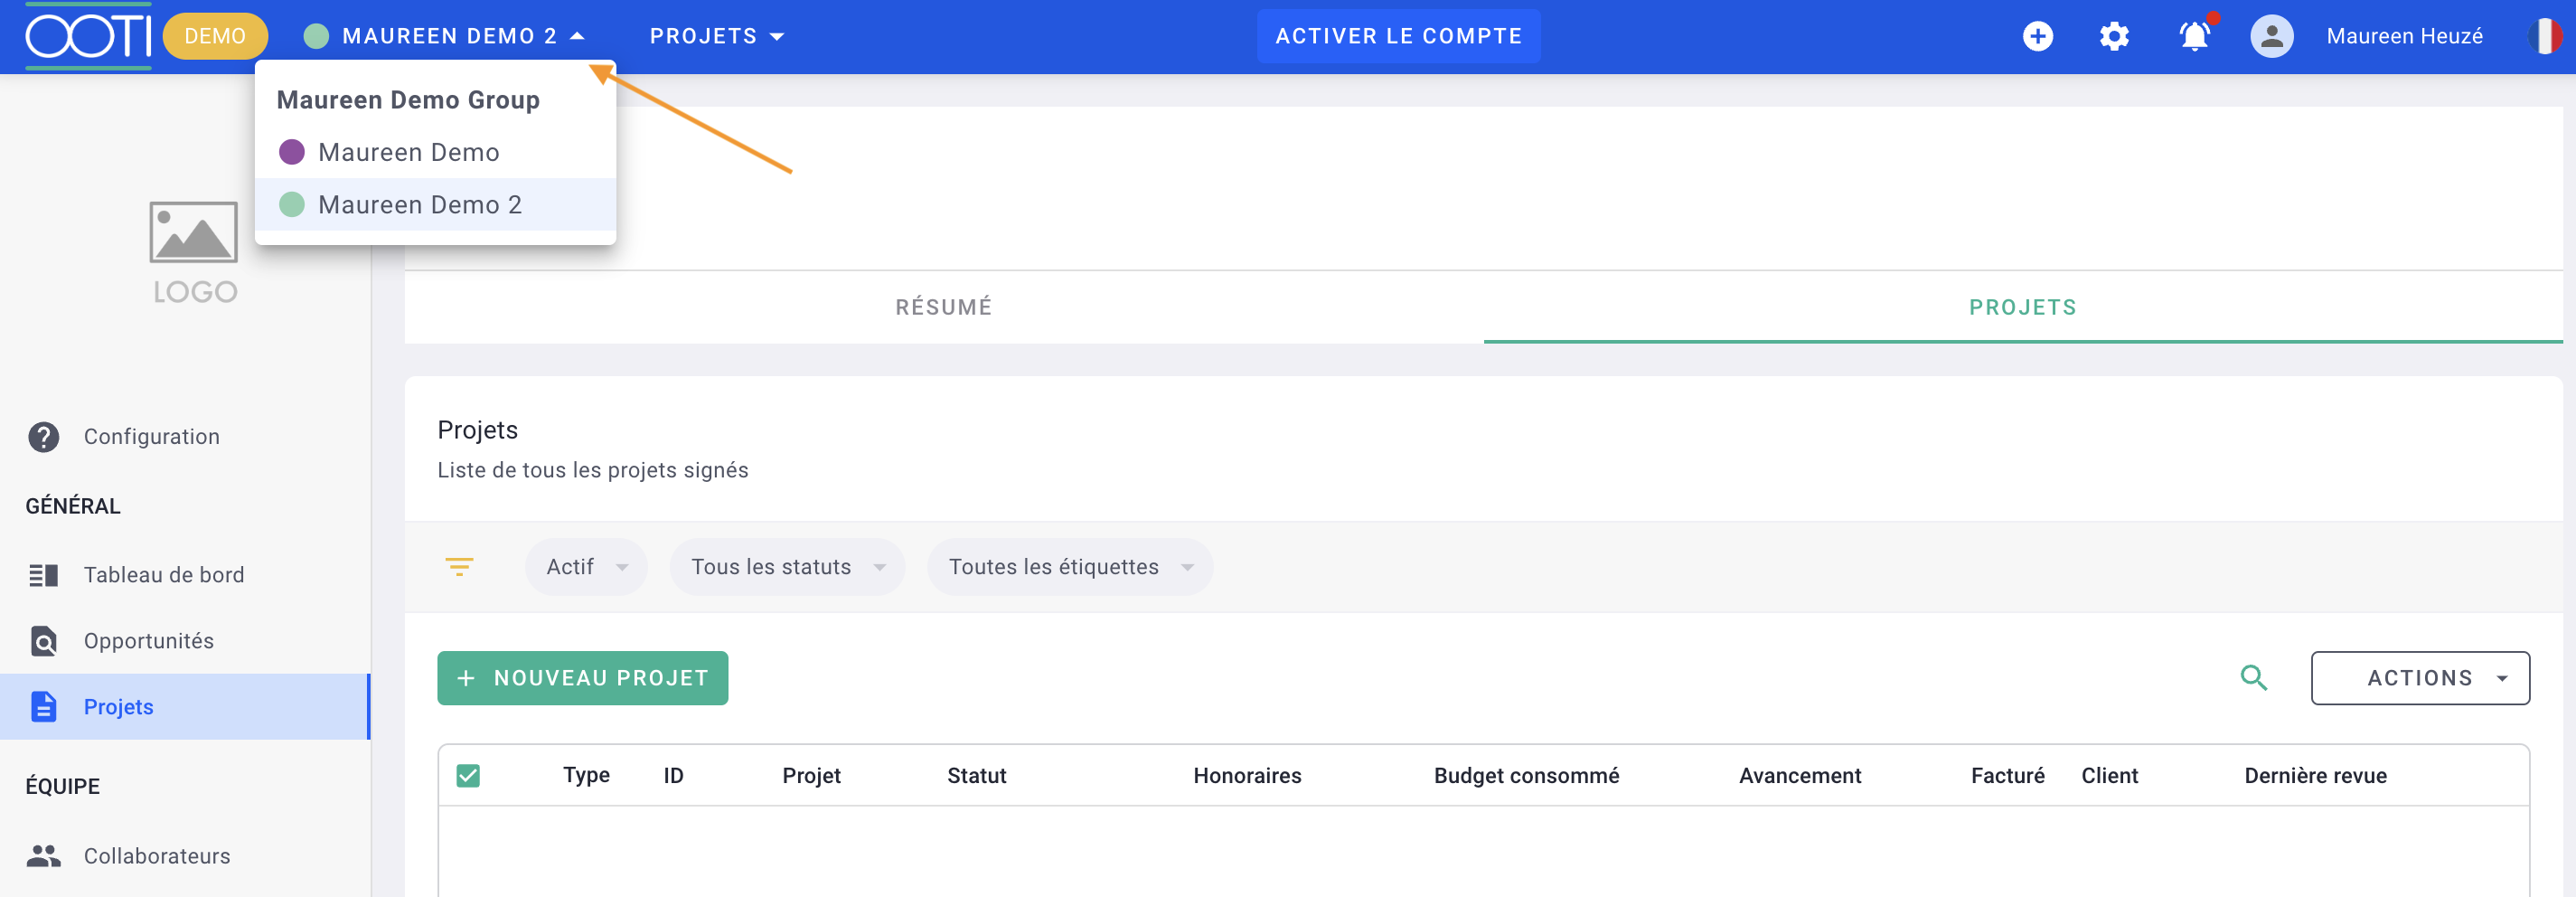
Navigate between entities by clicking on the dropdown lists at the top left.
III/ Granting Access to Another Entity for Collaborators
Your collaborators can enter time for projects in another entity. They just need to be members of the project; it is not necessary for them to have access to the other entity.
To grant them access to projects, go to Collaborators > Collaborators, then click on a collaborator's profile > Projects tab > select the new projects and add them. Also, choose the permission they will have on these new projects.
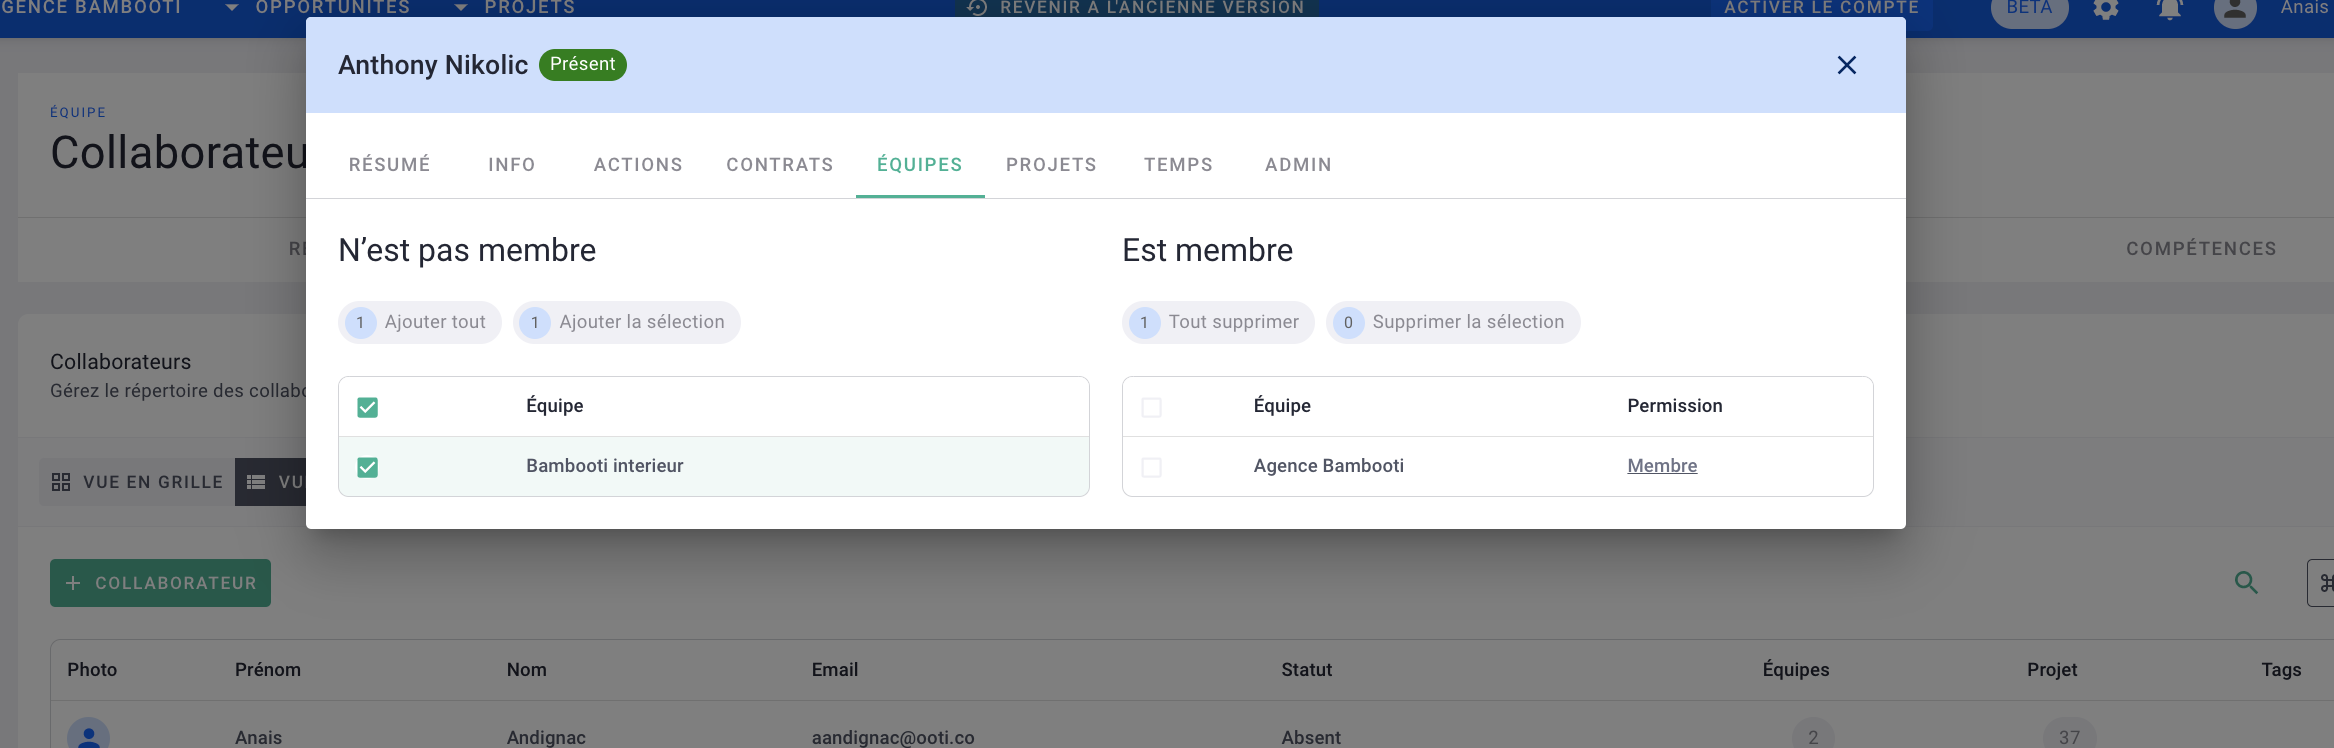
If you want to grant them access to the new entity (to see costs, salaries, etc.), go to Collaborators > Collaborators, then click on a collaborator's profile > Team tab > select the new entity and add it. Also, choose the permission they will have on this new entity.
Done! 🎉