
Create your invoices and then send them or schedule the sending directly to your clients from the platform.
🔓 Required permissions
Team : View Invoices and Manage Invoices
Project : View Invoices and Manage Invoices
| Reading time | 3 min |
| Setup length | 5 min |
| Steps | 4 |
Summary
I/ Create an email template
II/ Add the client's email address to the project
III/ Add the client's email address to the invoice
IV/ Schedule the sending or send now
I/ Create an email template
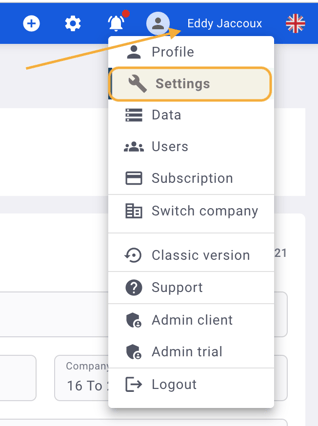
Click on your First Name at the top right corner > then on Settings.
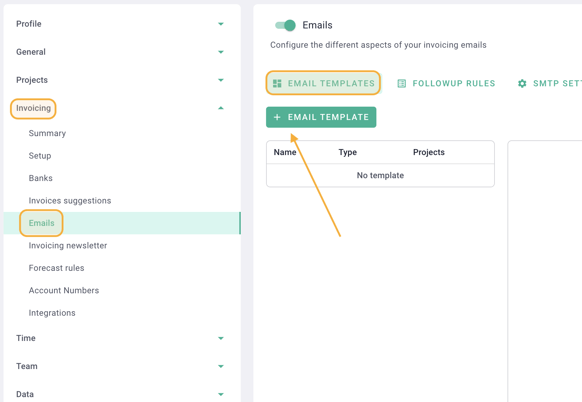
Click on Invoicing on the left > then on Emails.
Enable Emails.
In the Email Templates tab, click on + Email Template.
Create your email template for sending invoices by providing:
- Template name
- Type: Invoice
- Reply name (will be displayed in the email)
- Reply email
- Email subject
Write your email text and then click on Save.
💡 OOTI Tip: Use invoice variables for a personalized appearance! Click on the orange Variables button on the right.
These variables are specific to each invoice, such as code, amount, dates, etc. Each email will be unique with the correct information based on the invoice, project, and client.
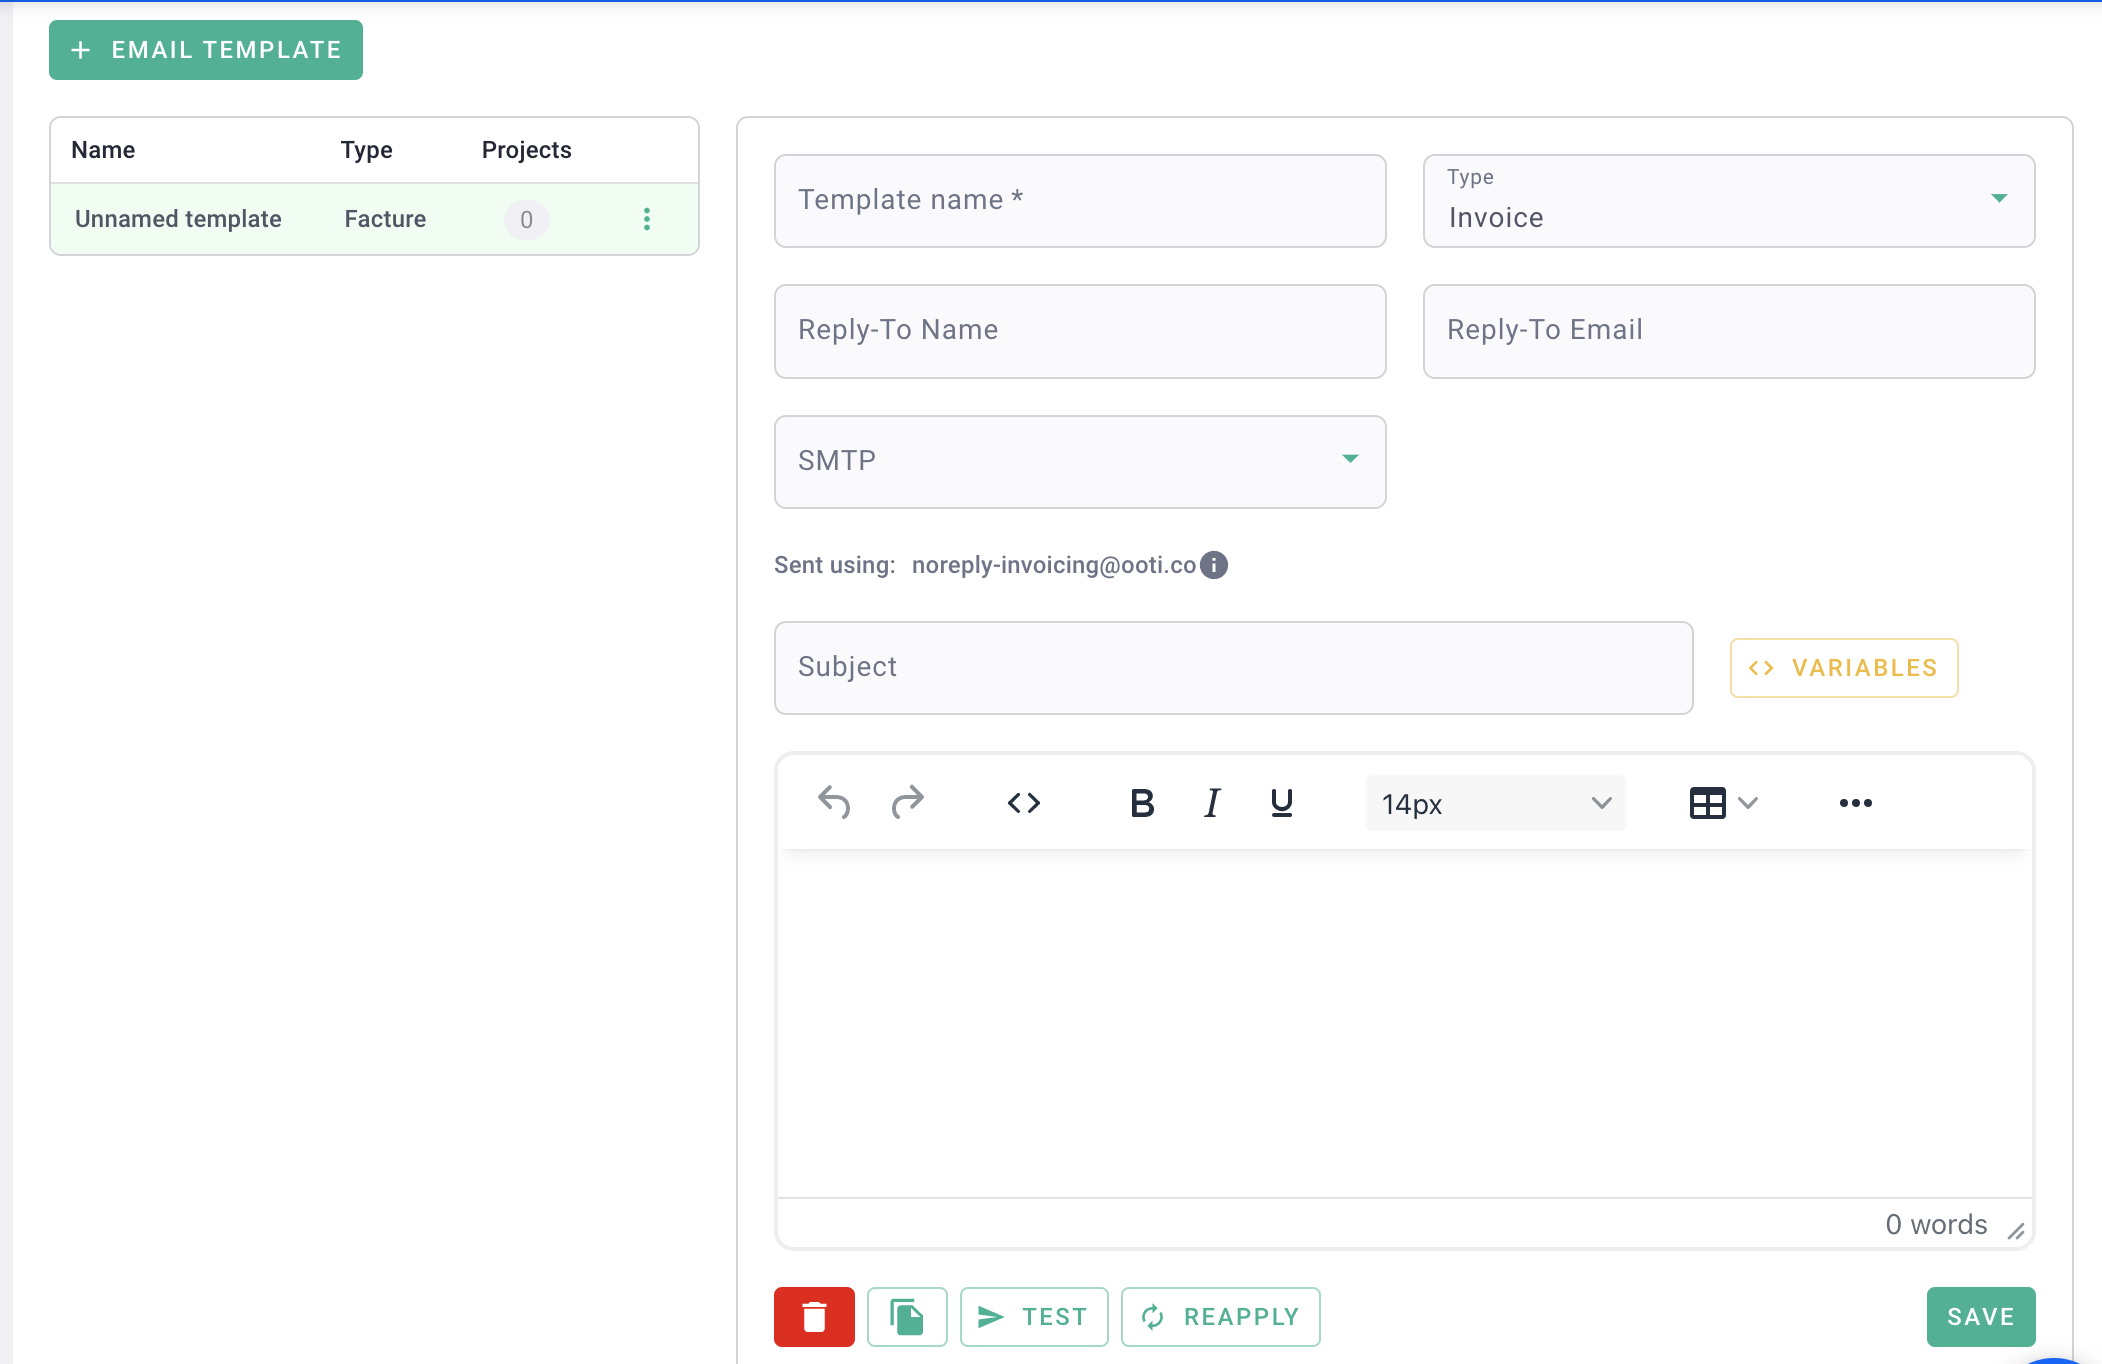
Remember to do a test send to preview the email before finalizing it. By clicking Test, the email will be sent to your OOTI login email.
You have created an invoice sending email template! 🎉
II/ Add the client's email address to the project
In the project, click on the Settings at the top right in green > go to Invoicing on the left > Email tab.
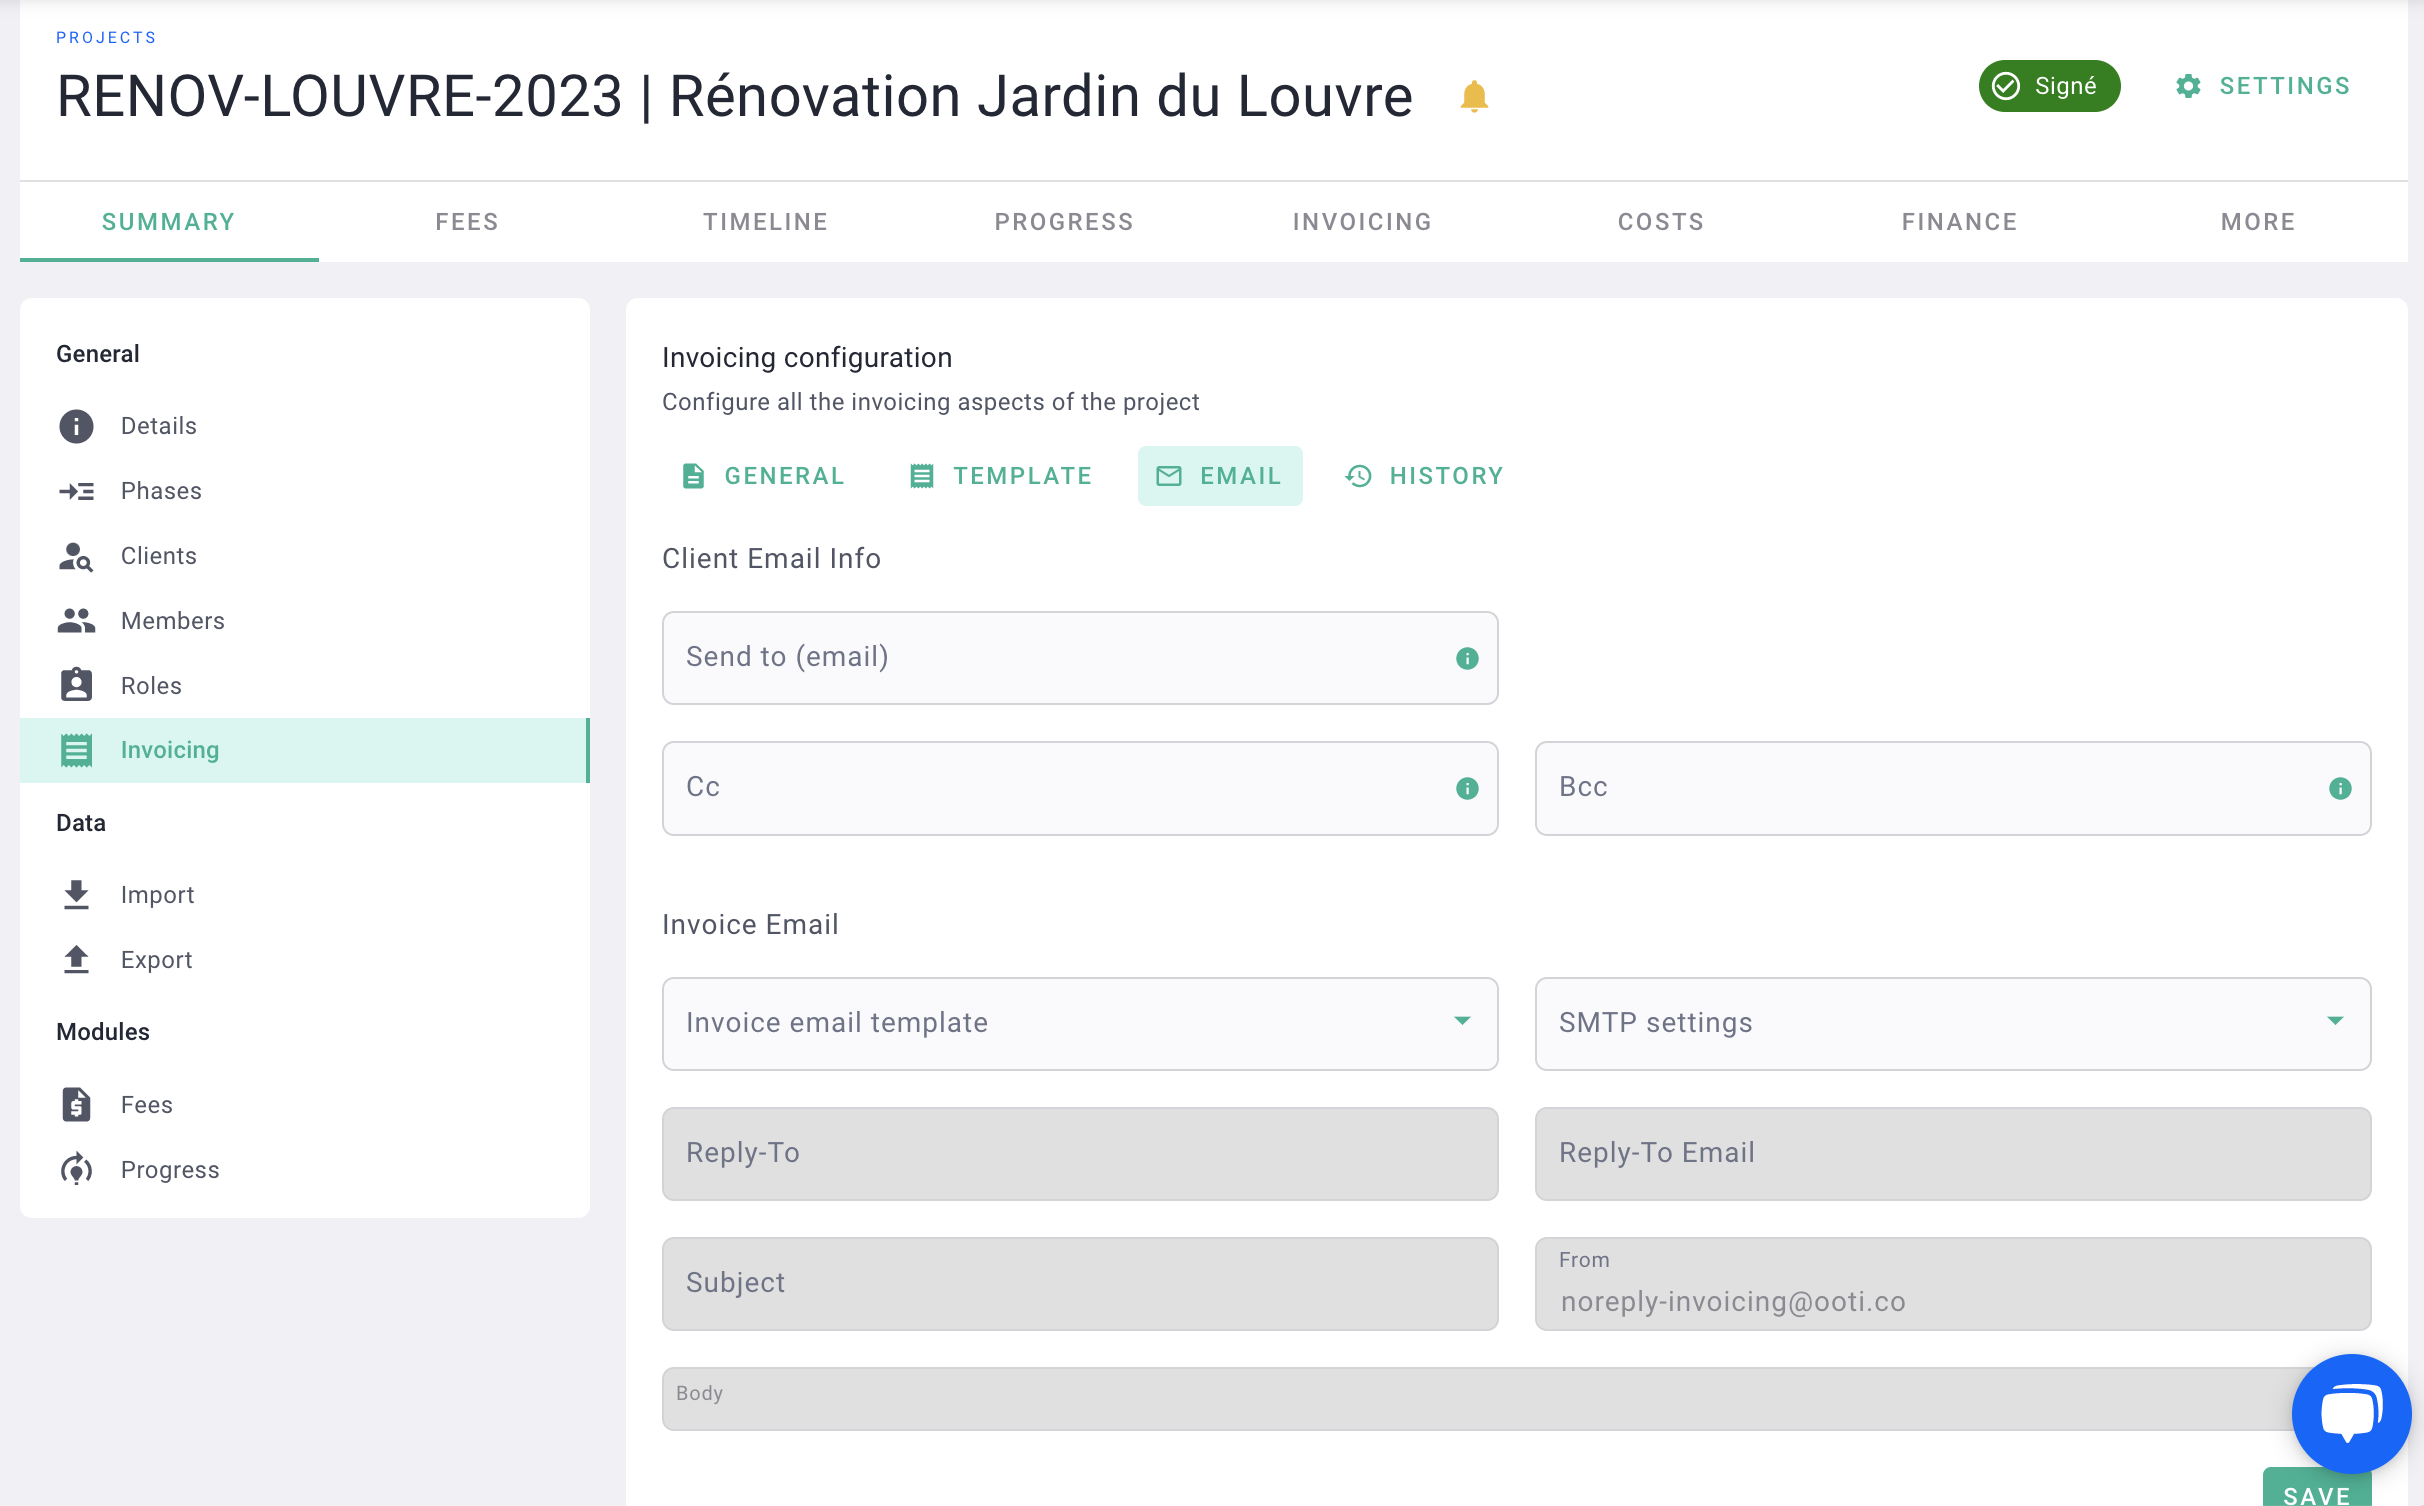
Enter the client's email address and add Cc and/or Bcc emails if necessary to receive a copy of the invoice, for example.
💡 To add multiple emails, separate each address with a comma.
If you enter the email address(es) in the project settings, you won't have to enter them on the invoices anymore. The contact details will appear by default.
Click on Save.
III/ Add the client's email address to the invoice
You can also add the client's email address directly from the invoice.
⚠️ Warning, you can only add it if the invoice is in "draft" or "unsent" status.
Go to an invoice to add the client's email address by clicking on the Mails tab.
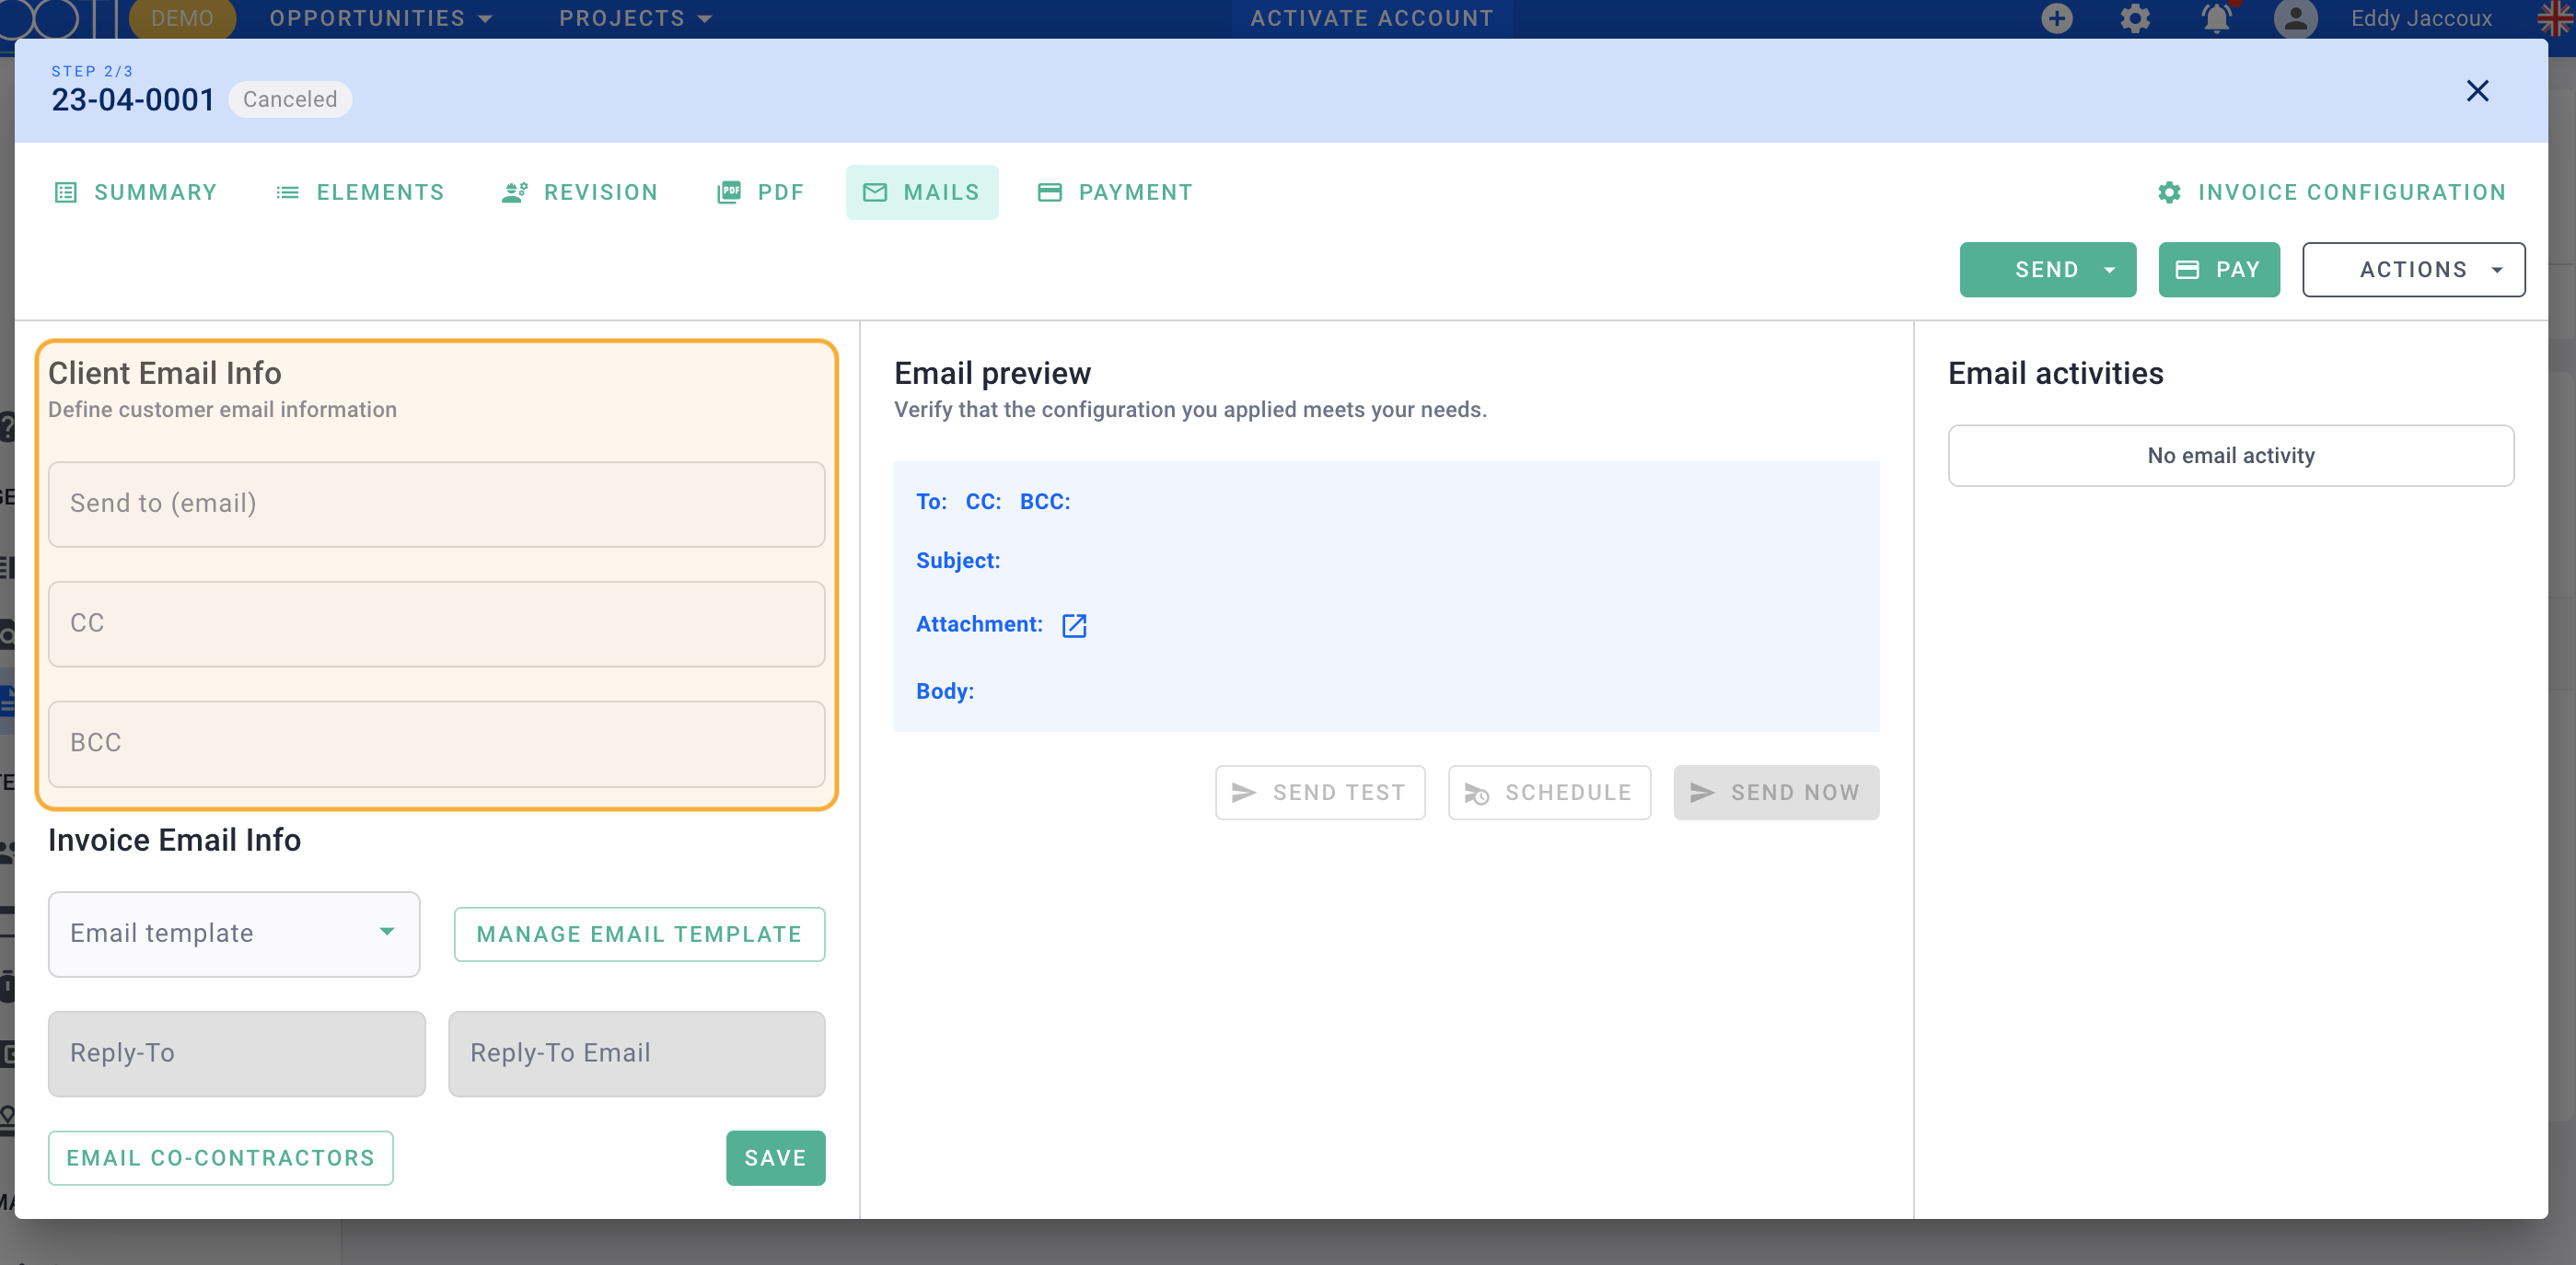
- Enter the client's email address. Separate multiple addresses with commas if needed.
- Select your Email template. Click on Save to apply the template.
There you go! 🎉
IV/ Schedule the sending or send now
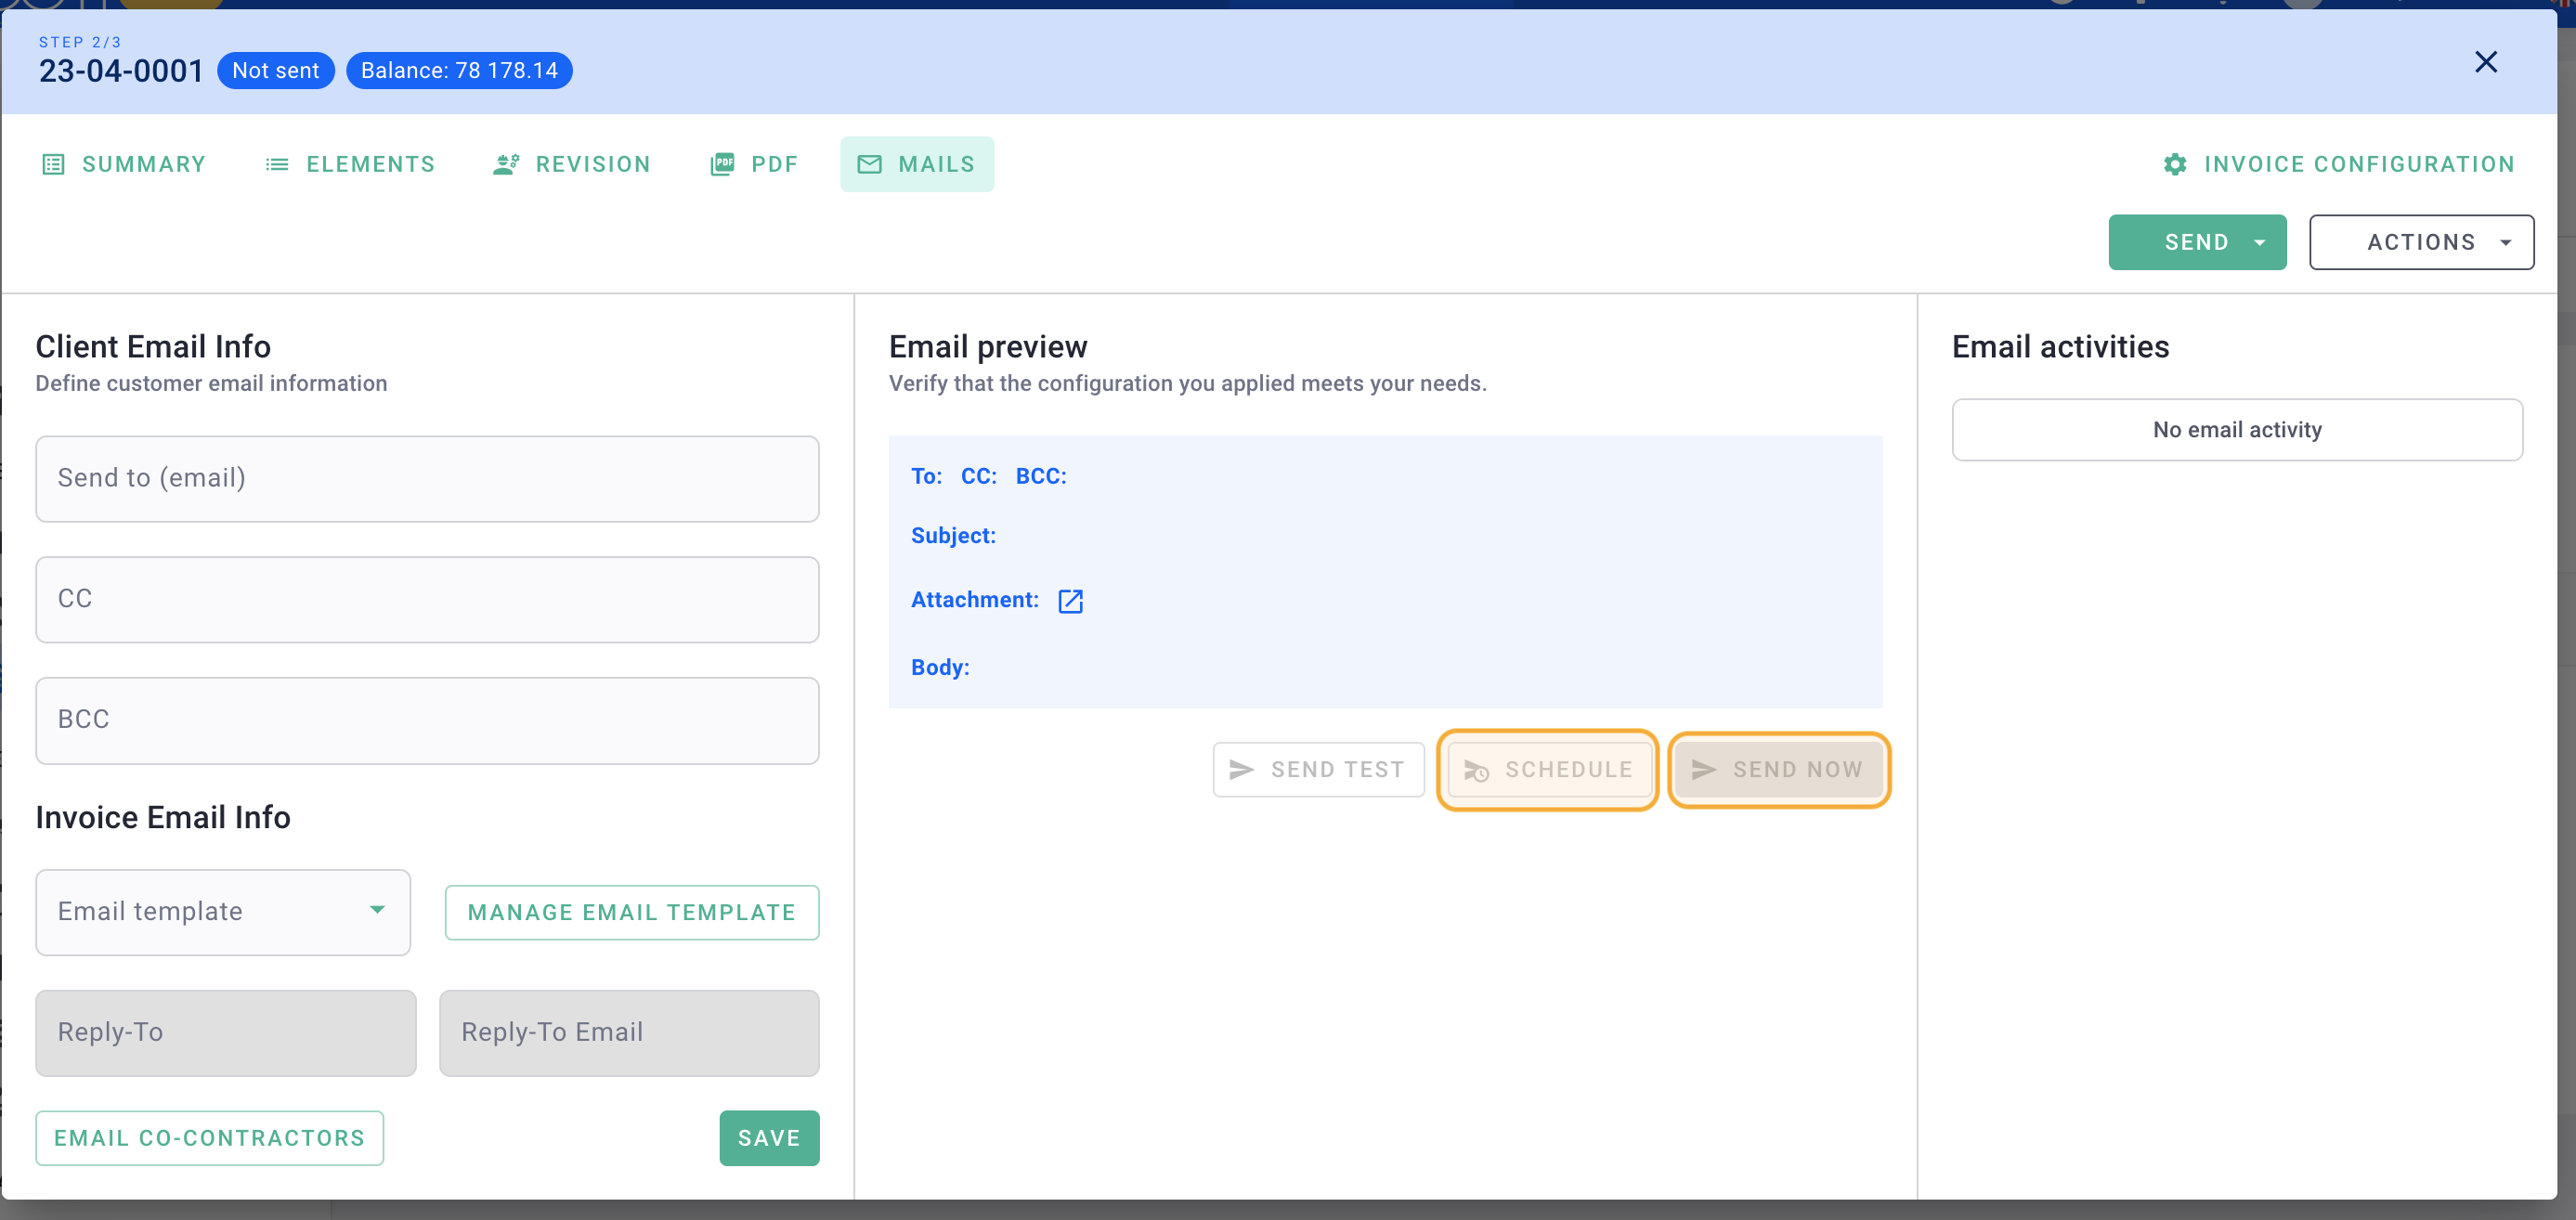
When your invoice is validated and in the "Not sent" status, click on the invoice > Mails tab, then click either on:
-
Schedule for delayed sending, or
-
Send now for immediate sending of the email.
1) Schedule the sending
Select a Date of sending and a Time of sending, then click on Save.
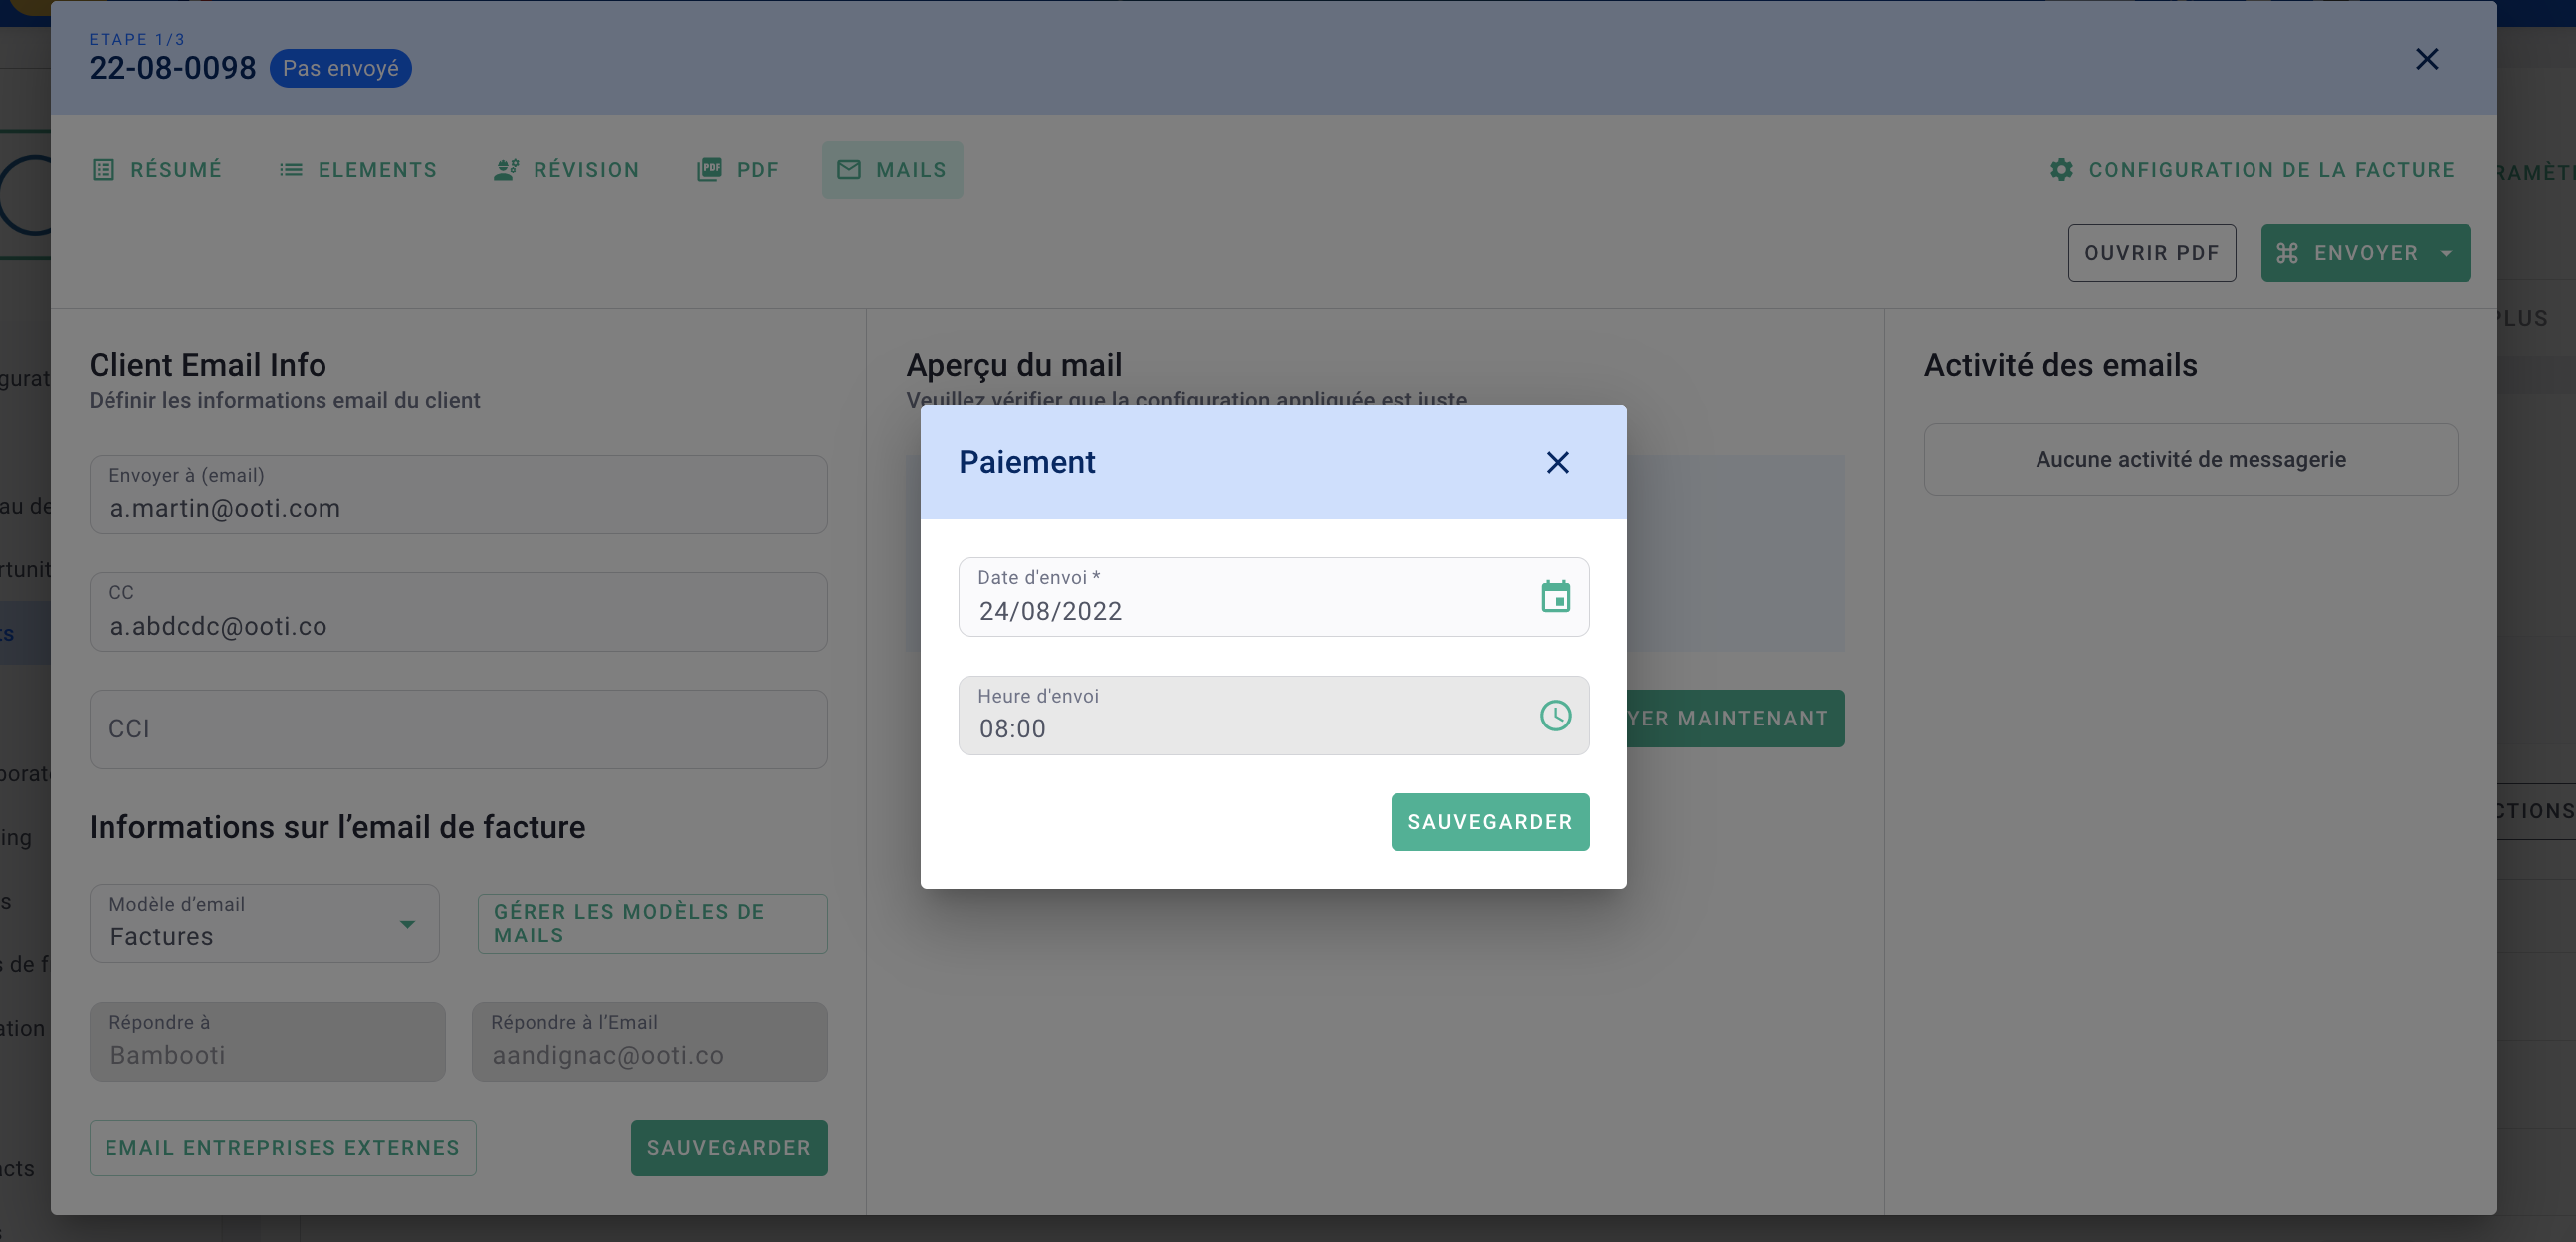
Done! 🎉 You have scheduled the sending of your invoice.

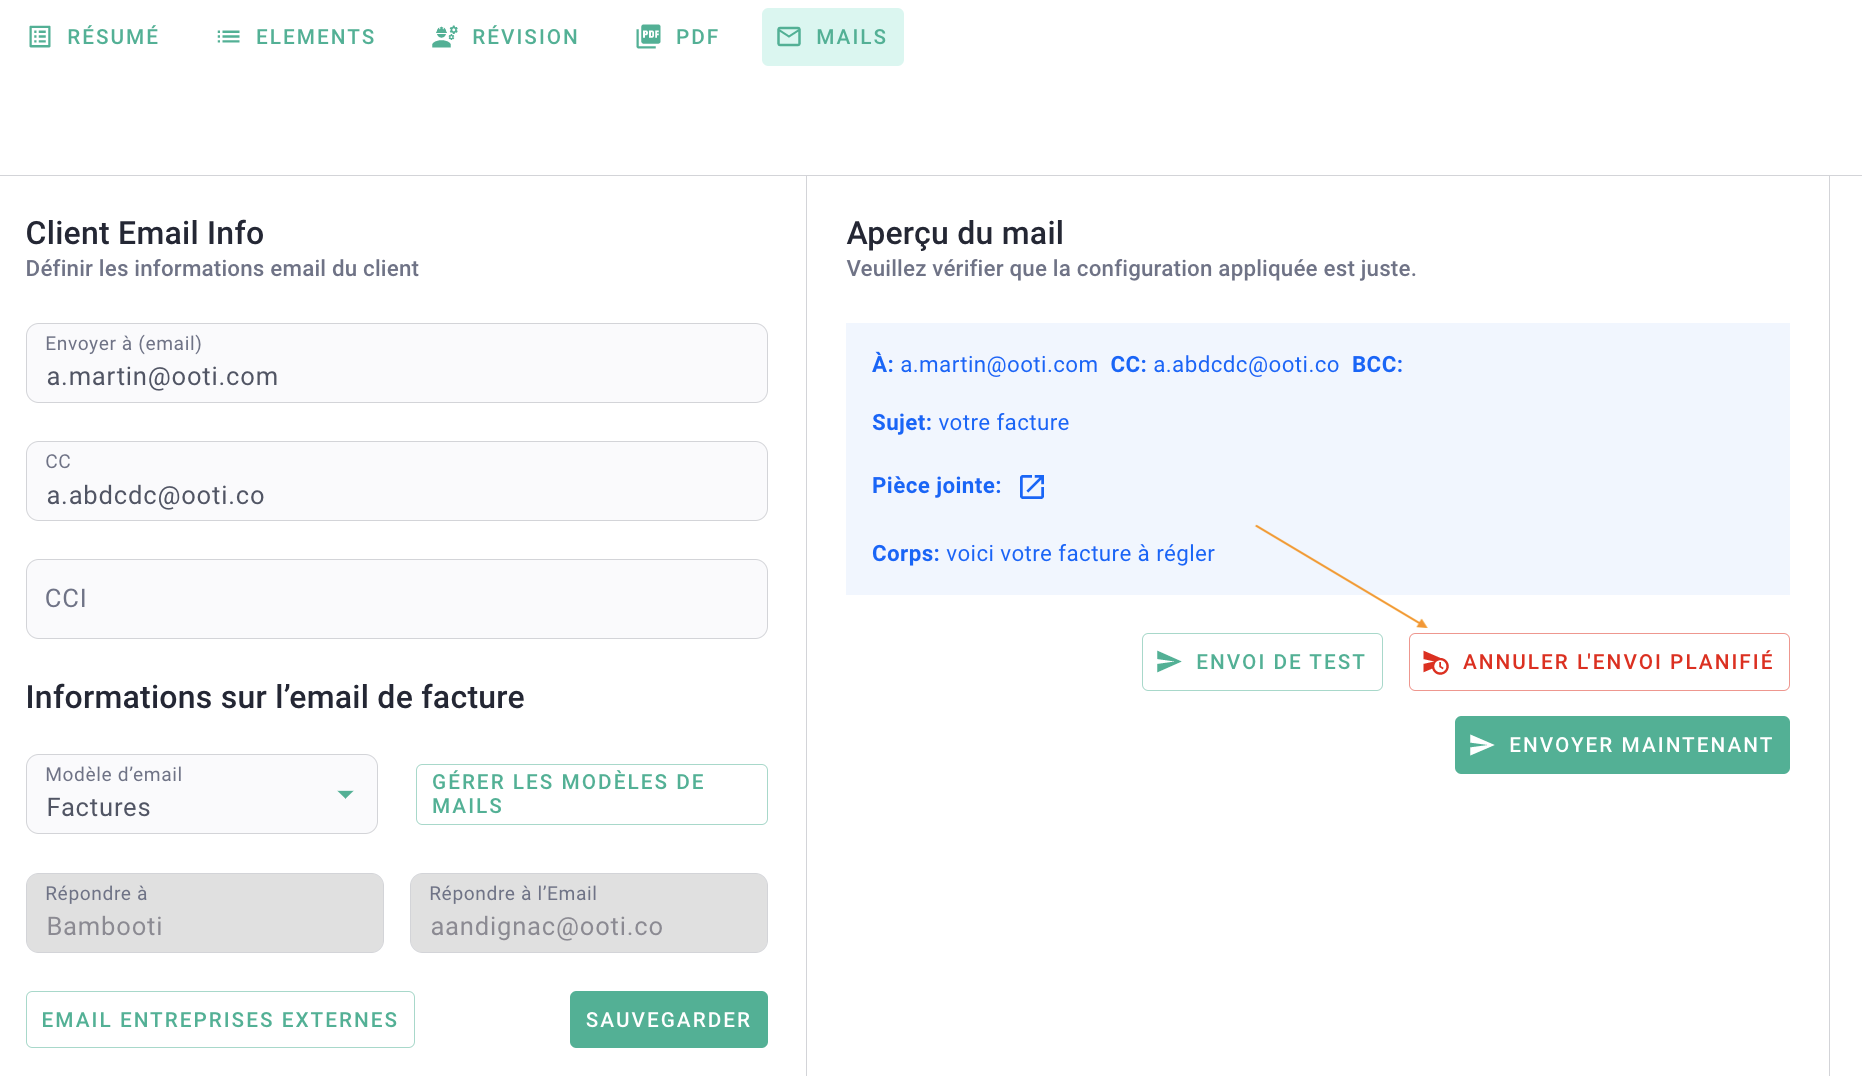
To remove the scheduling, click on the invoice, then on the red button Cancel scheduled sending.
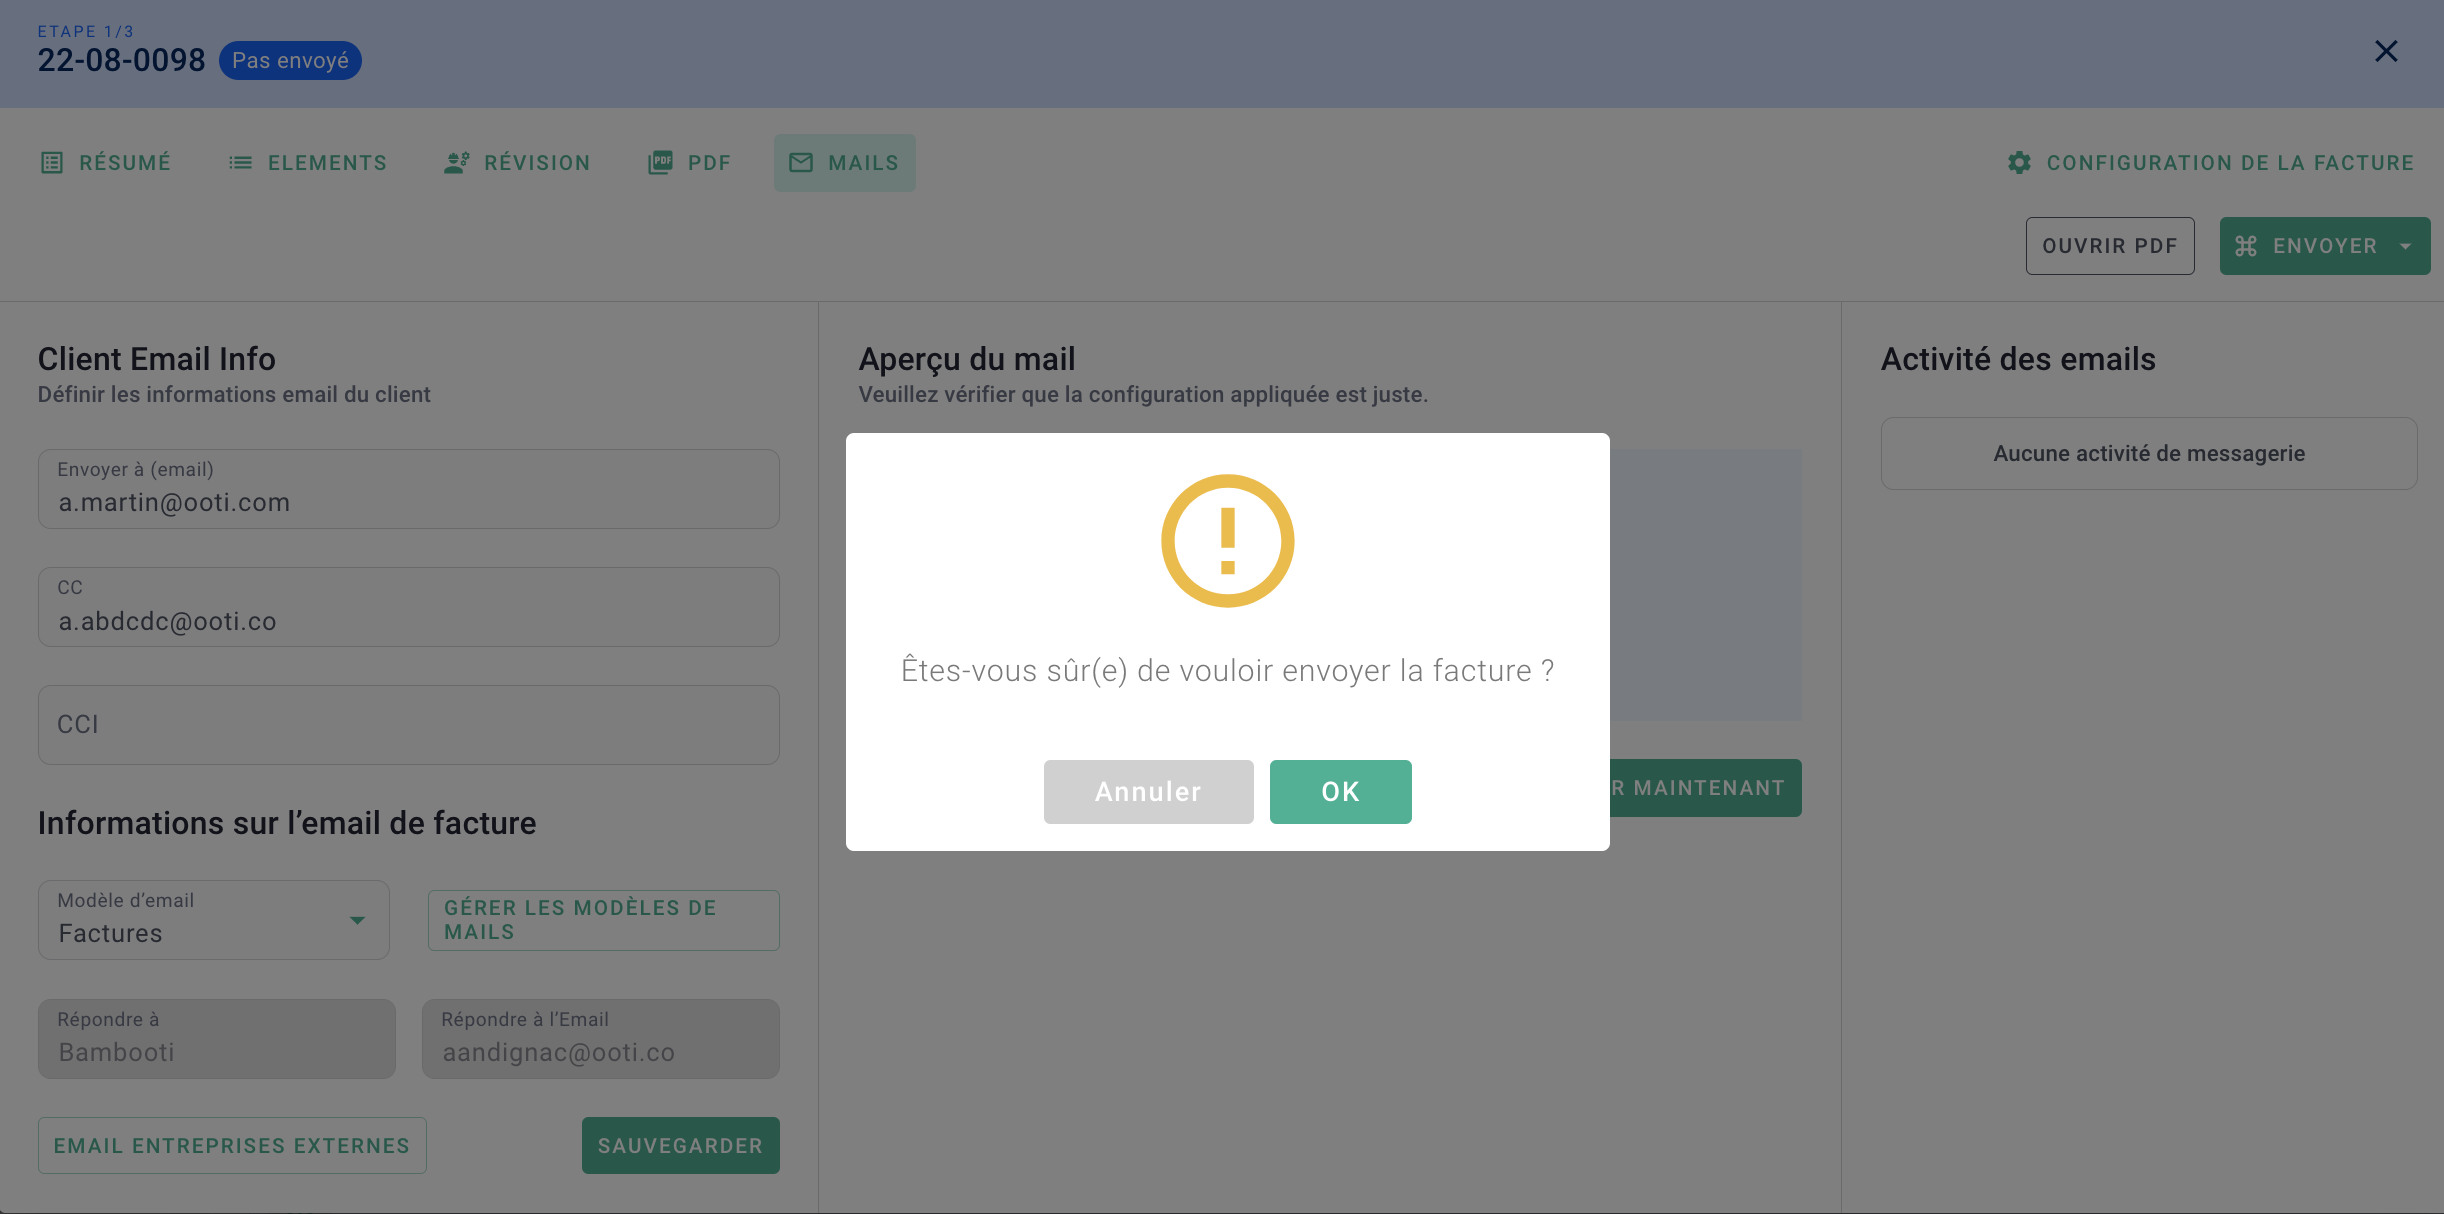
2) Send now
If you are ready to send the email to your client, click on Send now and then on OK.
Otherwise, you can do a final test by clicking on Test sending!
Your invoice has been sent!