When you create an invoice, the amount is recorded as revenue for the agency based on the date of issuance. However, there is an adjustment system that allows you to allocate the revenue to other accounting periods.
🔓 Required permissions
Team : View Invoices and Manage Invoices
Project : View Invoices and Manage Invoices
| Reading time | 3 min |
| Setup length | 3 min |
| Steps | 2 |
Summary
I/ Enable the adjustment module
II/ Perform an adjustment
I/ Enable the adjustment module
To enable this module, click on the gear icon in the top right corner > Modules on the left > Invoicing in the middle > check the box for Revenue adjustment enabled.
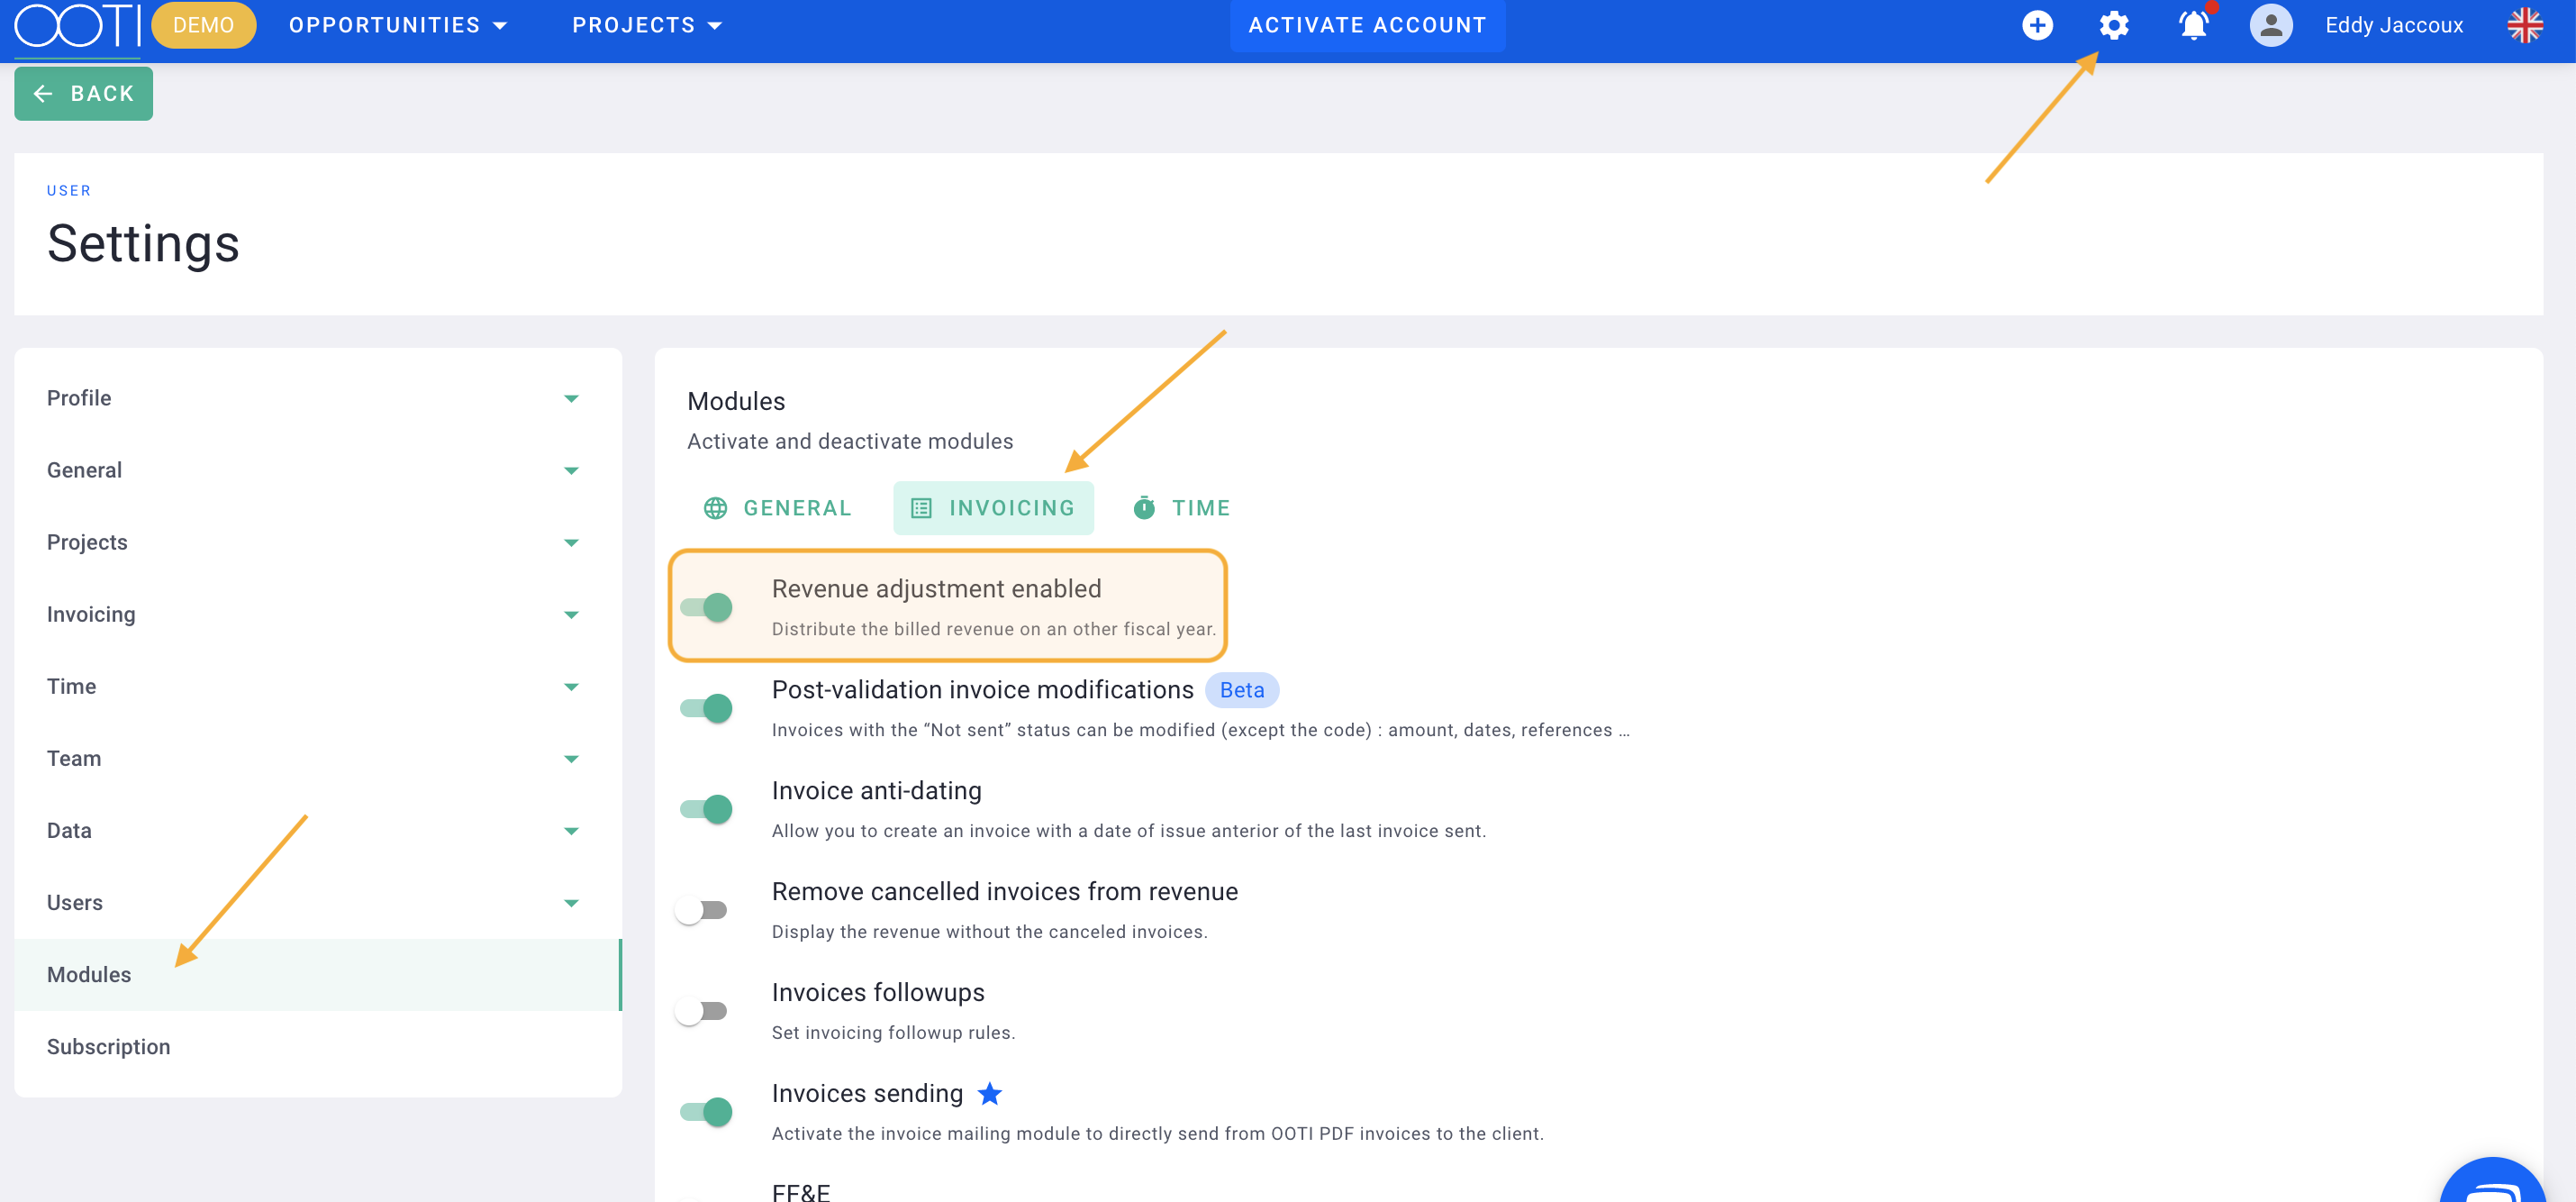
You're all set! 🎉
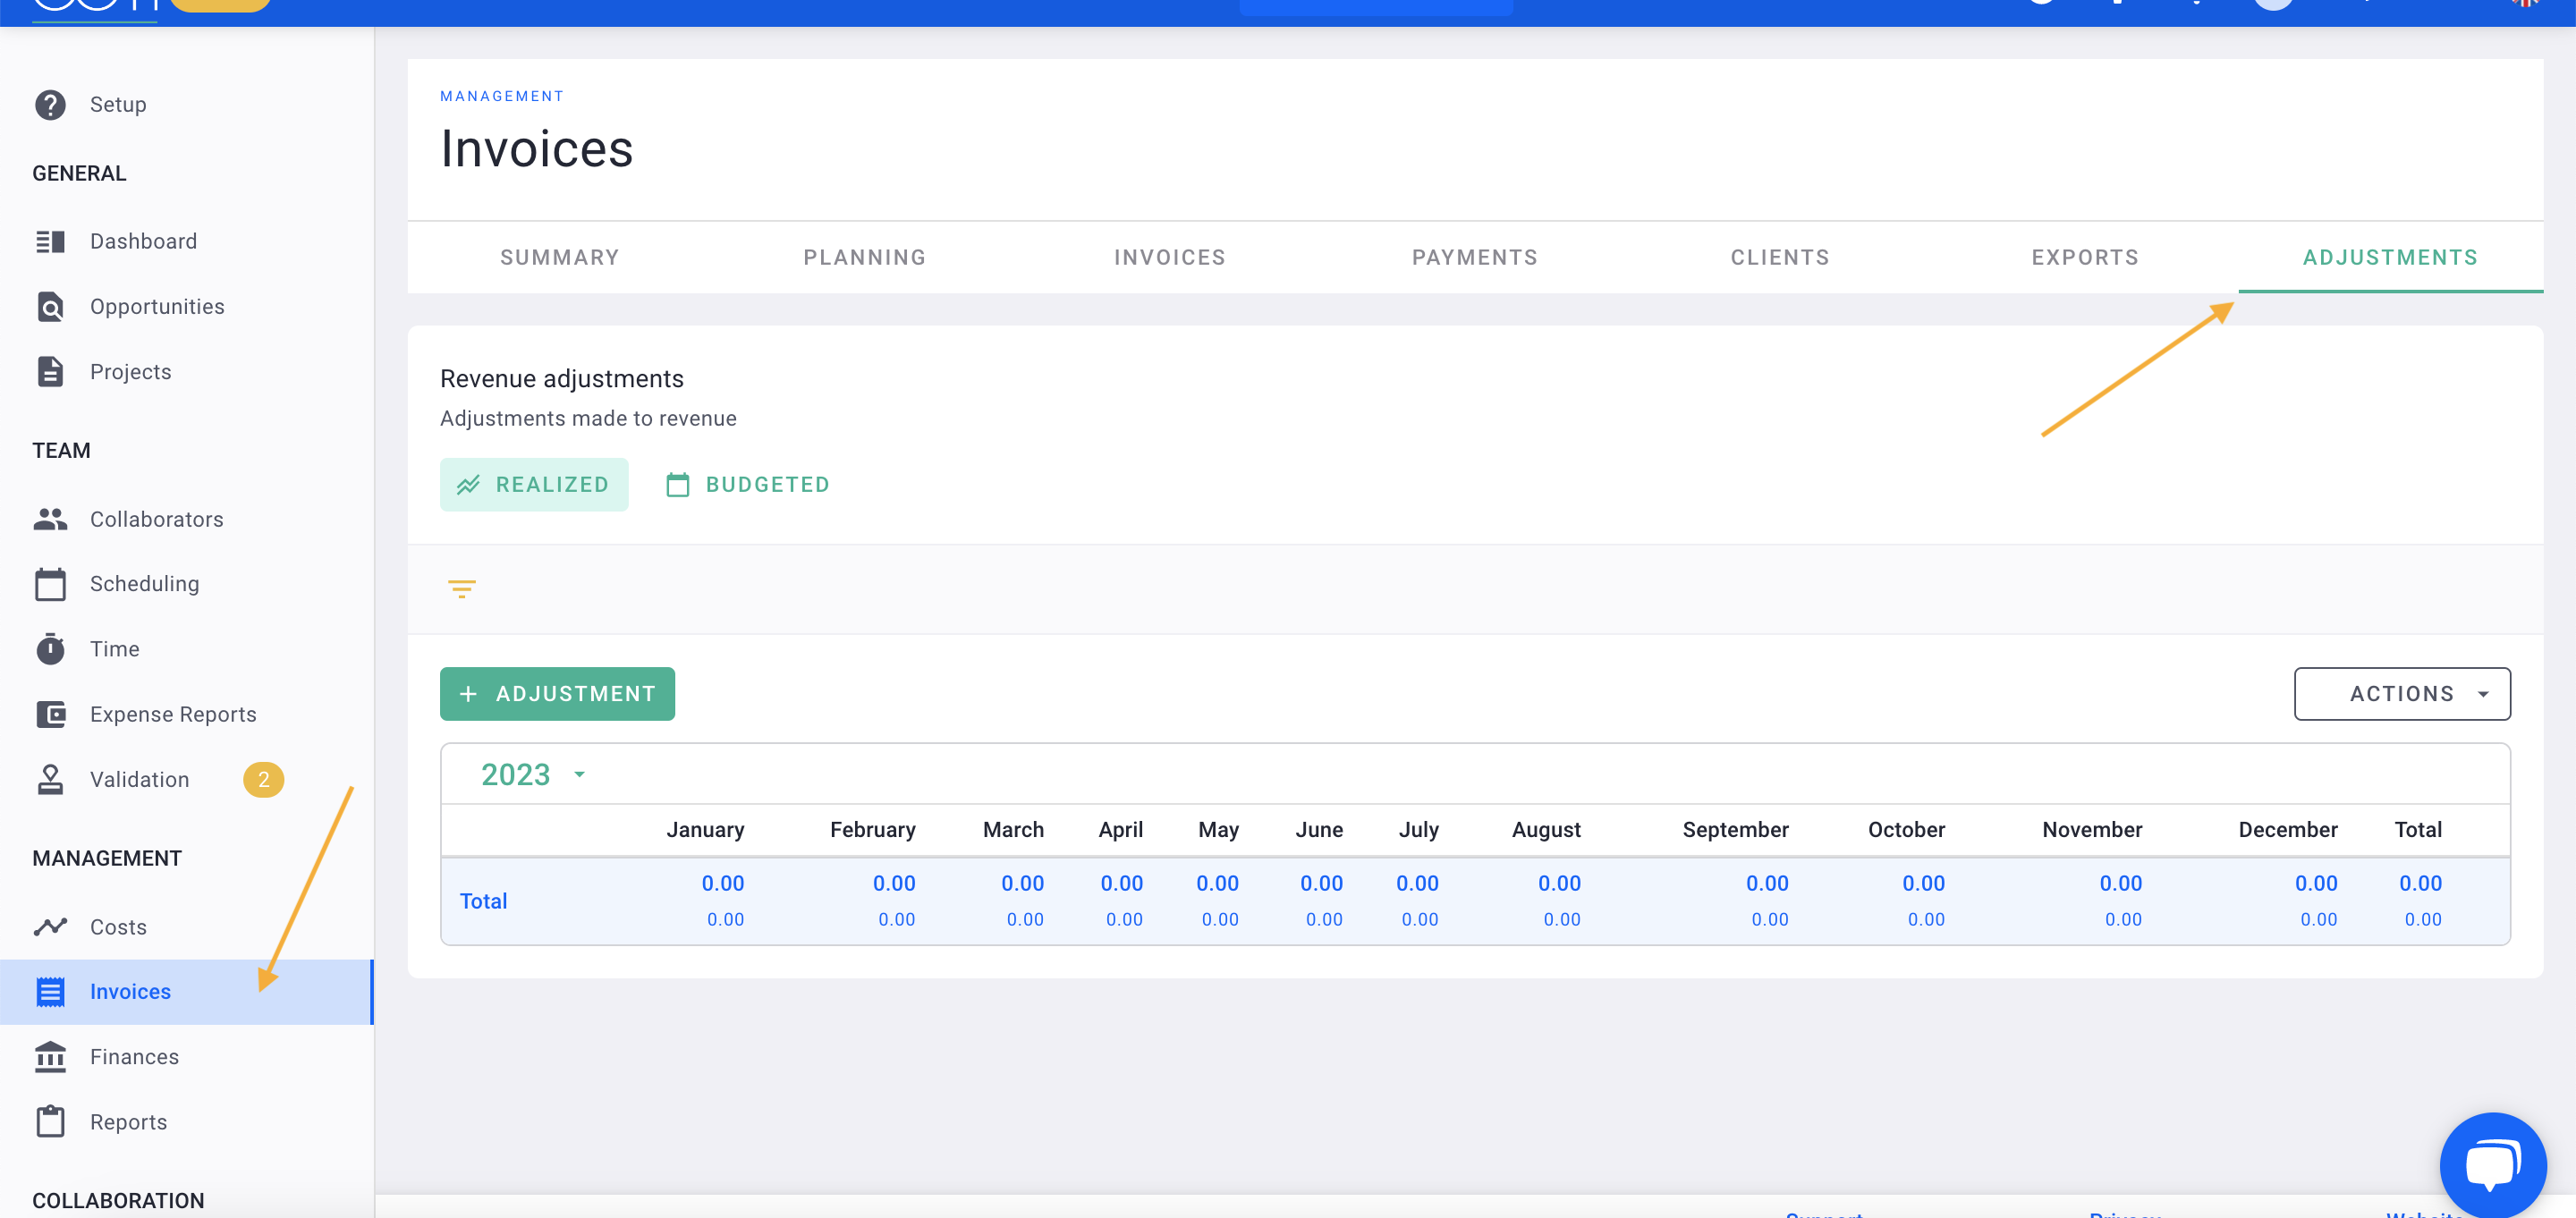
You will now see a new tab in the left menu Invoices called "Ajustements".
Go to the left menu, click on Invoices then select the Ajustements tab.
You can make adjustments to the actual revenue in the Realized tab or to the forecasted revenue in the Budgeted tab.
Select the accounting period, in this case, the period will be from January to December 2022.
For example, if you invoice 1,000€ in February 2022 for a service that was performed in 2021, click on the green button + Ajustement.
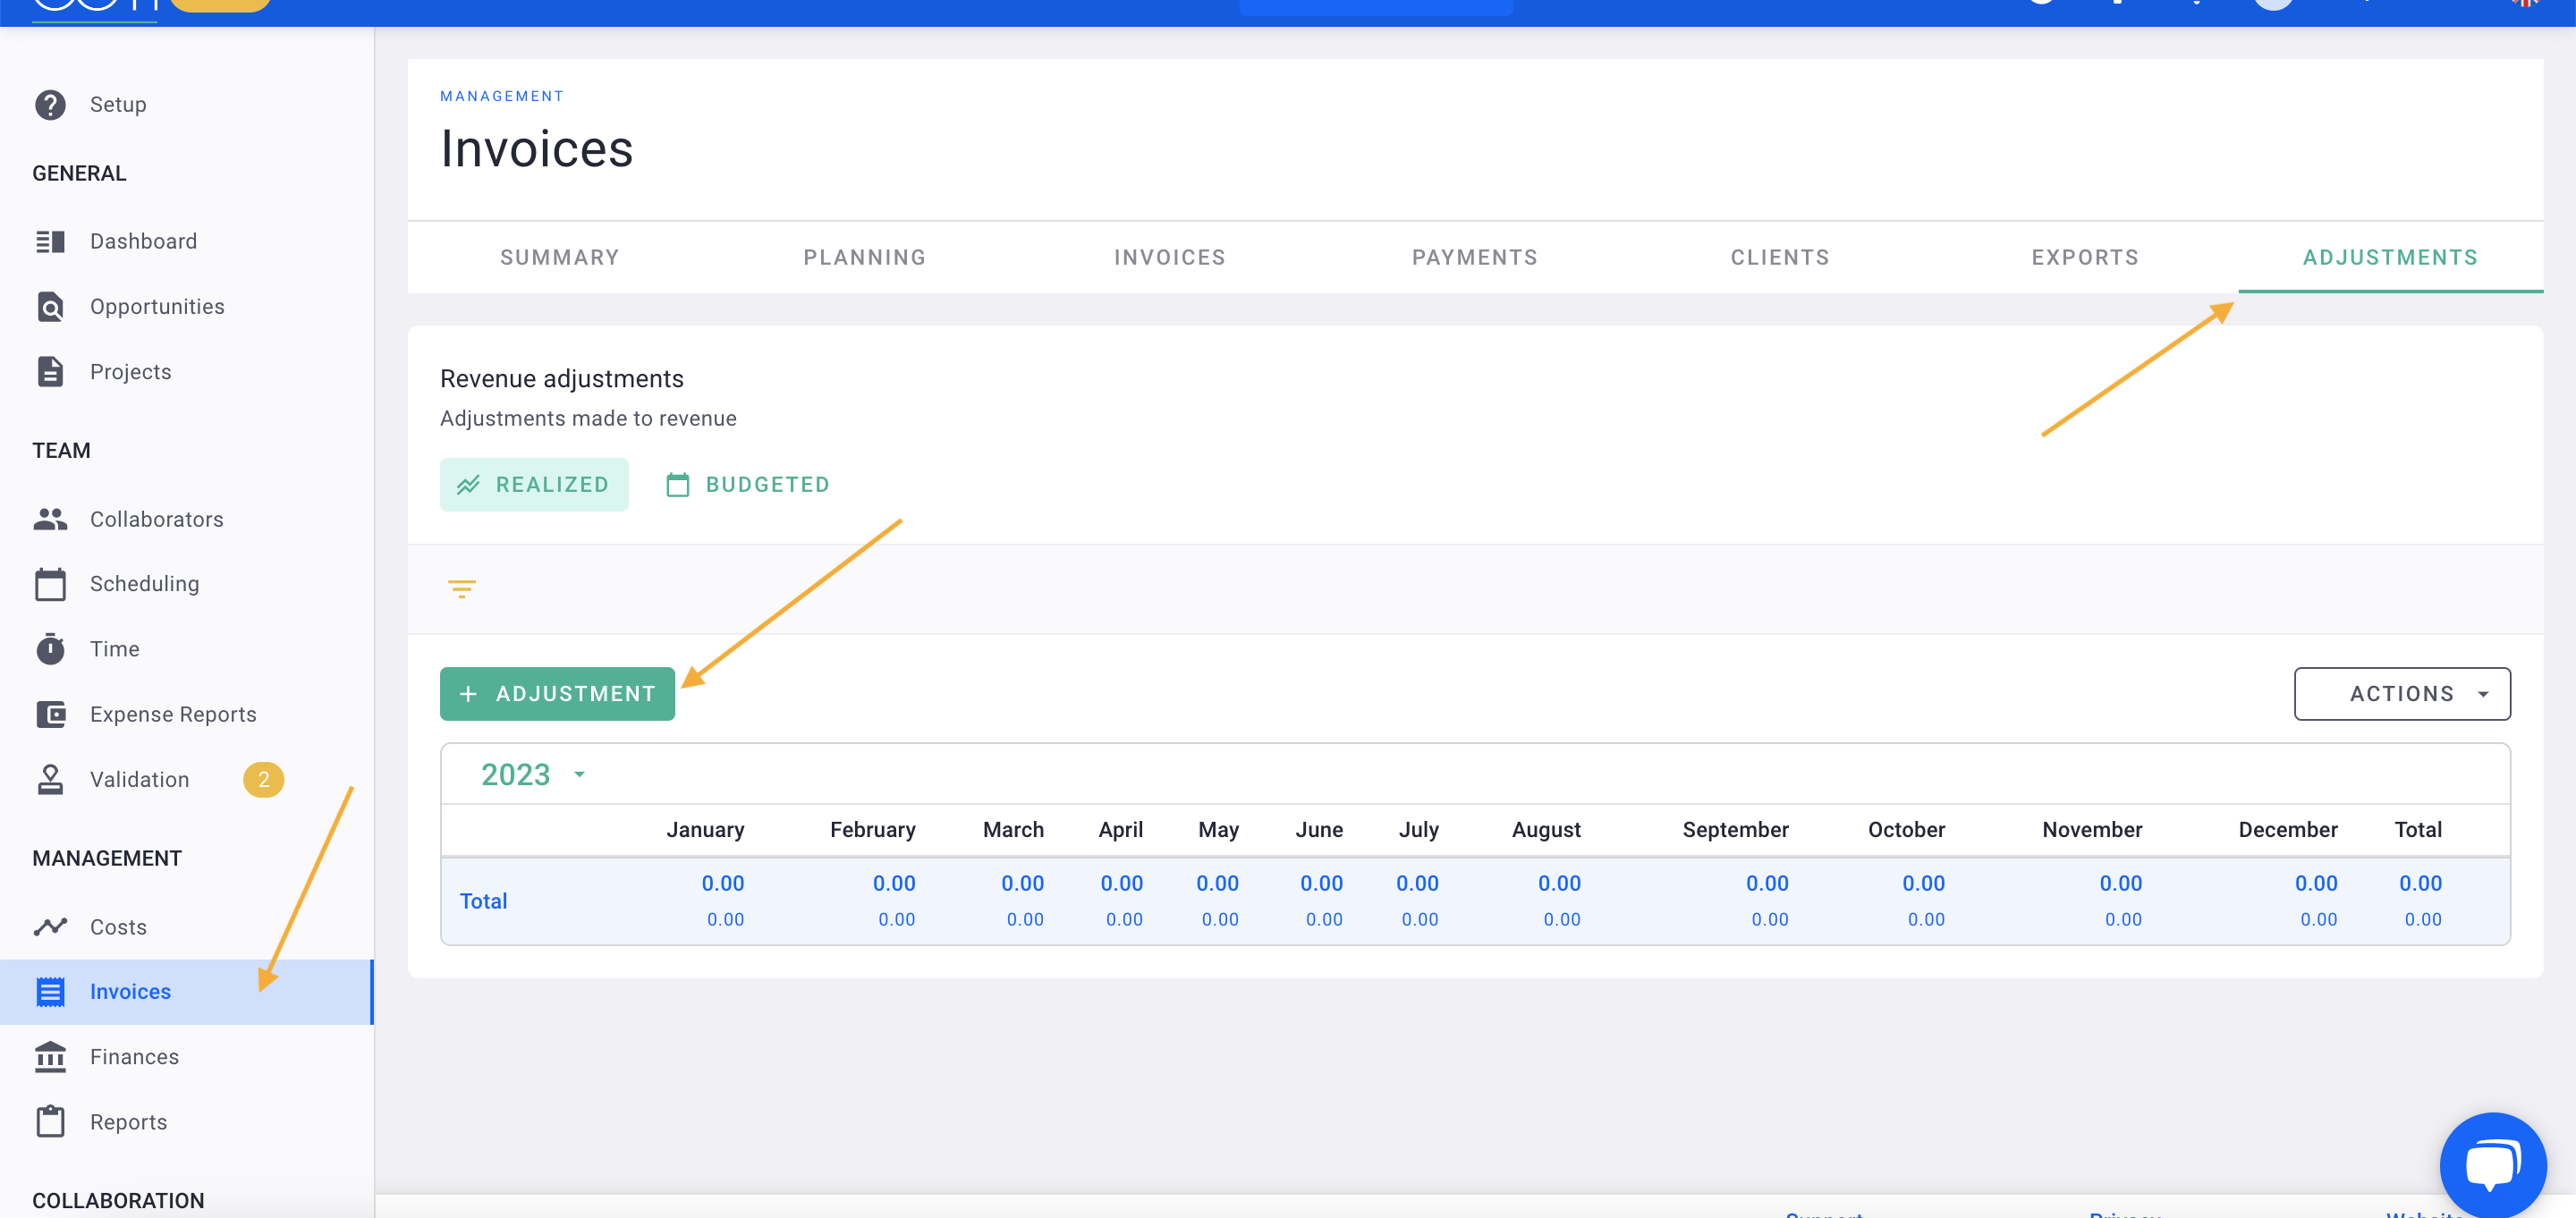
Name this adjustment and then Save.
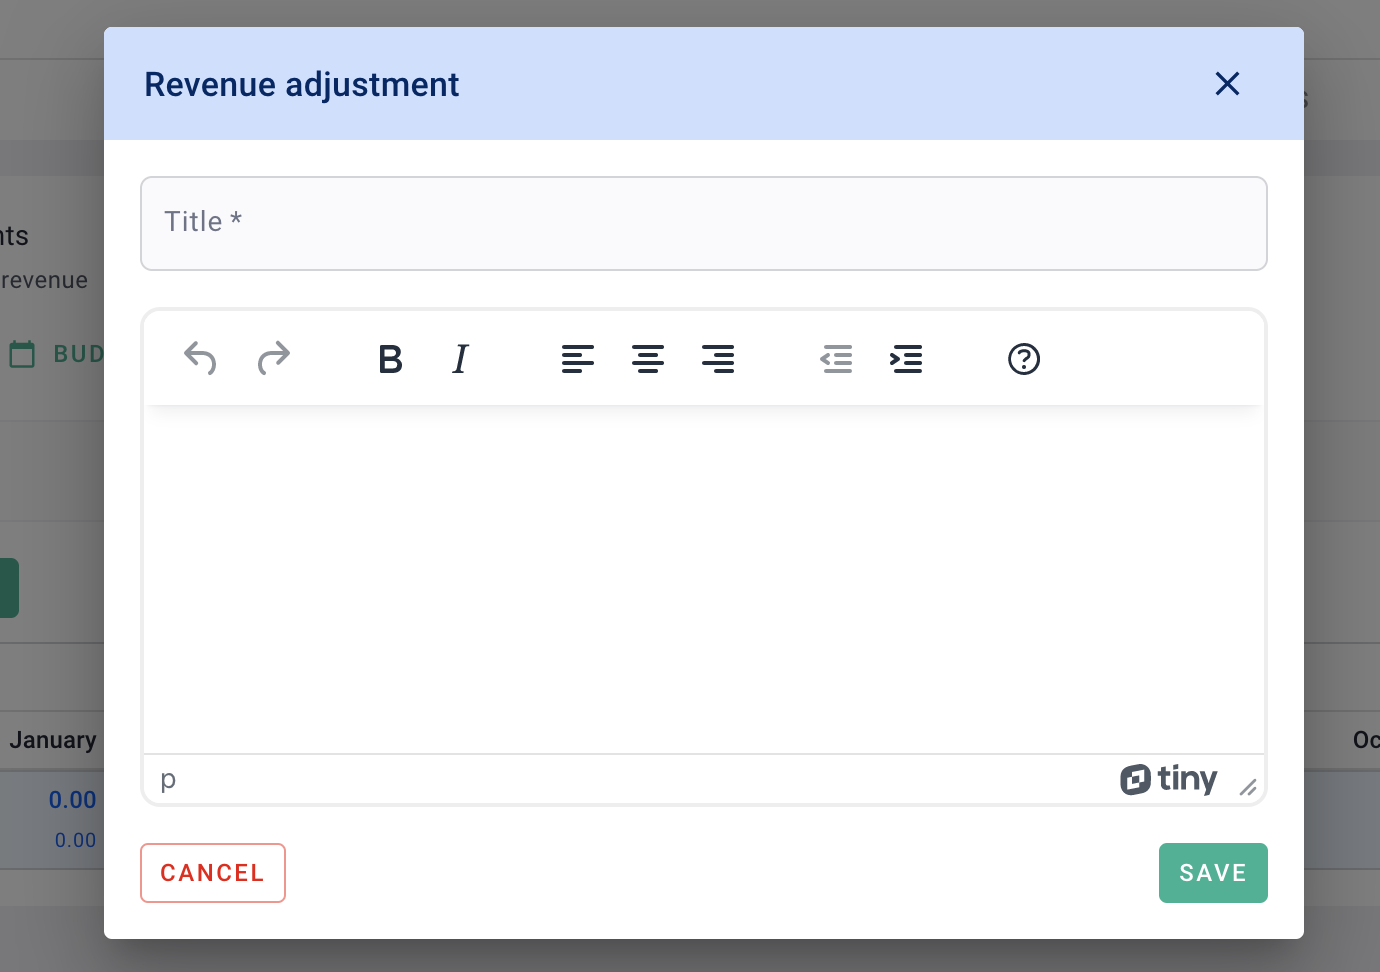
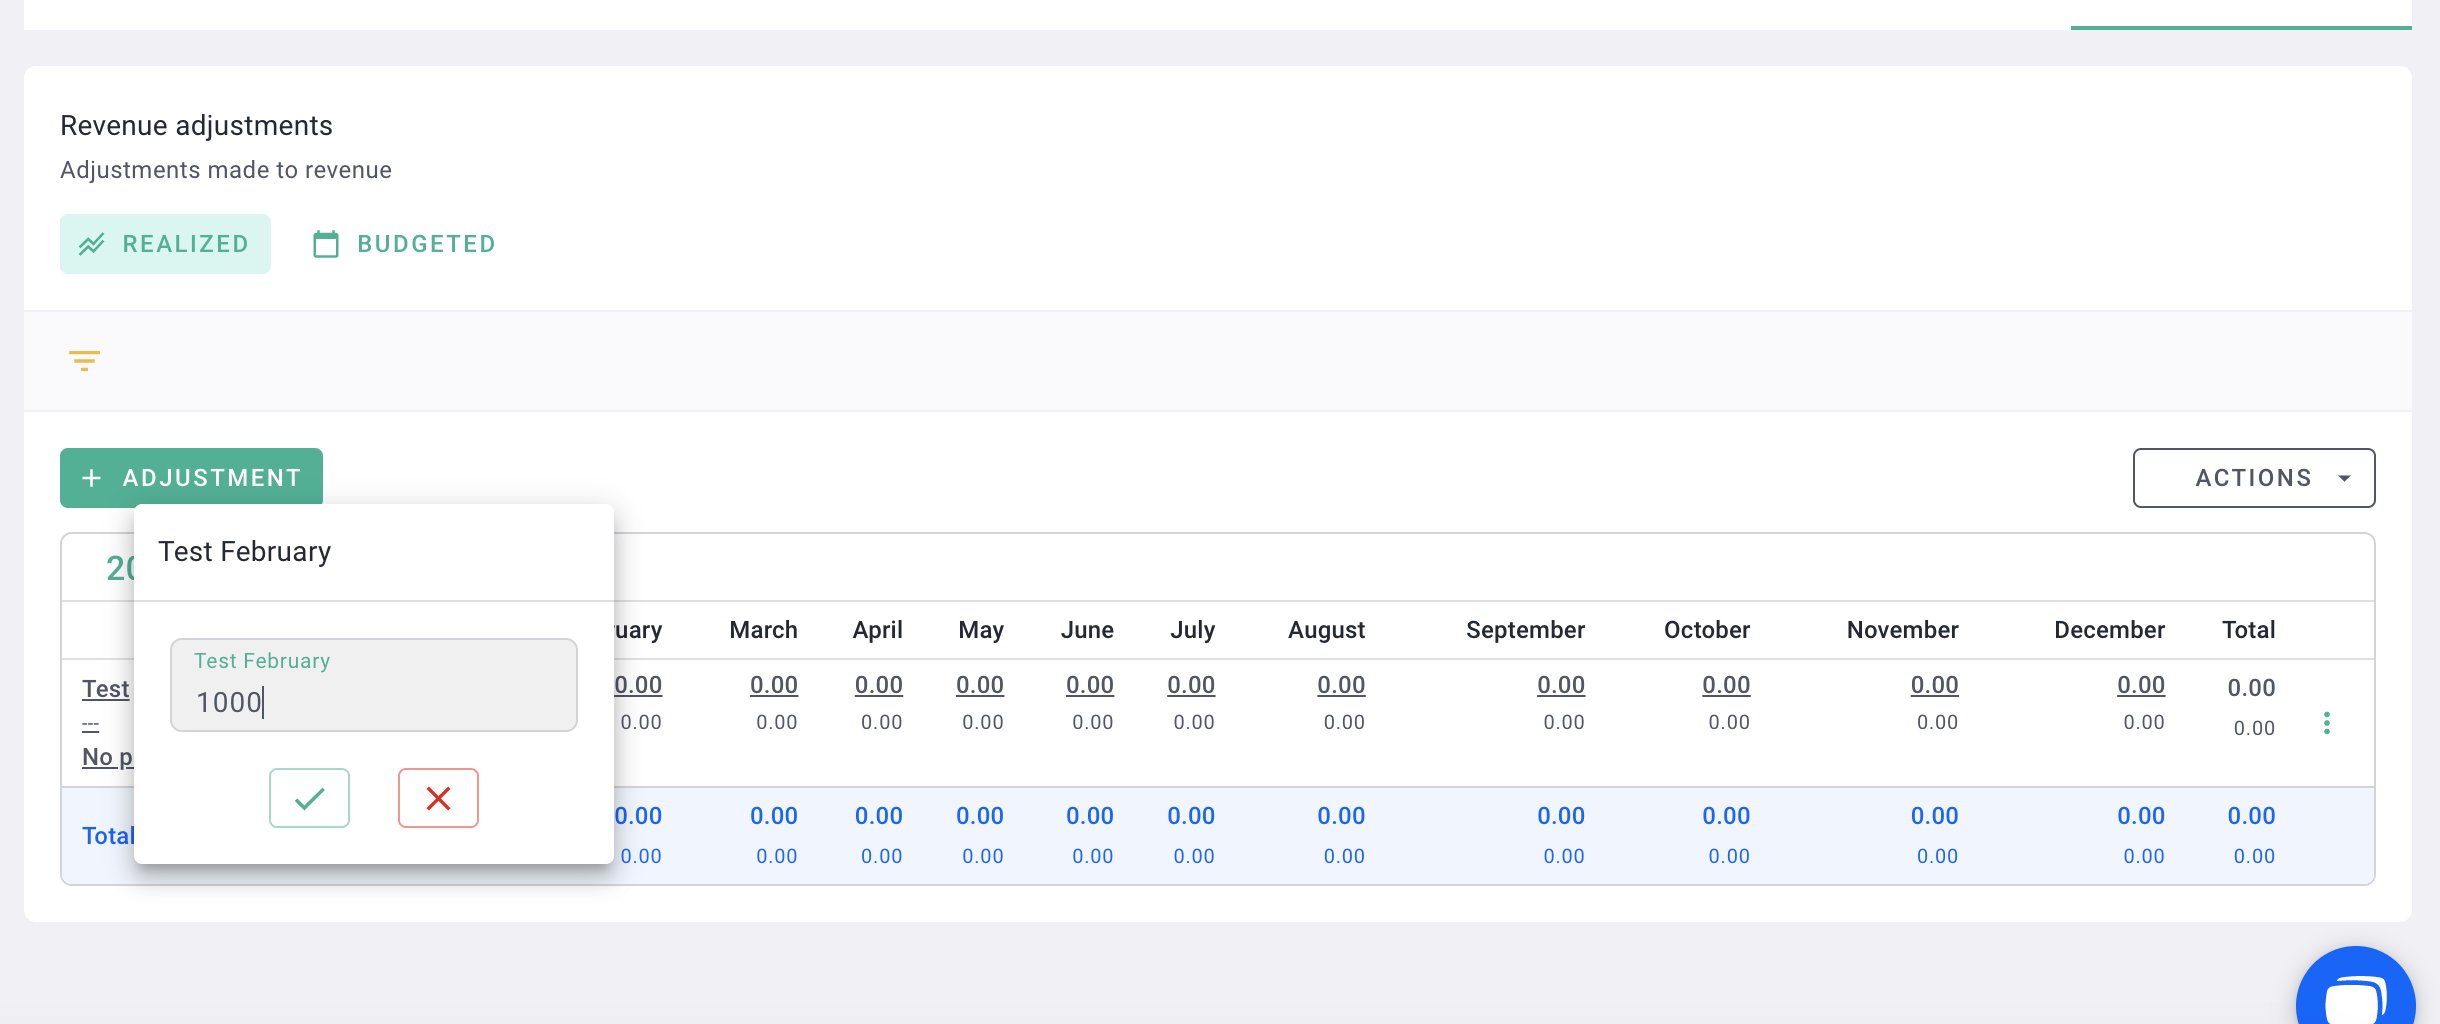
You indicate the amount to add / deduct from your revenue. You can:
-
Apply it to a specific month or
-
Select a project, which will add / deduct it from the project's revenue.
Here, we are deducting 1,000€ from the 2022 revenue, so we will enter -1,000€.
Then, repeat the same adjustment but for the year 2021.
Switch to the year 2021. Click on the green + Adjustments button and enter the correct amount. Here, we are adding 1,000€ to the revenue of the year 2021.
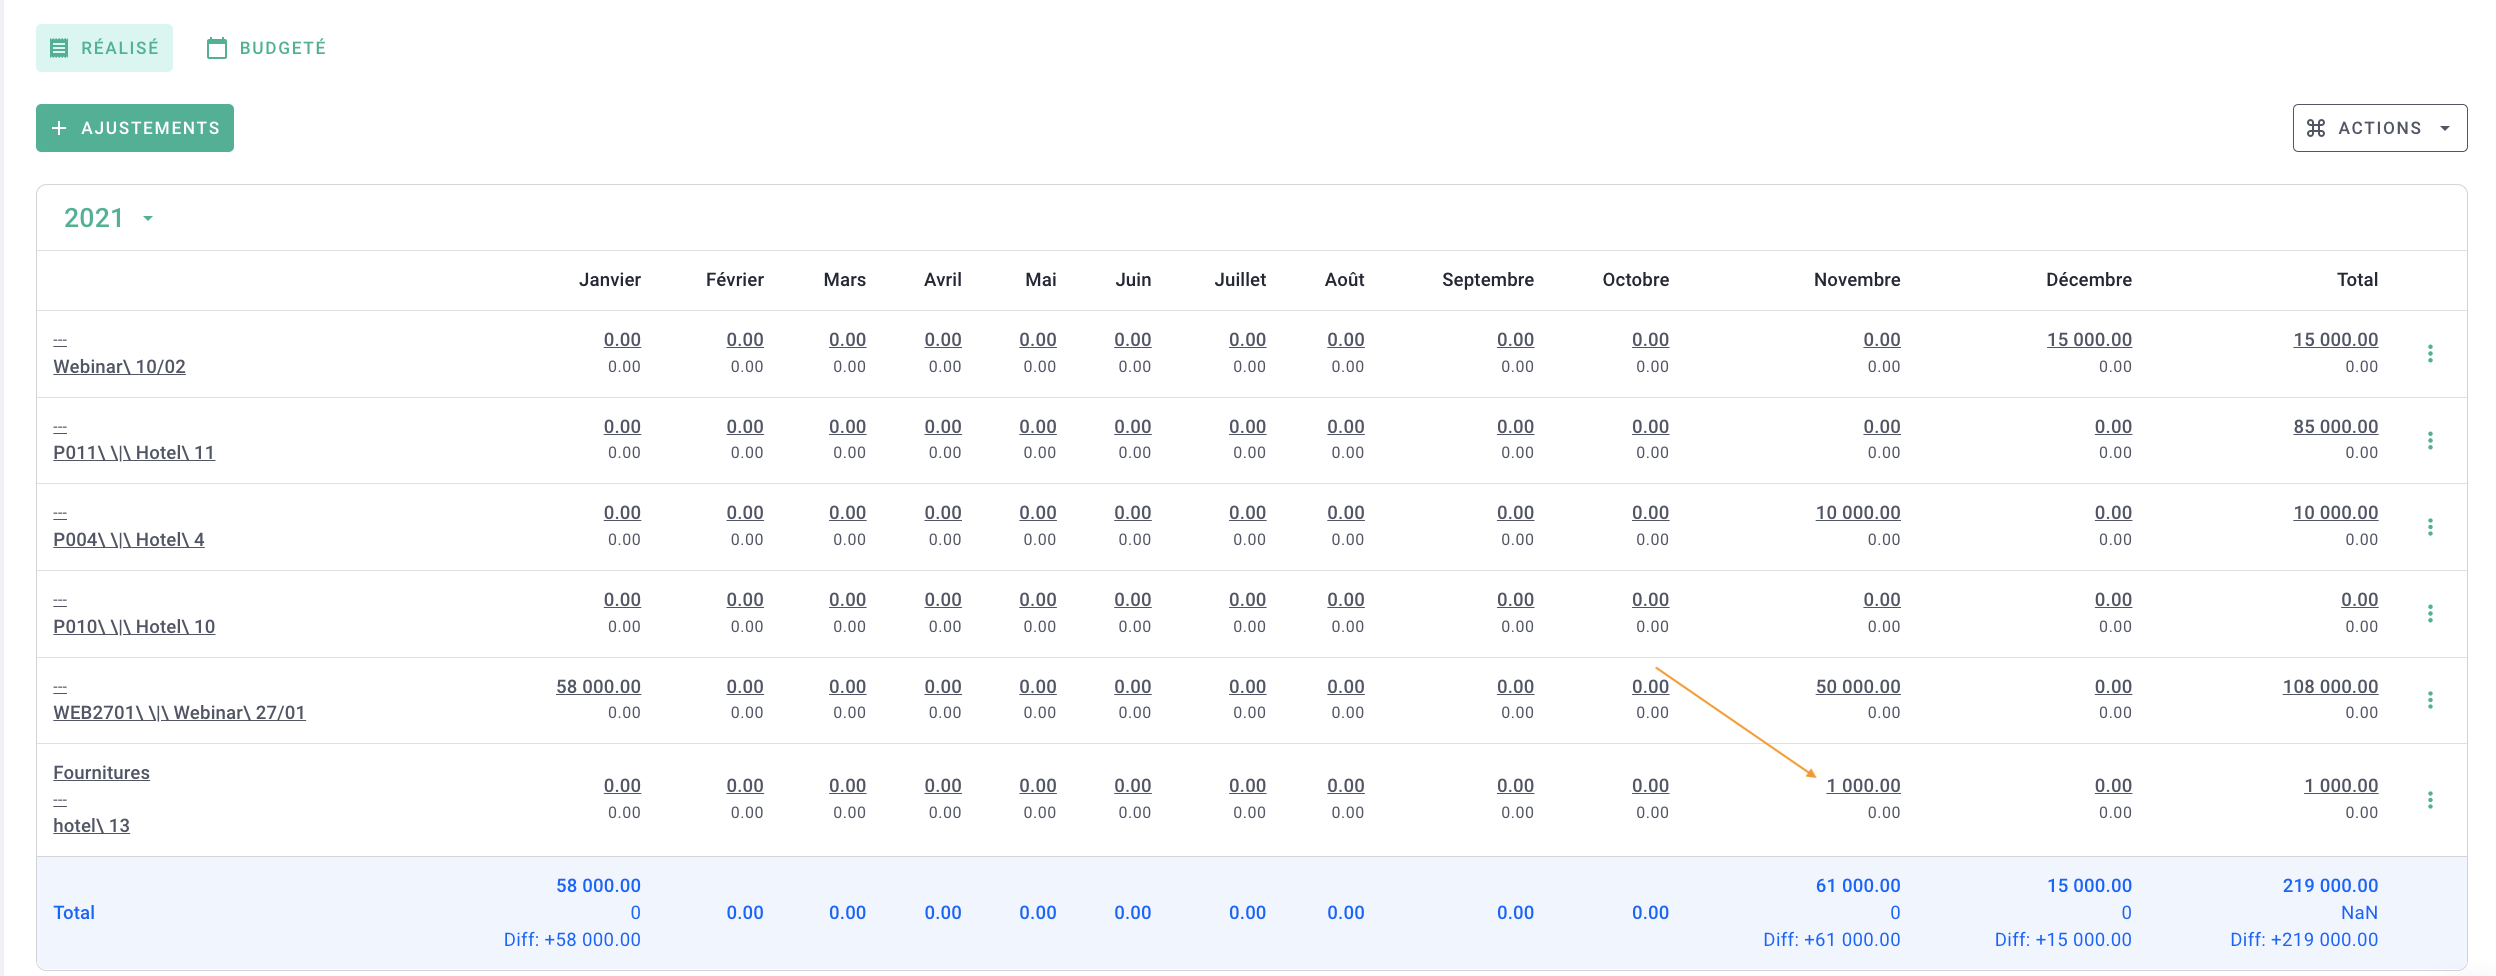
You have made revenue adjustments successfully!
You can track these adjustments in the Planning tab under the "No project" row if the adjustment is not linked to a specific project.

You can also find the revenue adjustments reflected in the Finances menu, on the Revenue tab.

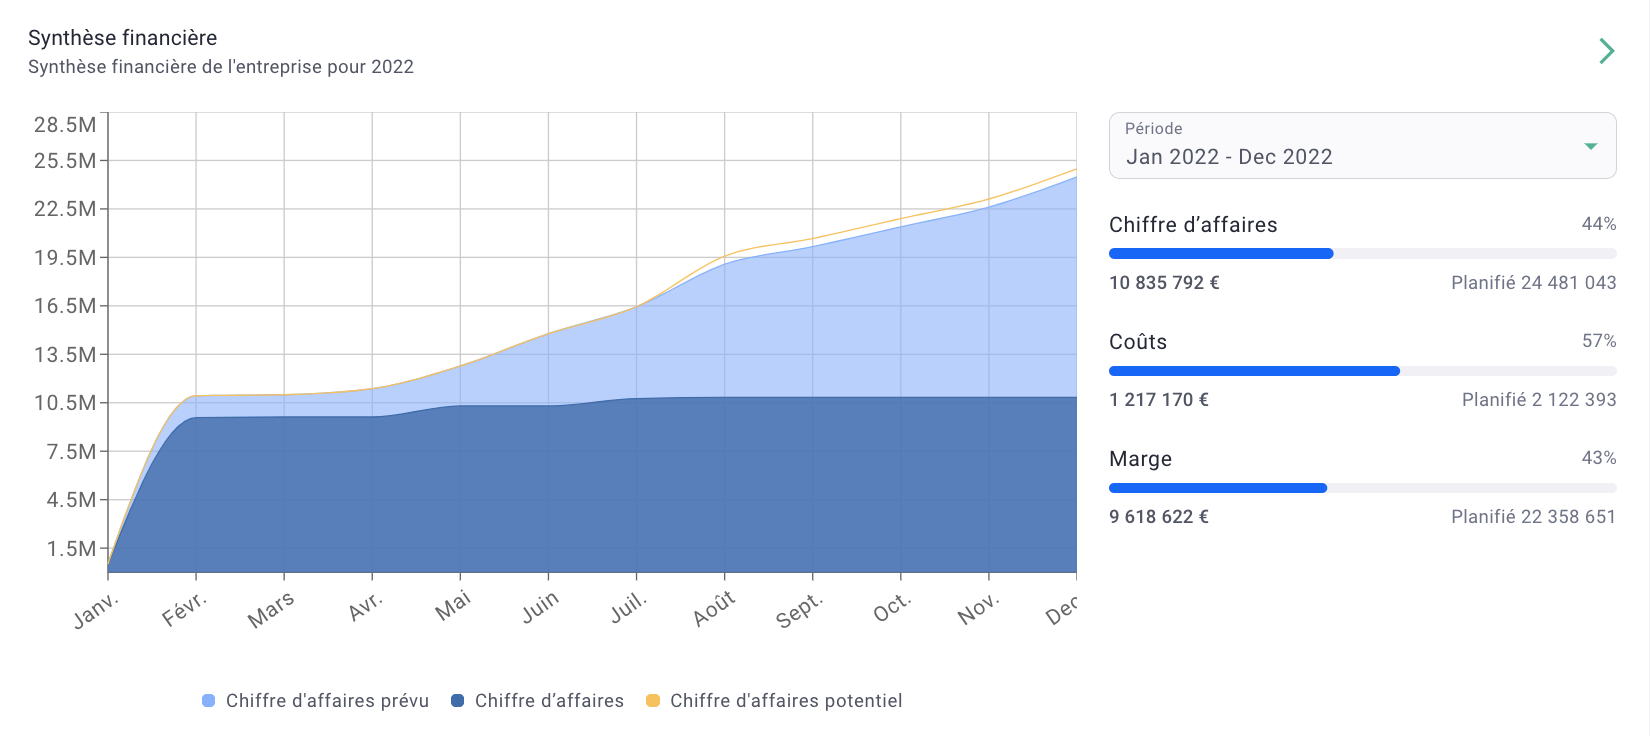
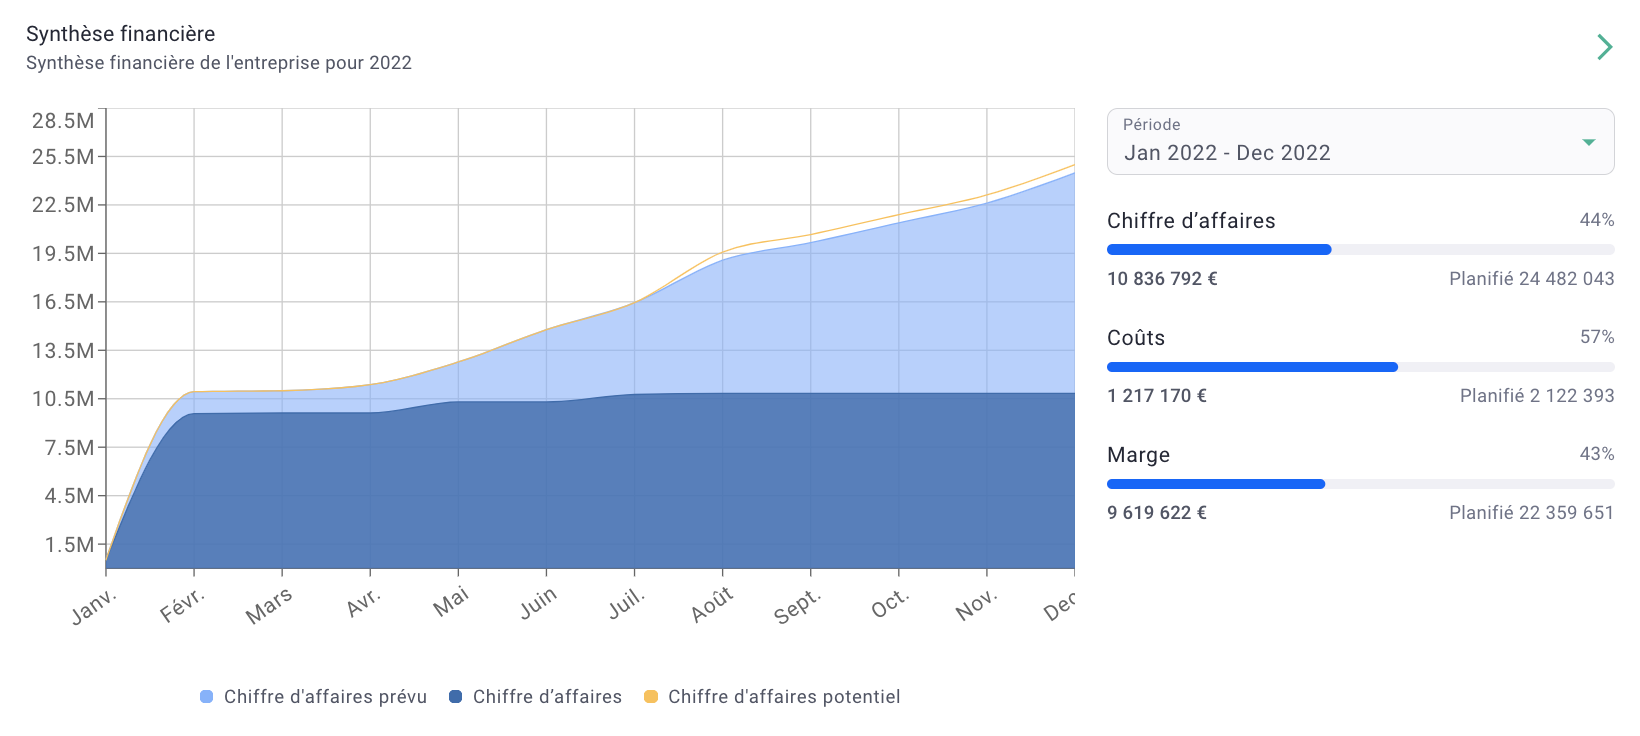
And on the Dashboard :
-
before adjustment
-
after adjustment
