
Send your invoices from OOTI using your own email and domain by setting up SMTP with OVH.
✅ Activating SMTP allows you to send emails from OOTI using your own email address instead of a generic OOTI address like noreply@ooti.co .
🔓 Required permissions
Super Admin
| Reading time | 5 min |
| Setup length | 5 min |
| Steps | 3 |
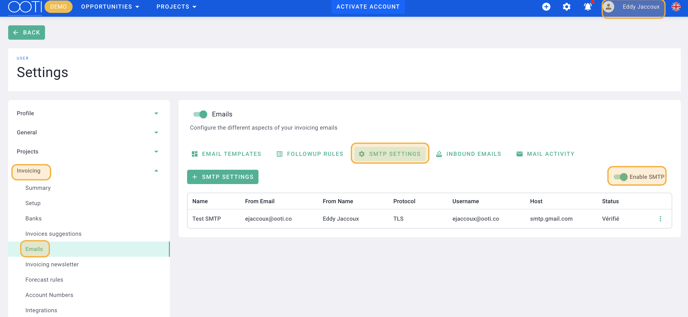
Click on your First name at the top right corner.
Go to "Settings" > "Invoicing" on the left-hand side.
Click on "Emails" > "SMTP Settings" tab.
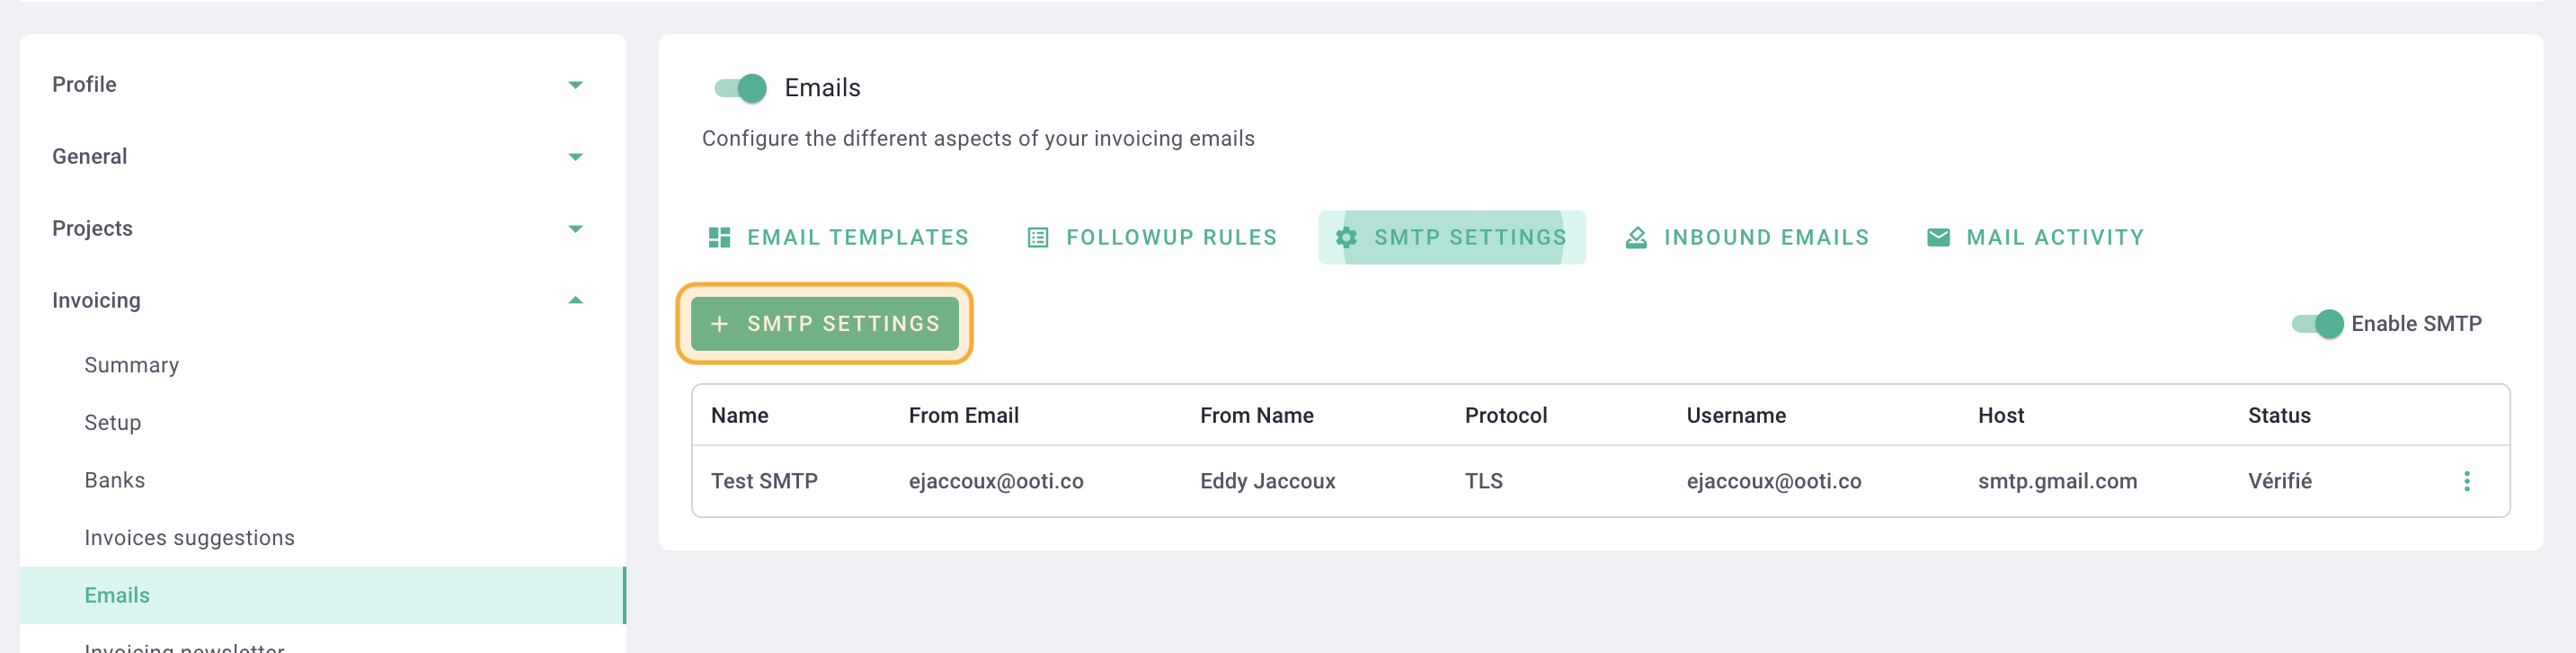
Enable SMTP by clicking on the toggle button.
Click on "+ Add SMTP Settings."
Fill out the form (information valid for OVH):
Name: Title of the parameter for internal reference (not visible in the email).
Sent by (name): Title/name of the sender (visible in the email).
Sent by (email): Sender's email address (visible in the email).
User name: Your email address (must be the e-mail address of an active license on your account).
Password: Your password.
Protocol: TLS.
Host: ssl0.ovh.net
Port: 587.
Click on Save.

Next, click on the options "..." and select "Verify settings."
After a few minutes, the status should change to "Verified."
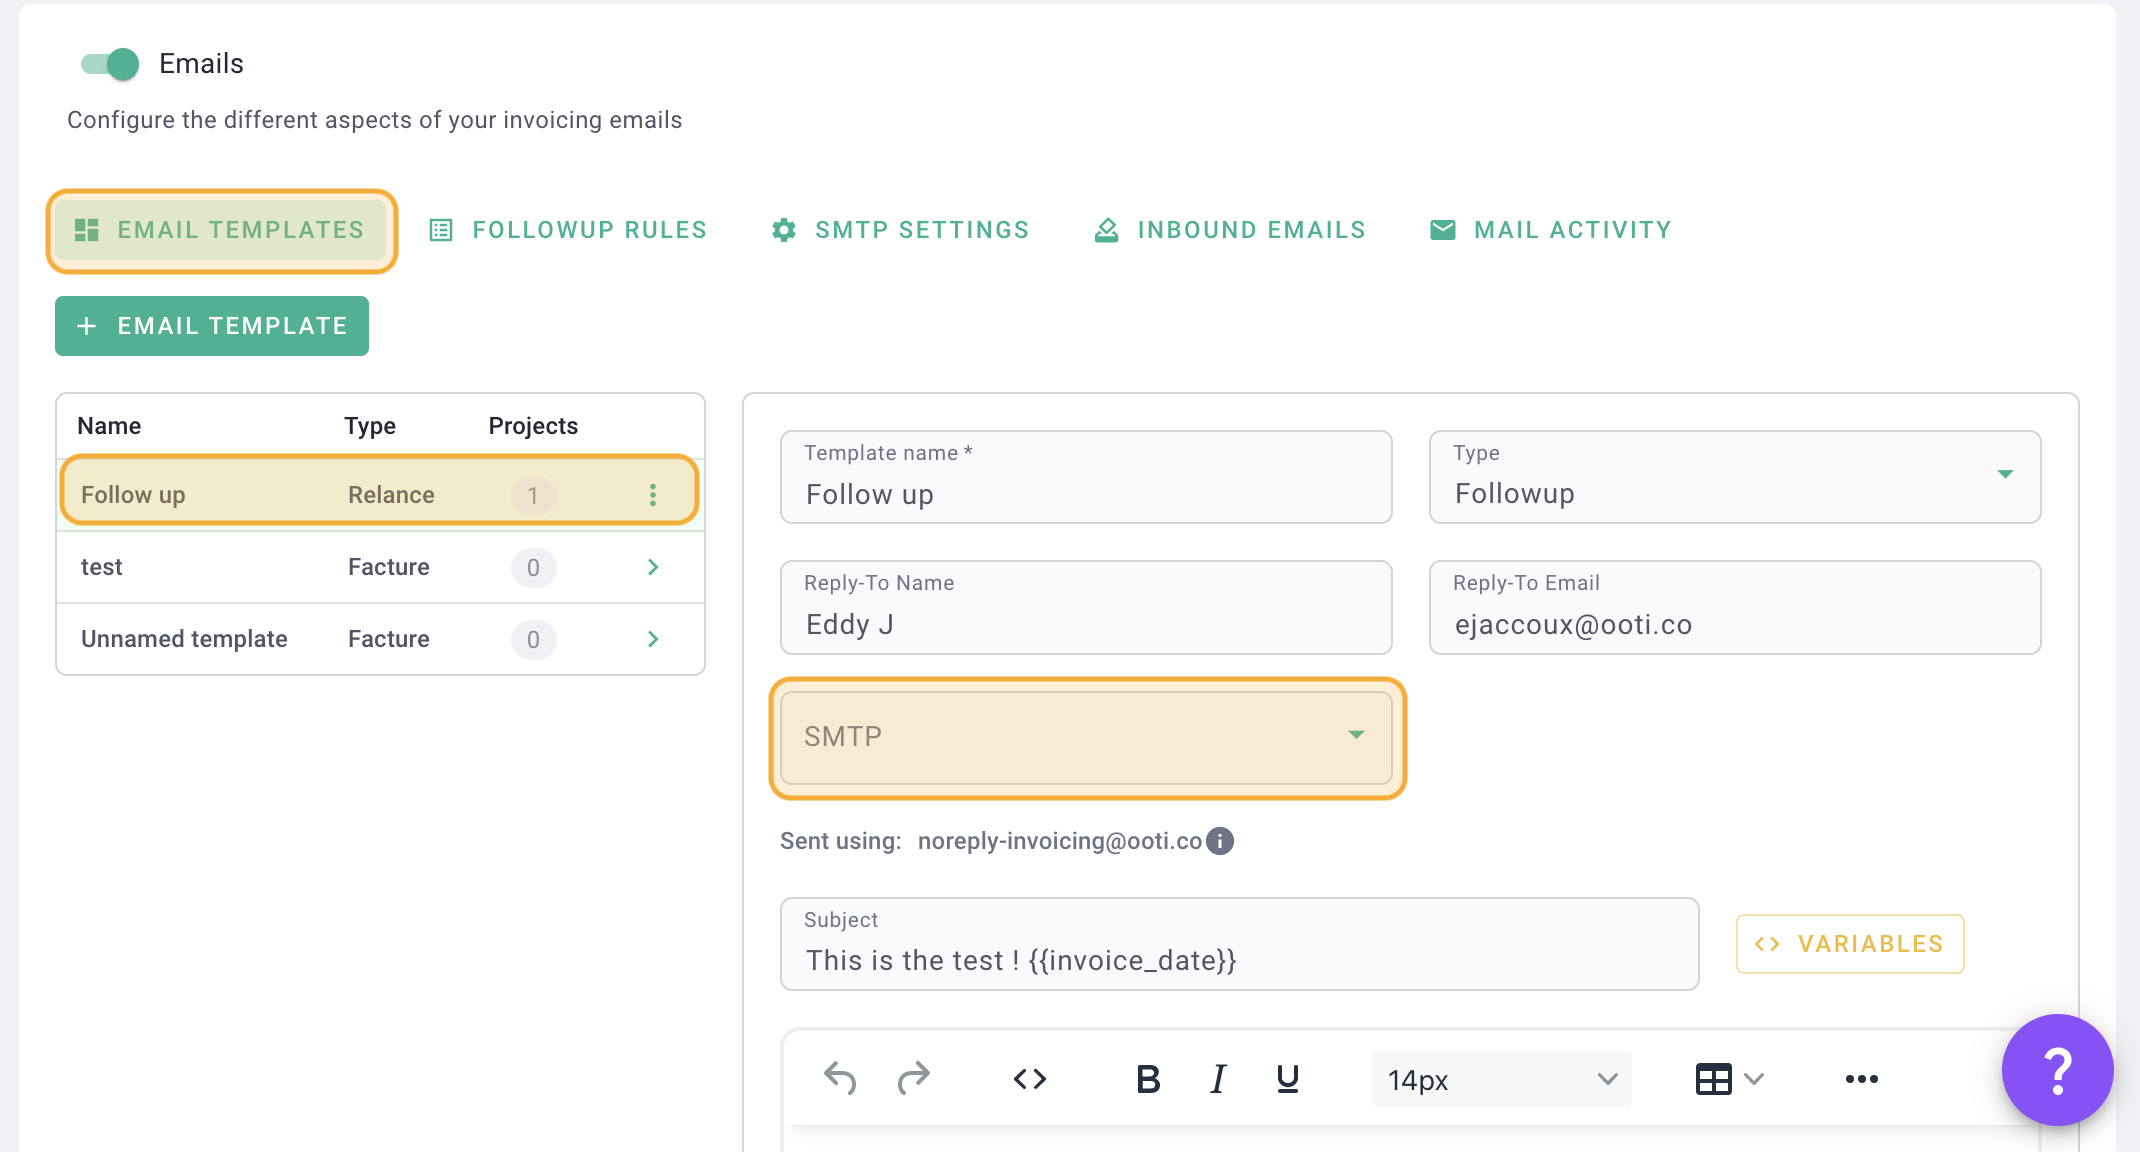
Don't forget to assign the SMTP mail in the "Email Templates" tab. Click on a template, and in the "SMTP" field, select the one you just created.
Now you can send your emails (invoices, subcontractors' certificates, and reminders) from OOTI using your email! 🎉
Configure multiple SMTPs if you want the sending mailbox to be different for different templates. For example, you can have one address for sending invoices and another for reminders.