
Style guide, numbering, accounting year, project invoicing history... Follow all the steps to configure invoicing and manage your invoices with OOTI.
🔓 Required permissions
Team : View Invoices and Manage Invoices
Project : View Invoices and Manage Invoices
| Reading time | 10 minute |
| Setup length | 15 minute |
| Steps | 5 |
Summary
I/ Invoicing history
II/ Style guide
III/ Bank details
IV/ Invoice numbering/code
V/ Invoicing lock
I/ Invoicing history
The projects you have added on OOTI have likely had past invoicing. Easily and quickly recover the invoicing history of your projects, phase by phase.
💡 Click here to read the article on recovering past invoicing using the historical module.
Rest assured, it's simple. You won't have to recreate all your invoices. 😇
II/ Style guide
Configure the corporate identity by adding your logo and customising certain elements.
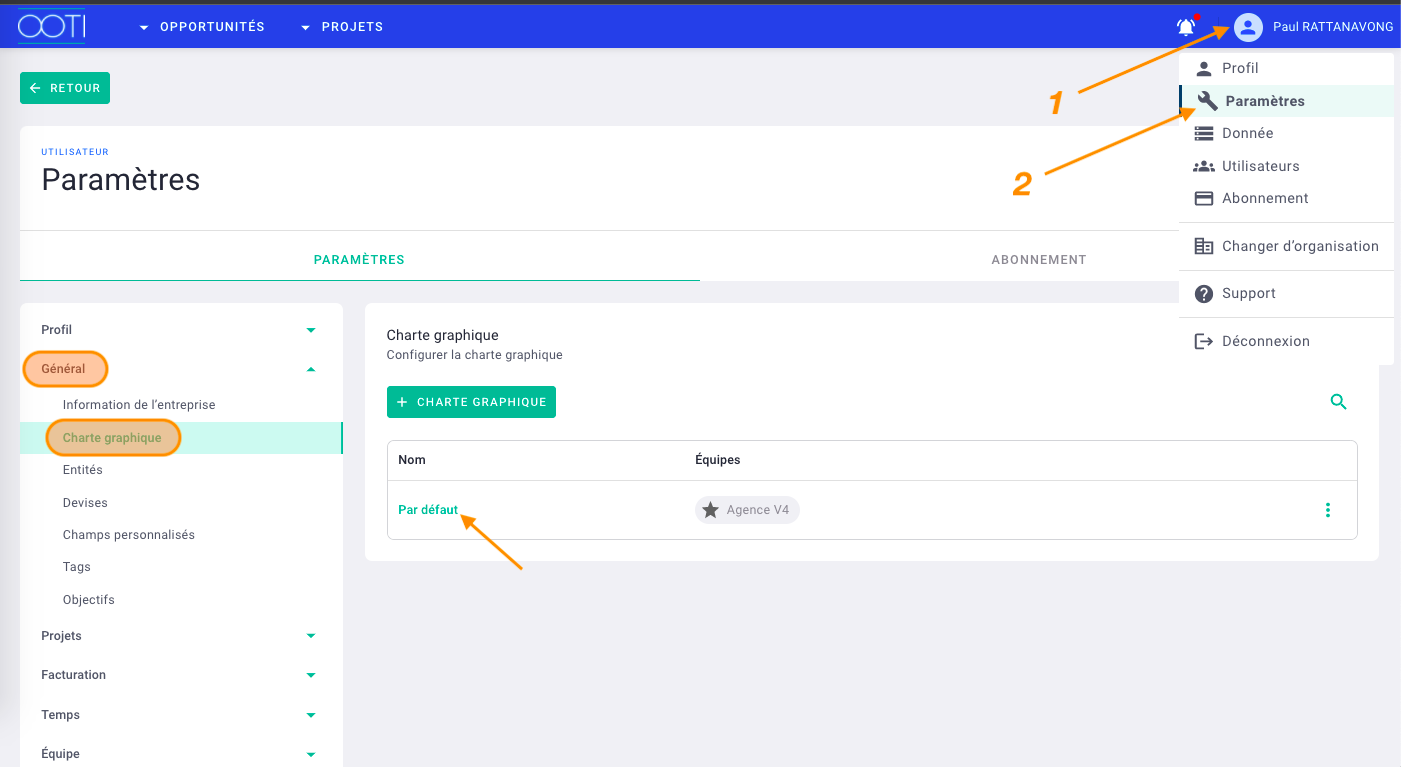
Click on your First Name in the top right corner > Settings > General > Style guide on the left, then click on the "Par défaut" style guide.
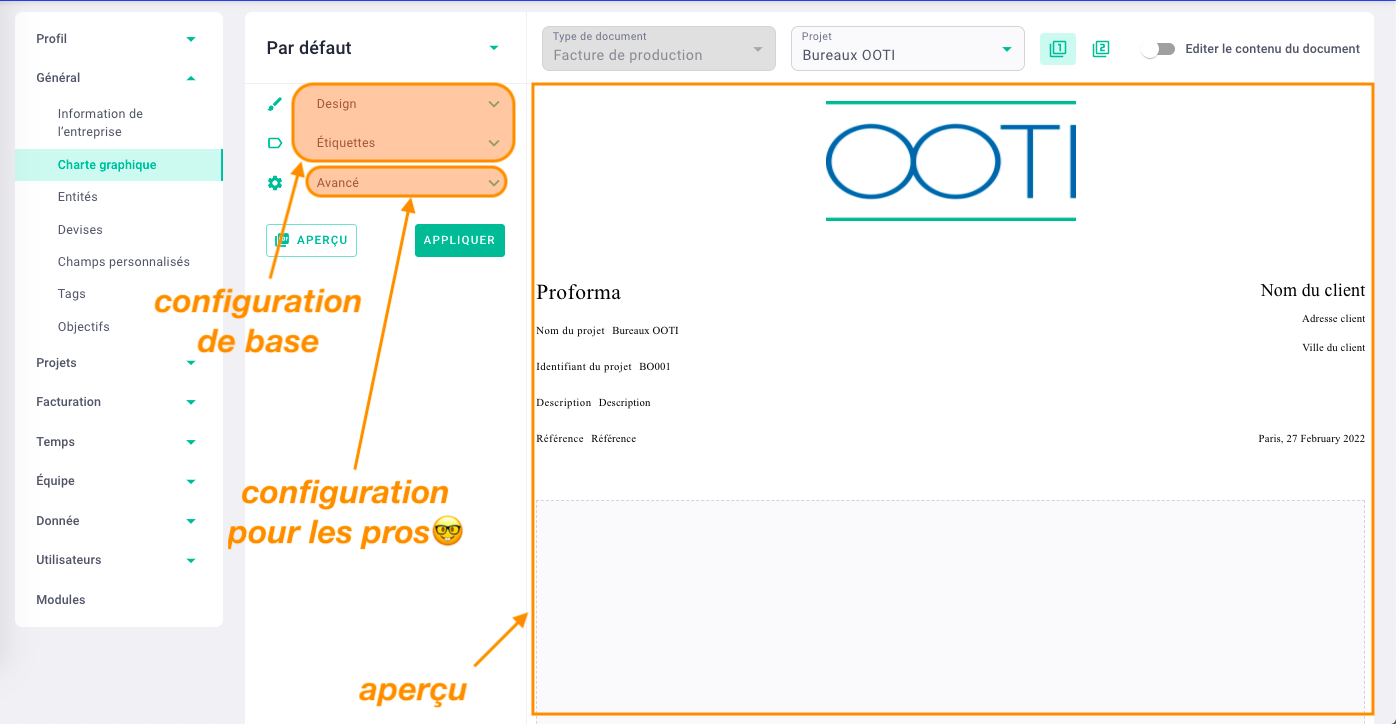
Here is how the corporate identity settings are presented:
- sections on the left for basic configuration: Design and Labels,- an "Advanced" section for tech-savvy users who know how to code 🤓,
- a Preview section.
1) Agency logo
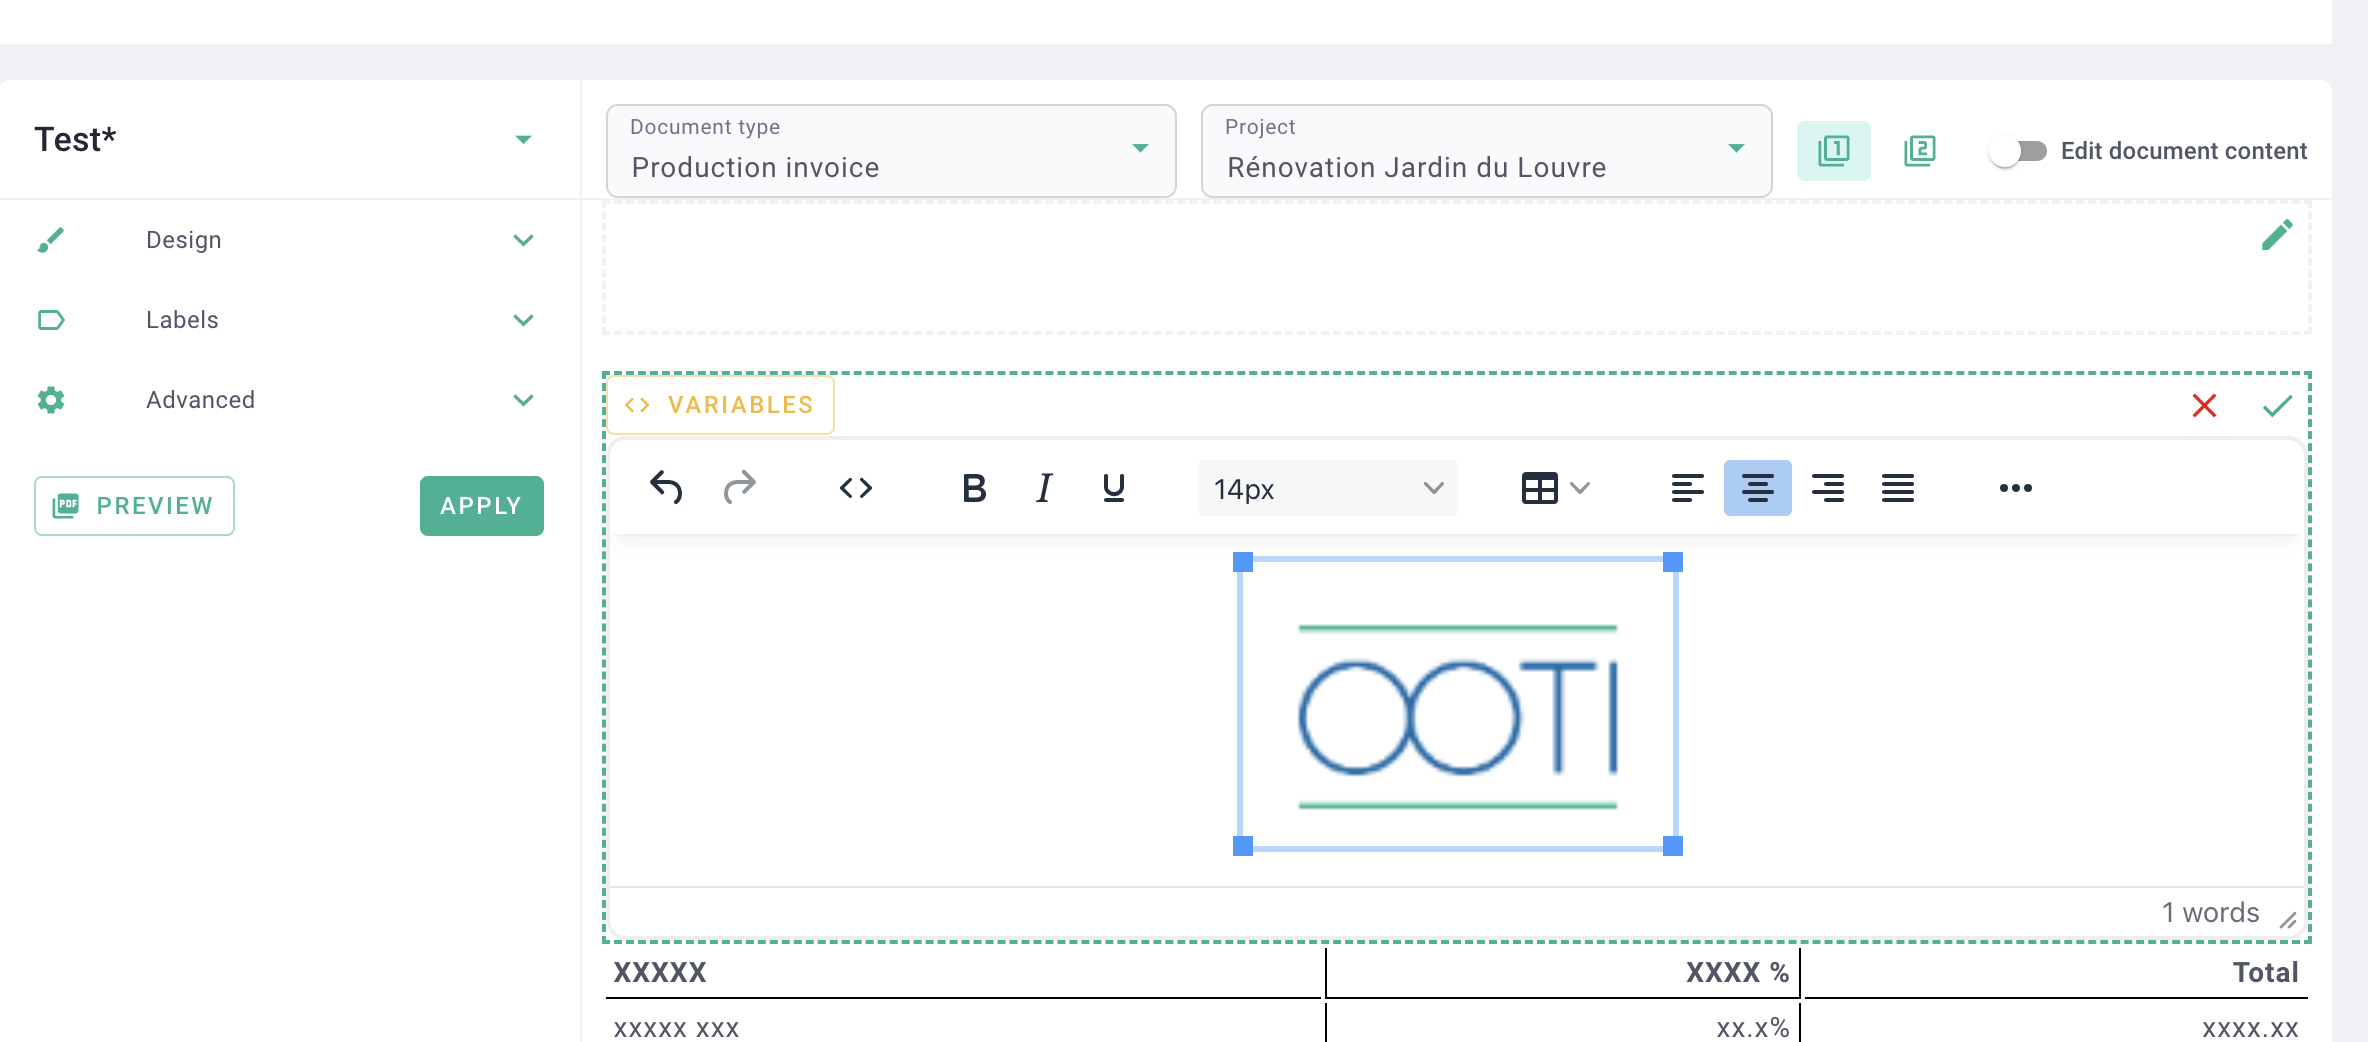
Check "Edit document content" and then click on the OOTI logo.
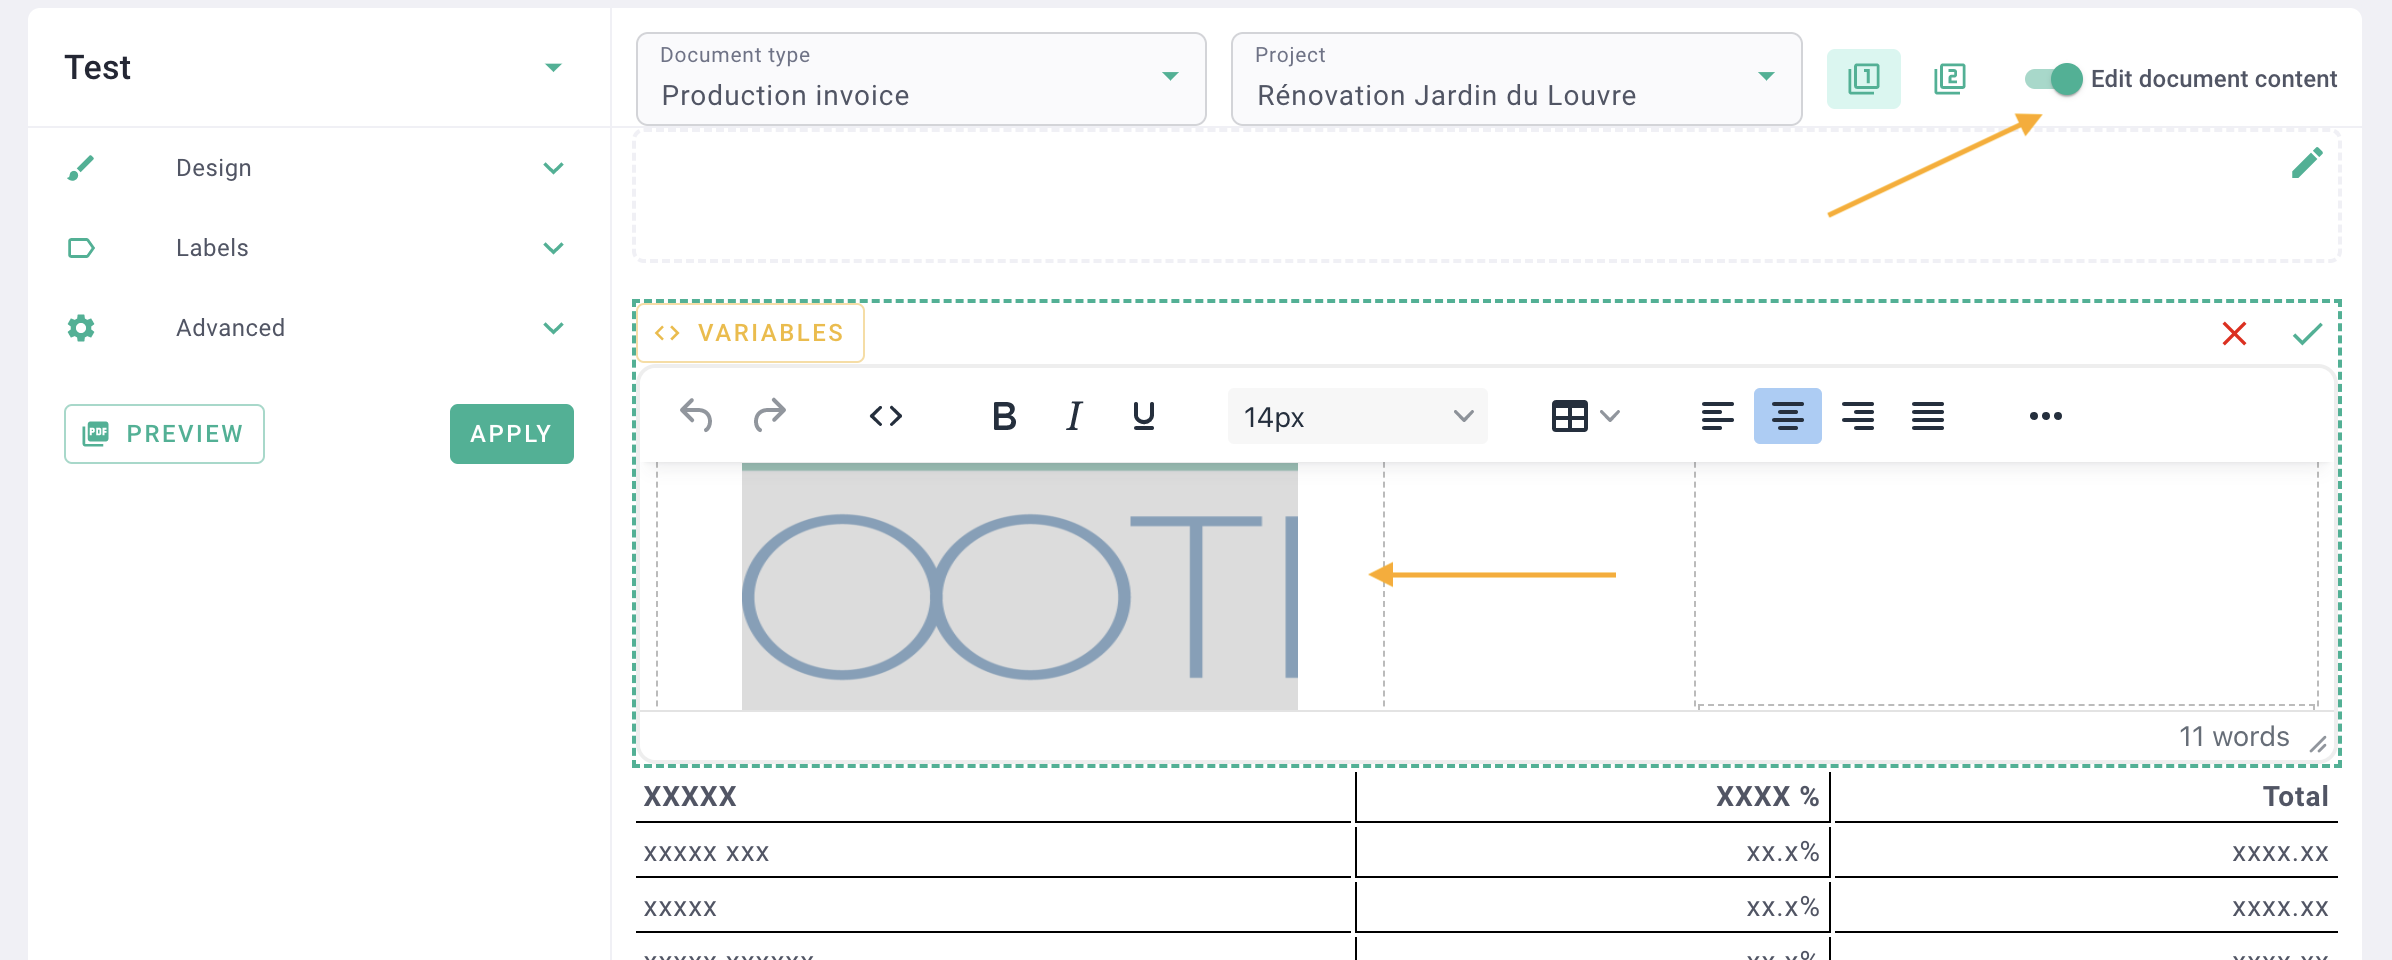
Remove the logo by clicking on it and then press the delete key on your keyboard.
Click on the options "..." and then on the landscape icon.
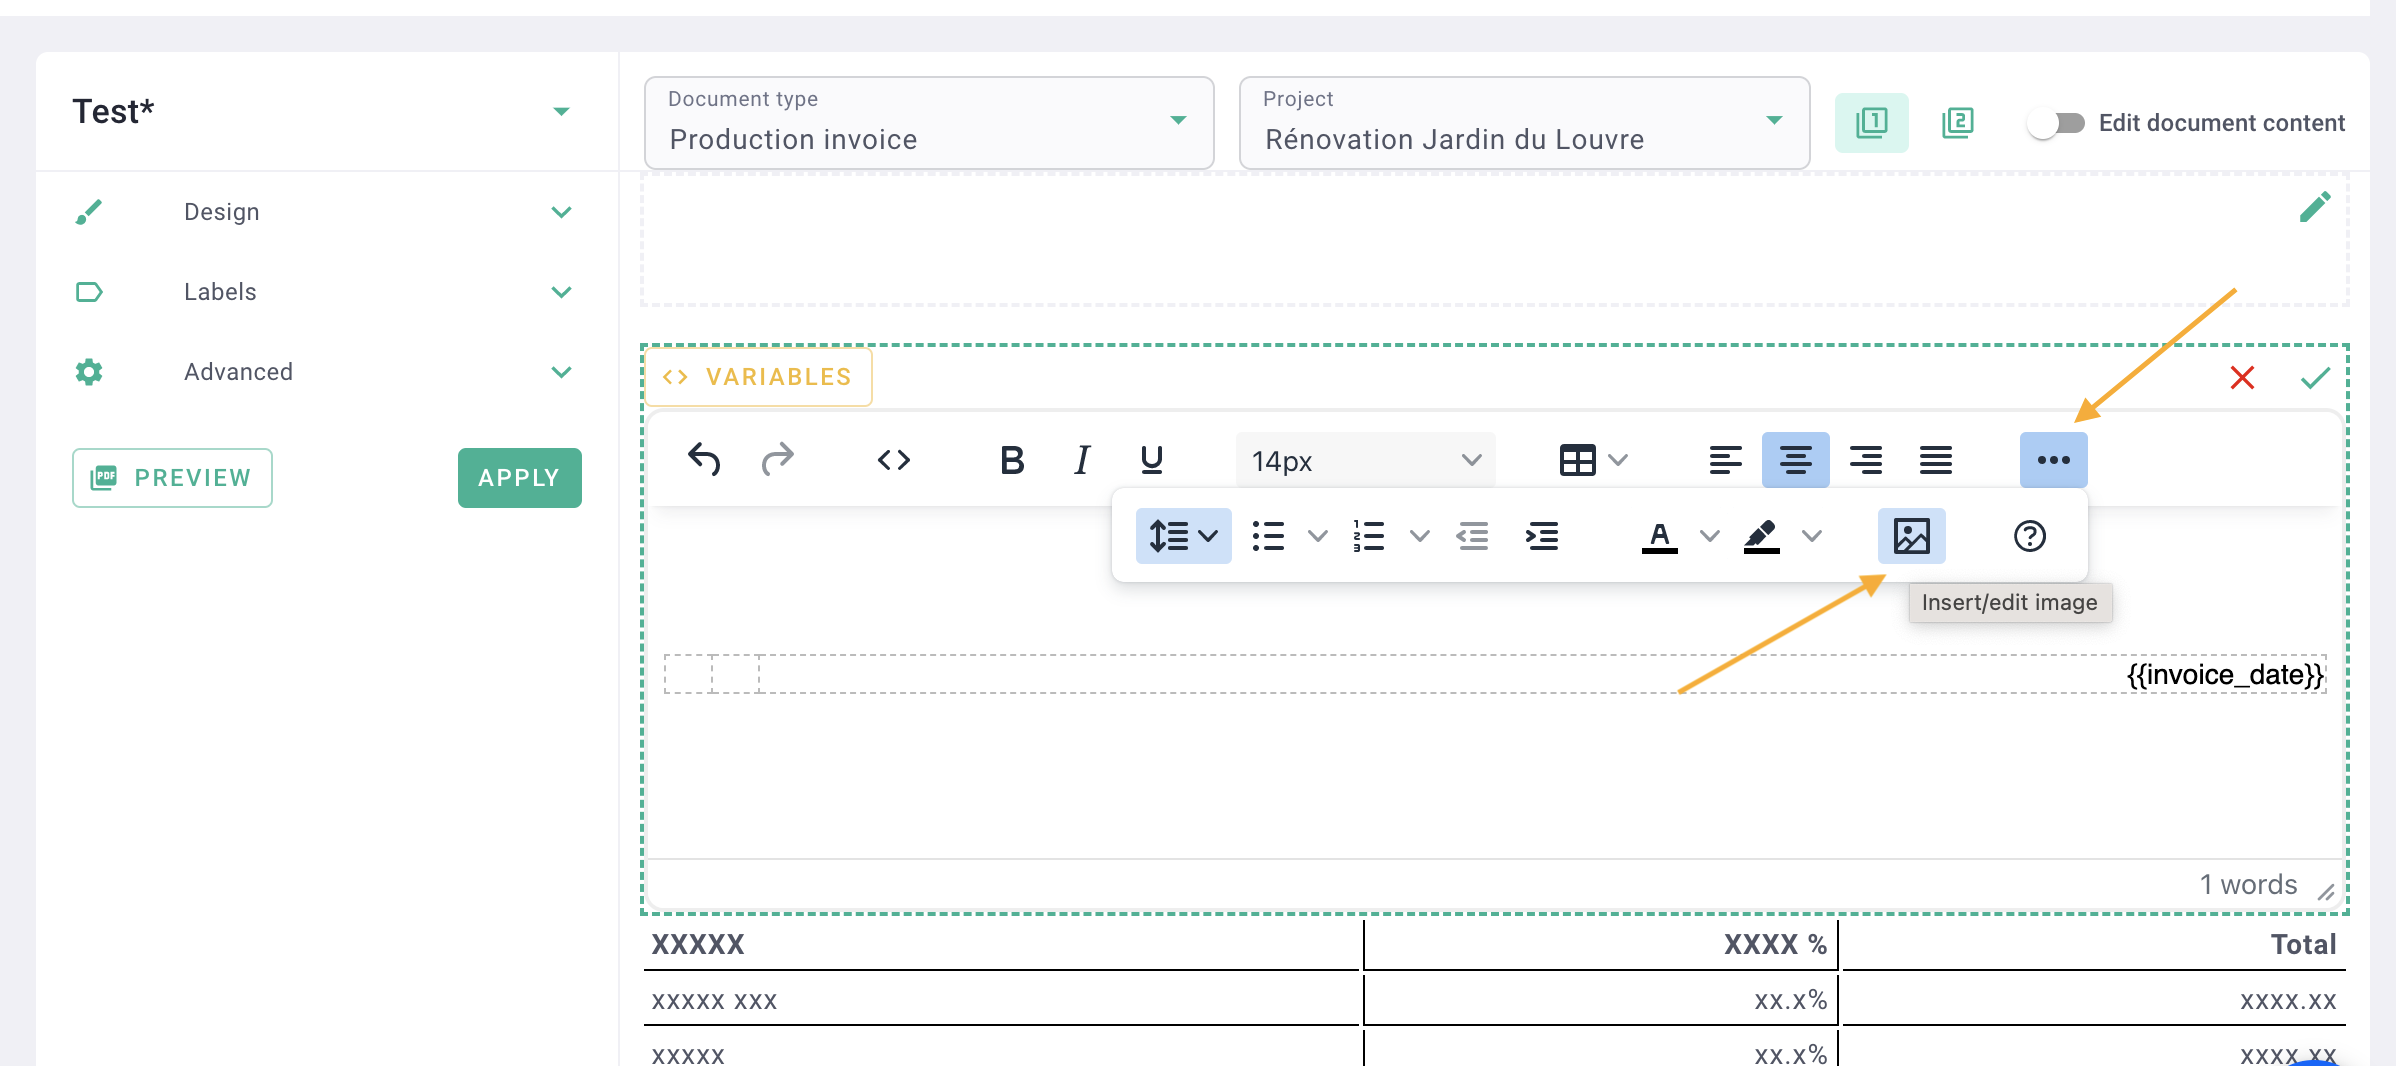
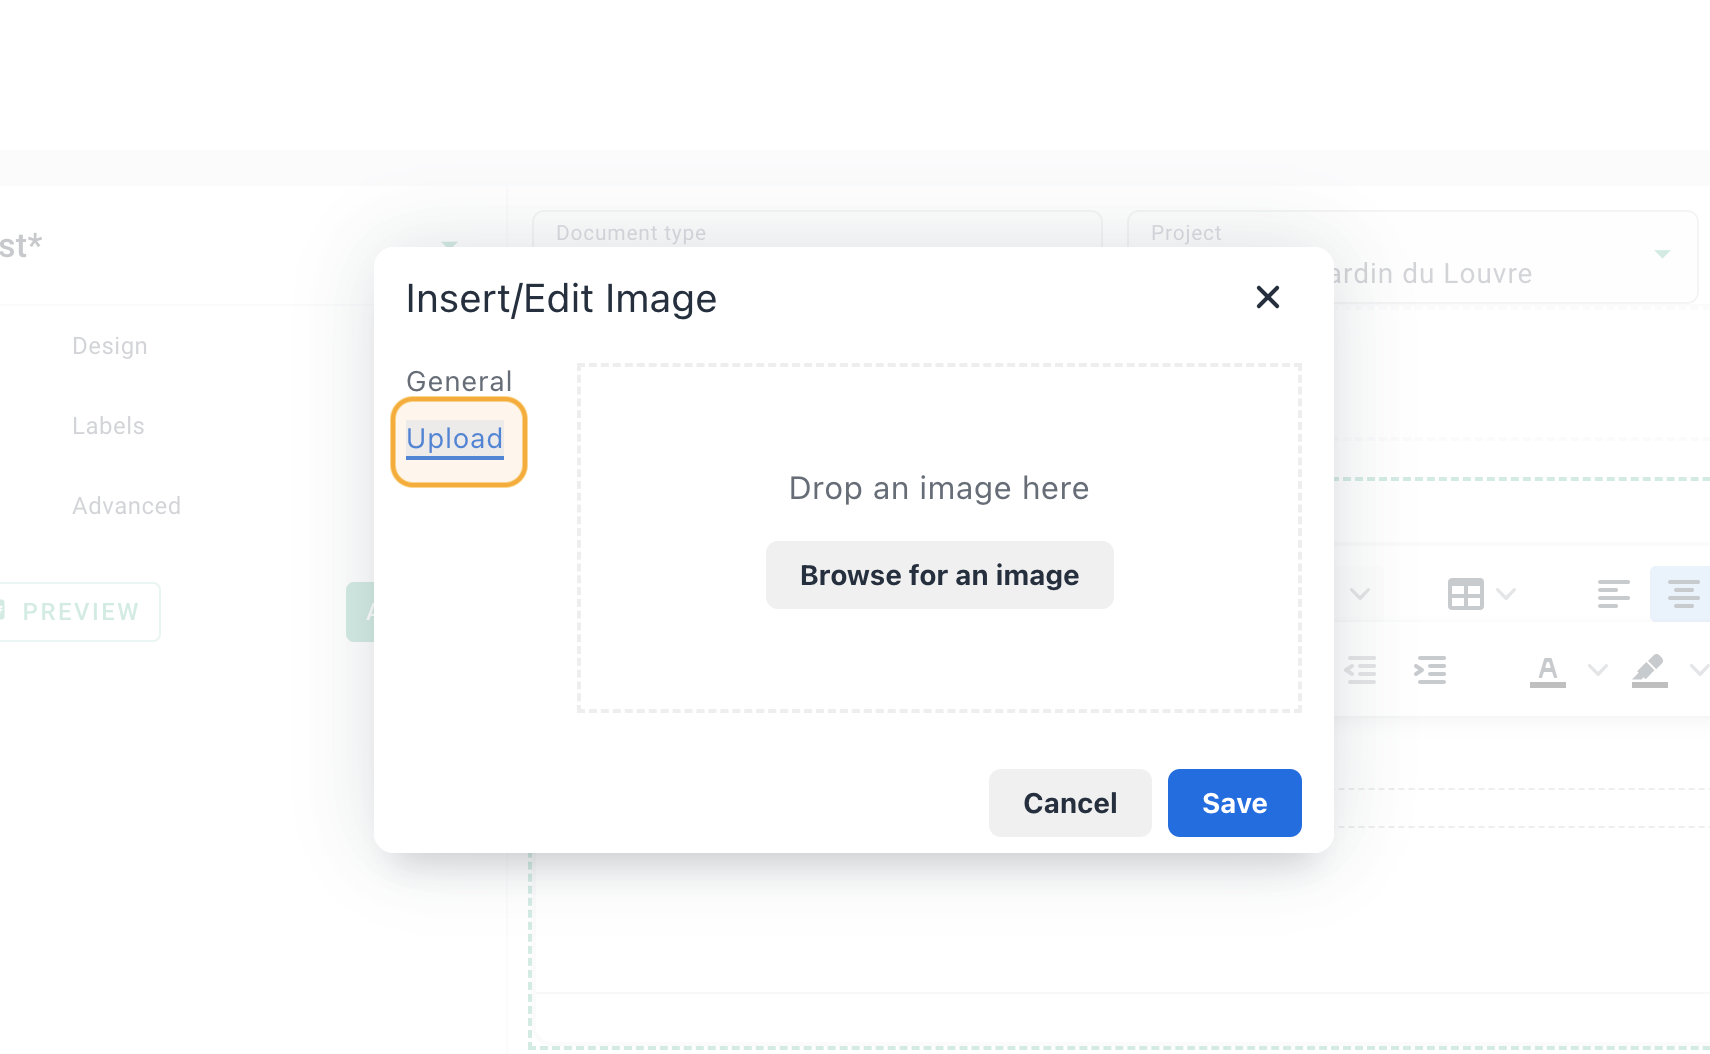
Click on the square with the upward arrow to add your logo from your documents, ideally in PNG or JPEG formats.
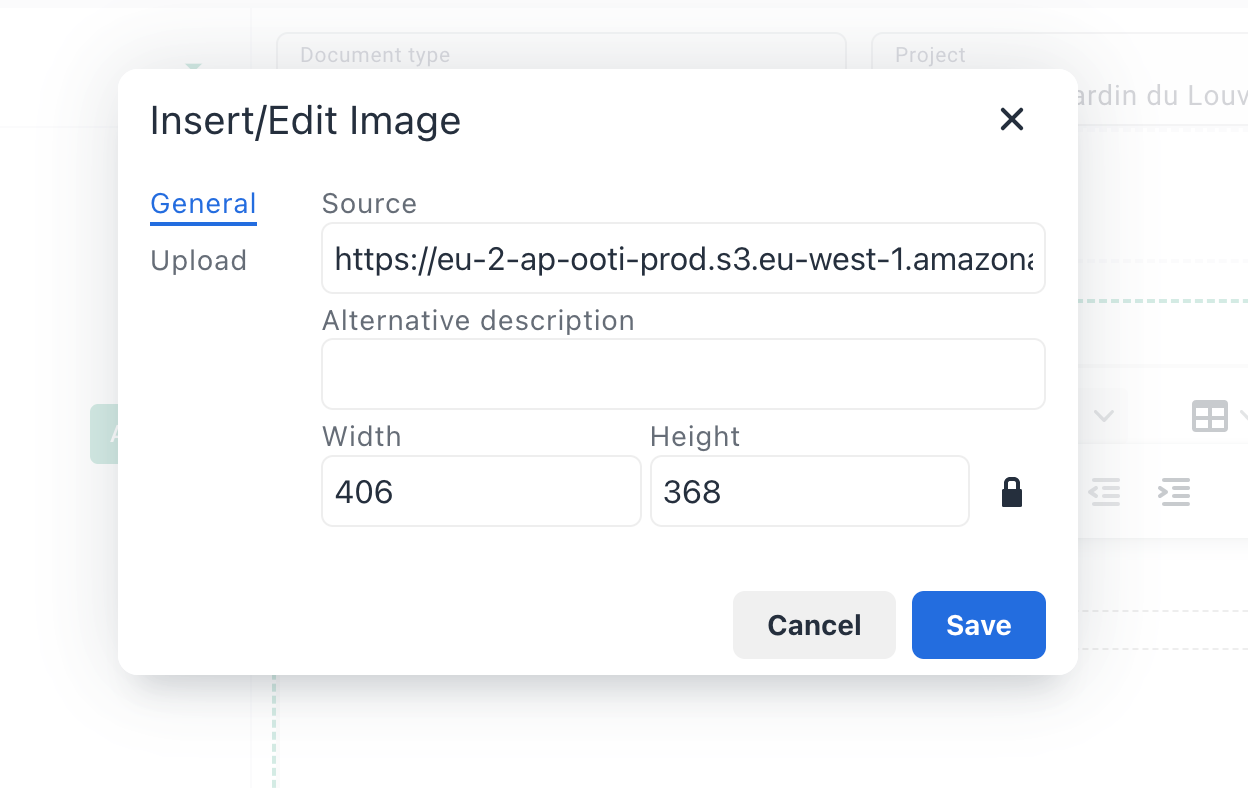
Once the logo is added, you will see a strange link in the "Source" field, that's normal: your logo has been successfully added.
Set the width to 200, and you can adjust the size directly in the style guide.
Click on Save.
You have added your logo!
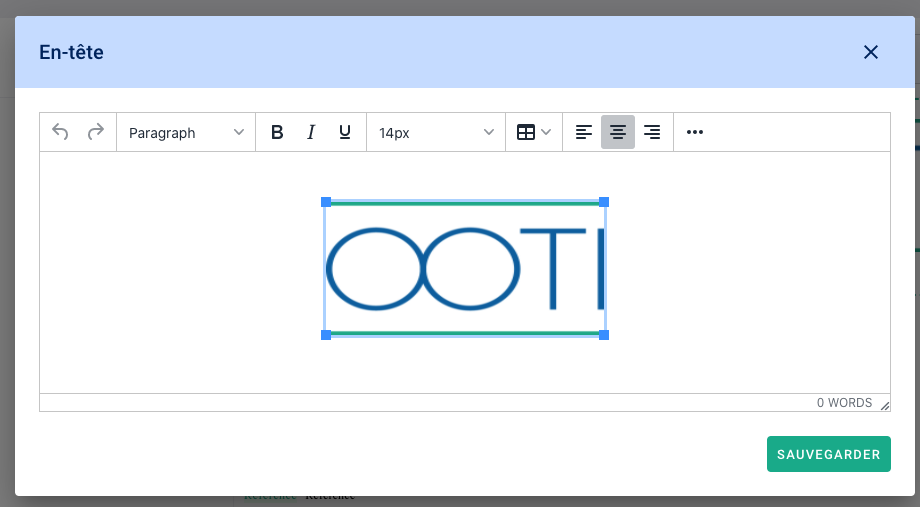
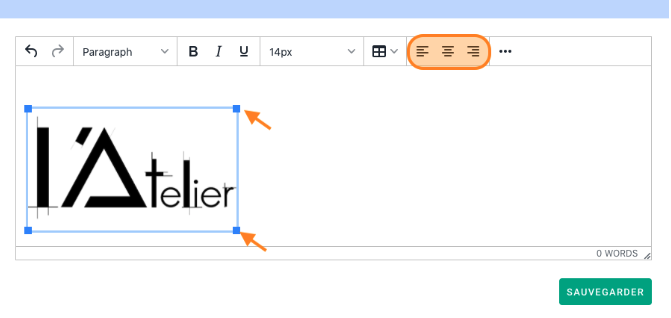
Use the toolbar to position the logo to the left, center, or right.
Click on the squares on the logo to resize it.
Done! You have added your agency's logo to the style guide.
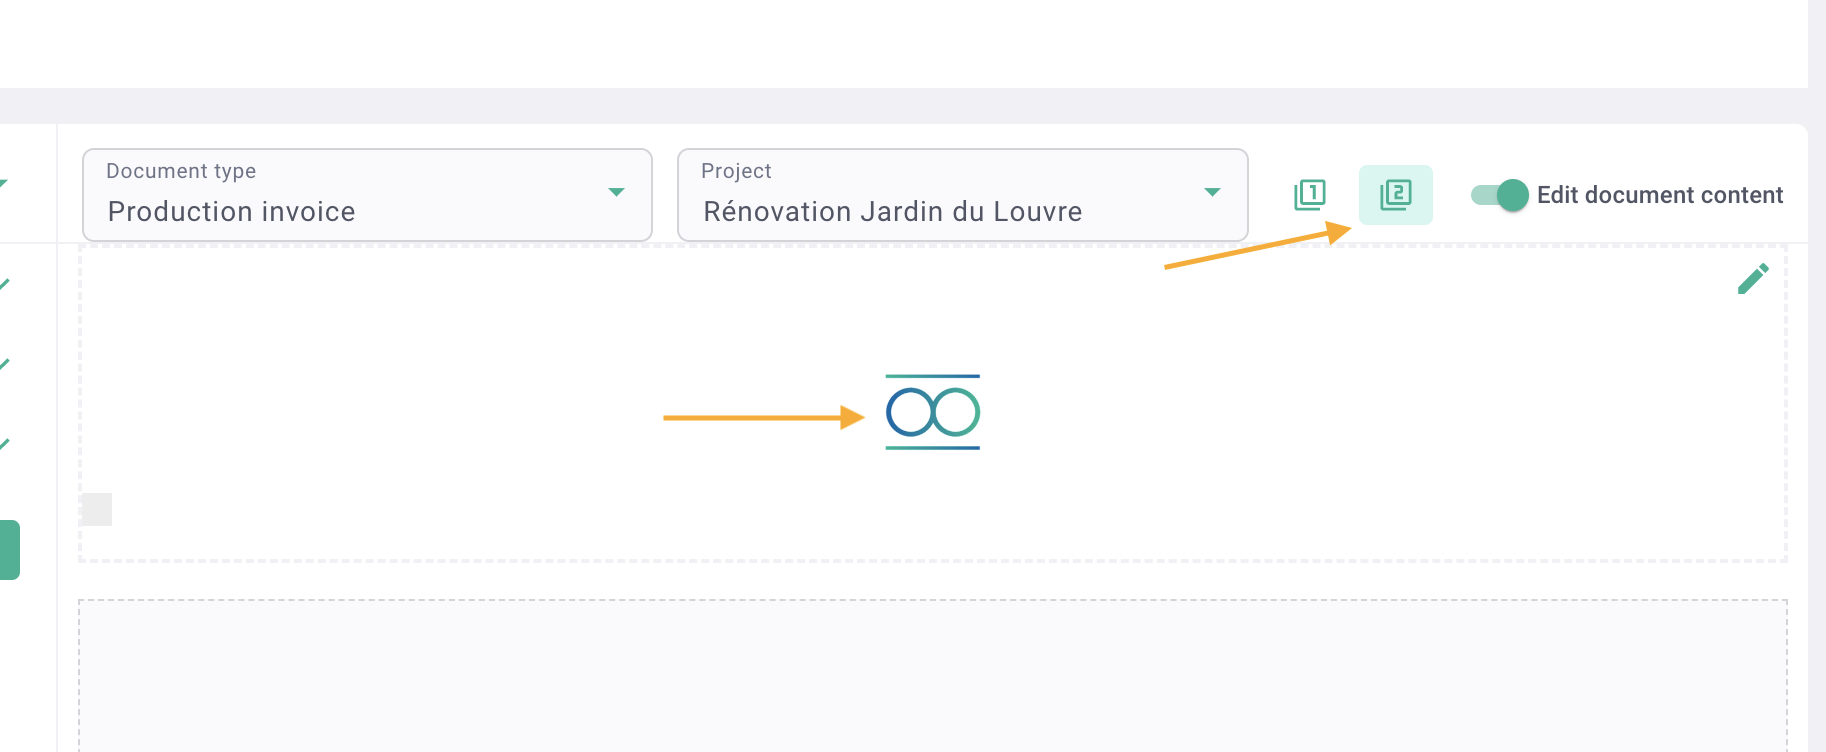
Go to the second tab and resize your logo.
This tab is for other pages of your invoices if they have multiple pages. Instead of using your logo in large size, use a smaller version.
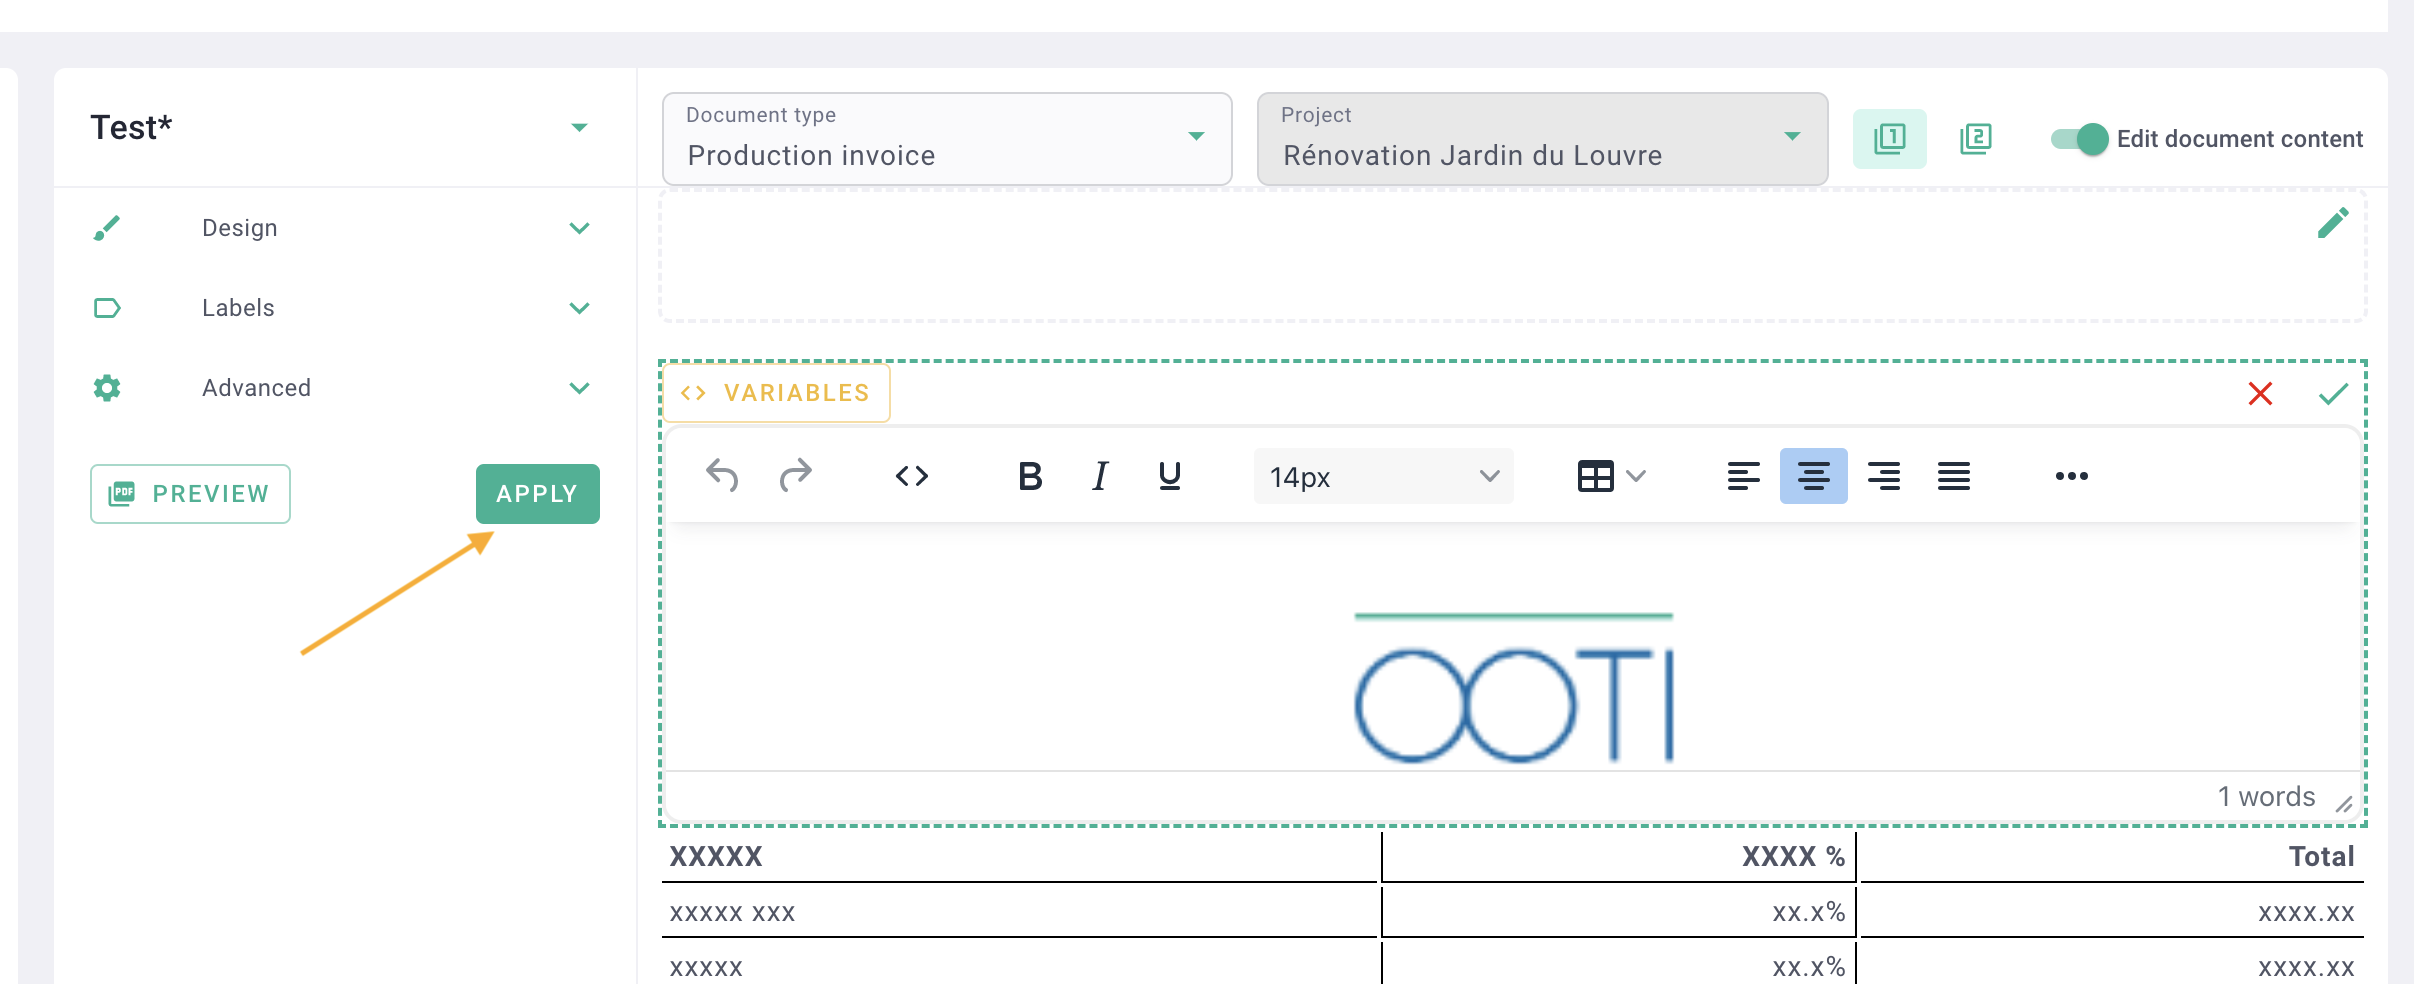
Click on the Apply button to save your changes.
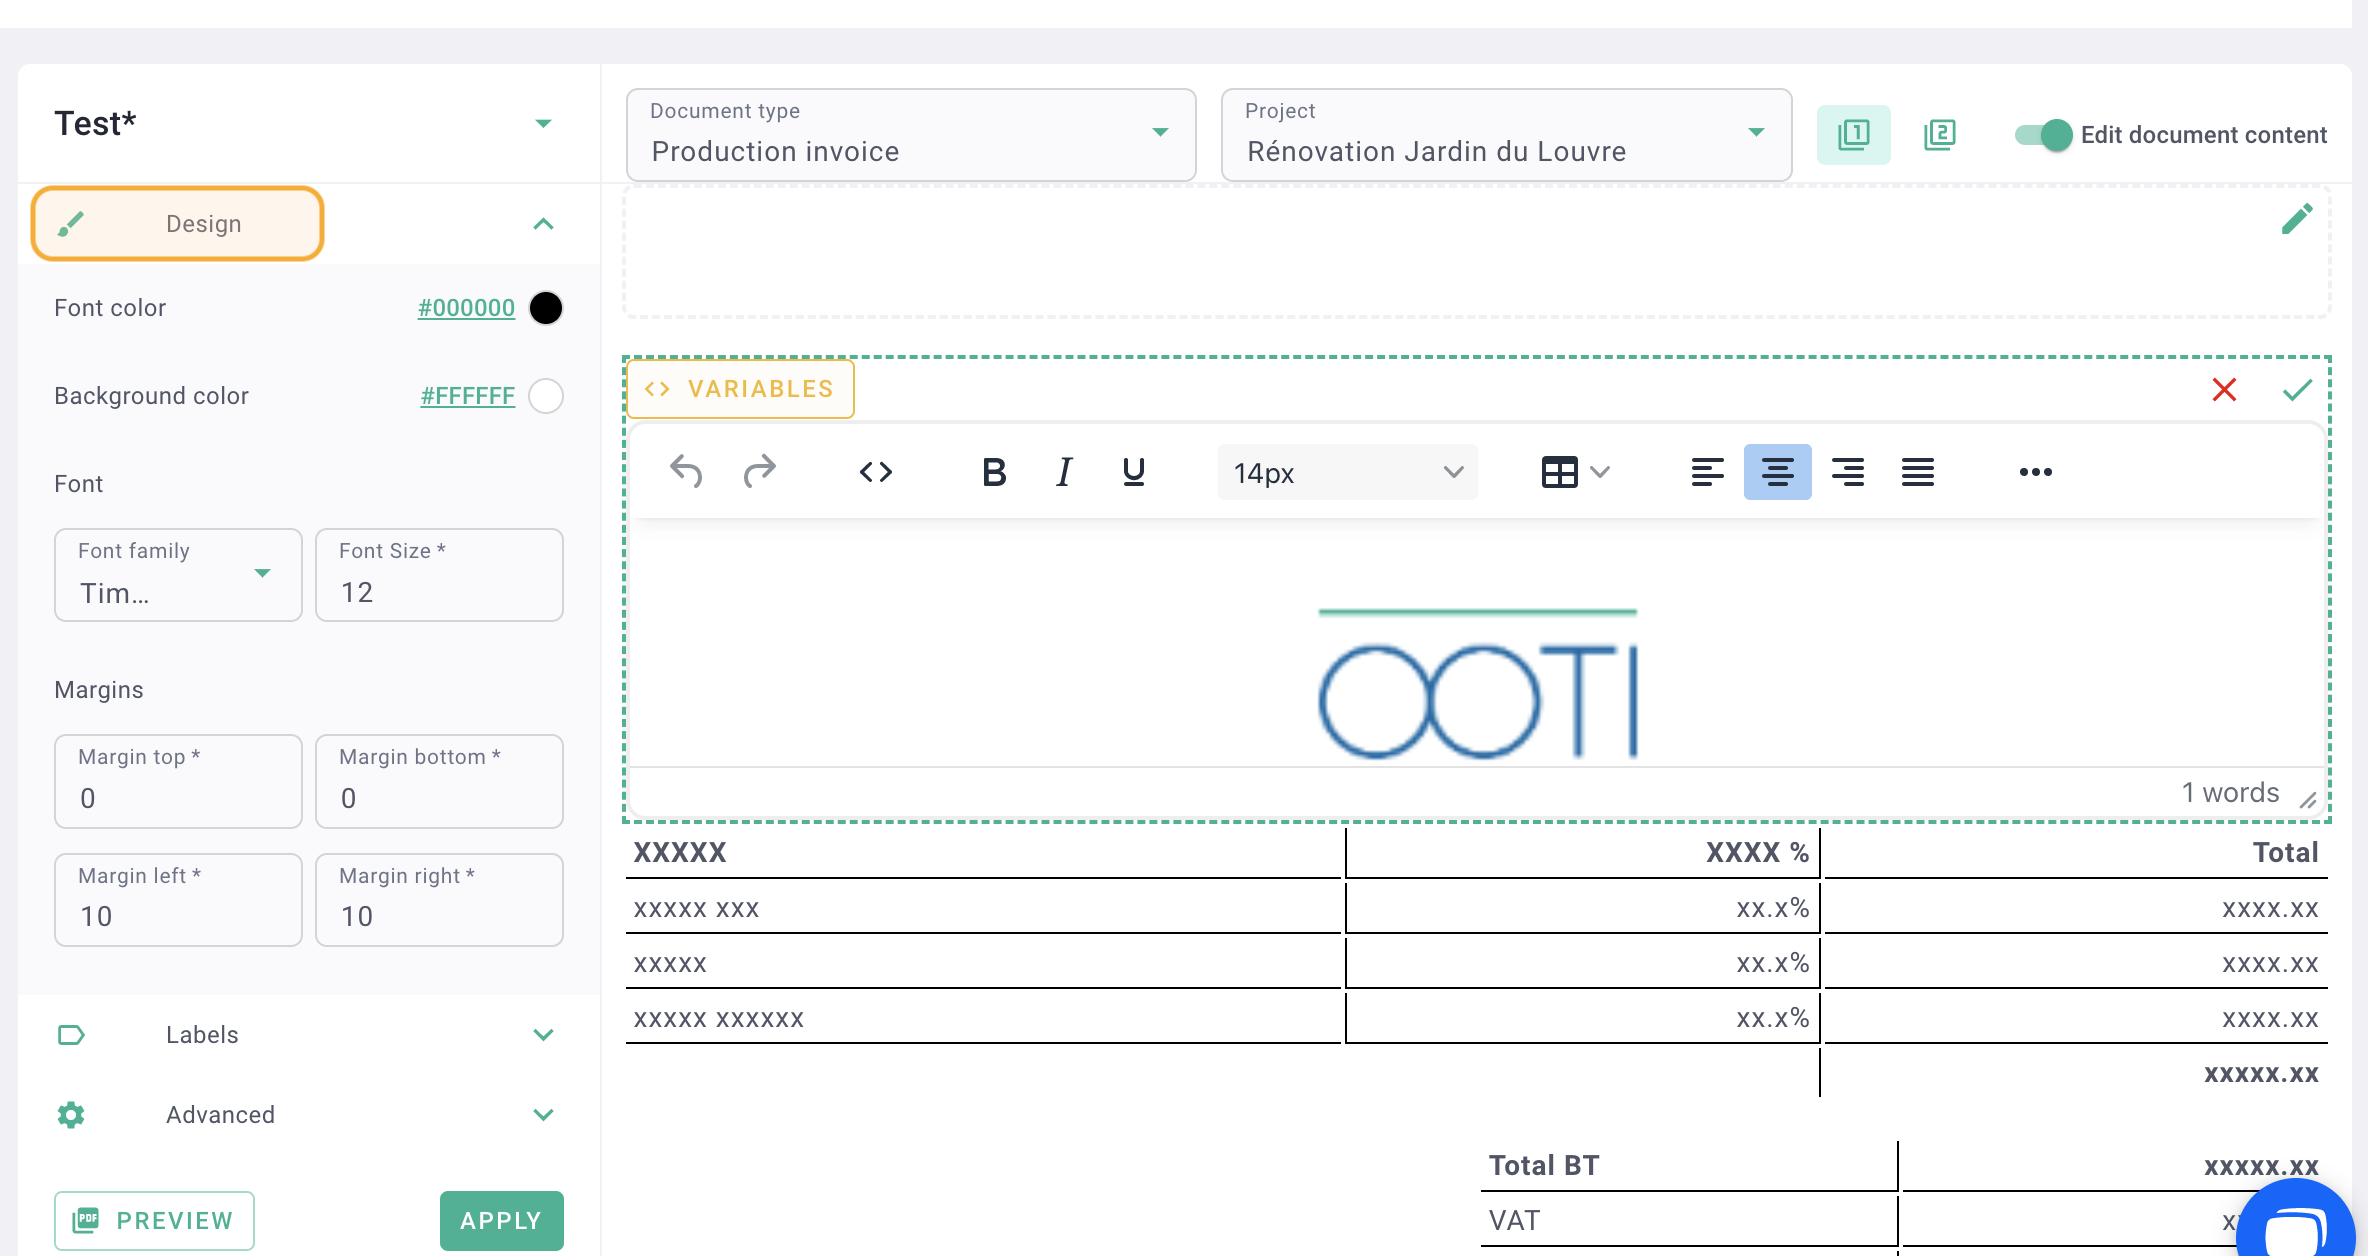
2) Font and margins
Go to the Design tab and choose the font colour, background colour (like this beautiful gray), font type and margins.
Then click on Apply to update the preview.
3) Customisation of Labels
Default fields are created and appear in the invoice.
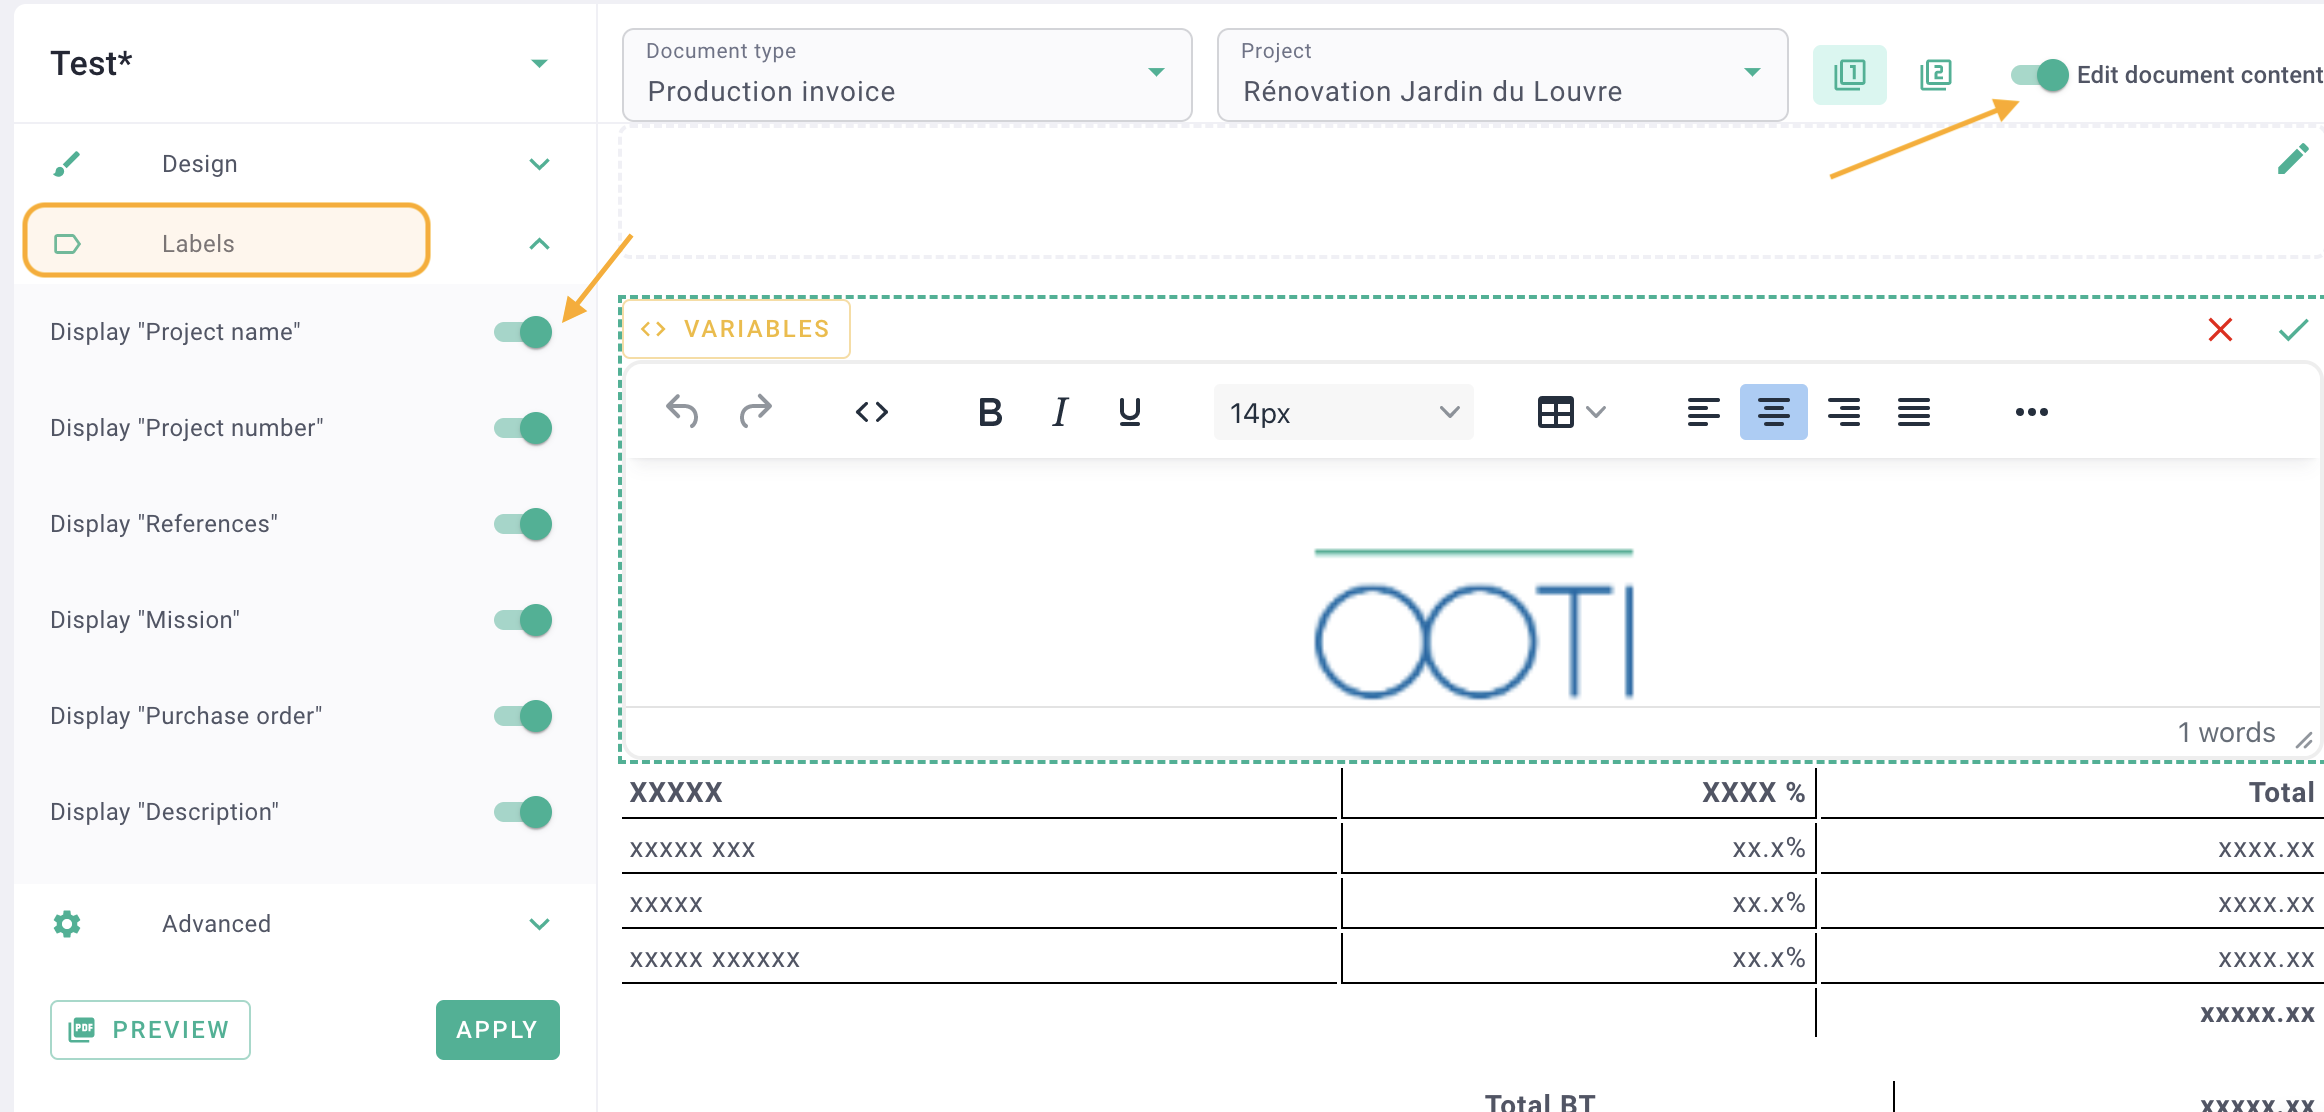
Go to the Labels tab, check or uncheck labels such as "Project Name," "Project number," "References," etc. If you uncheck them, these fields will never appear in the invoices.
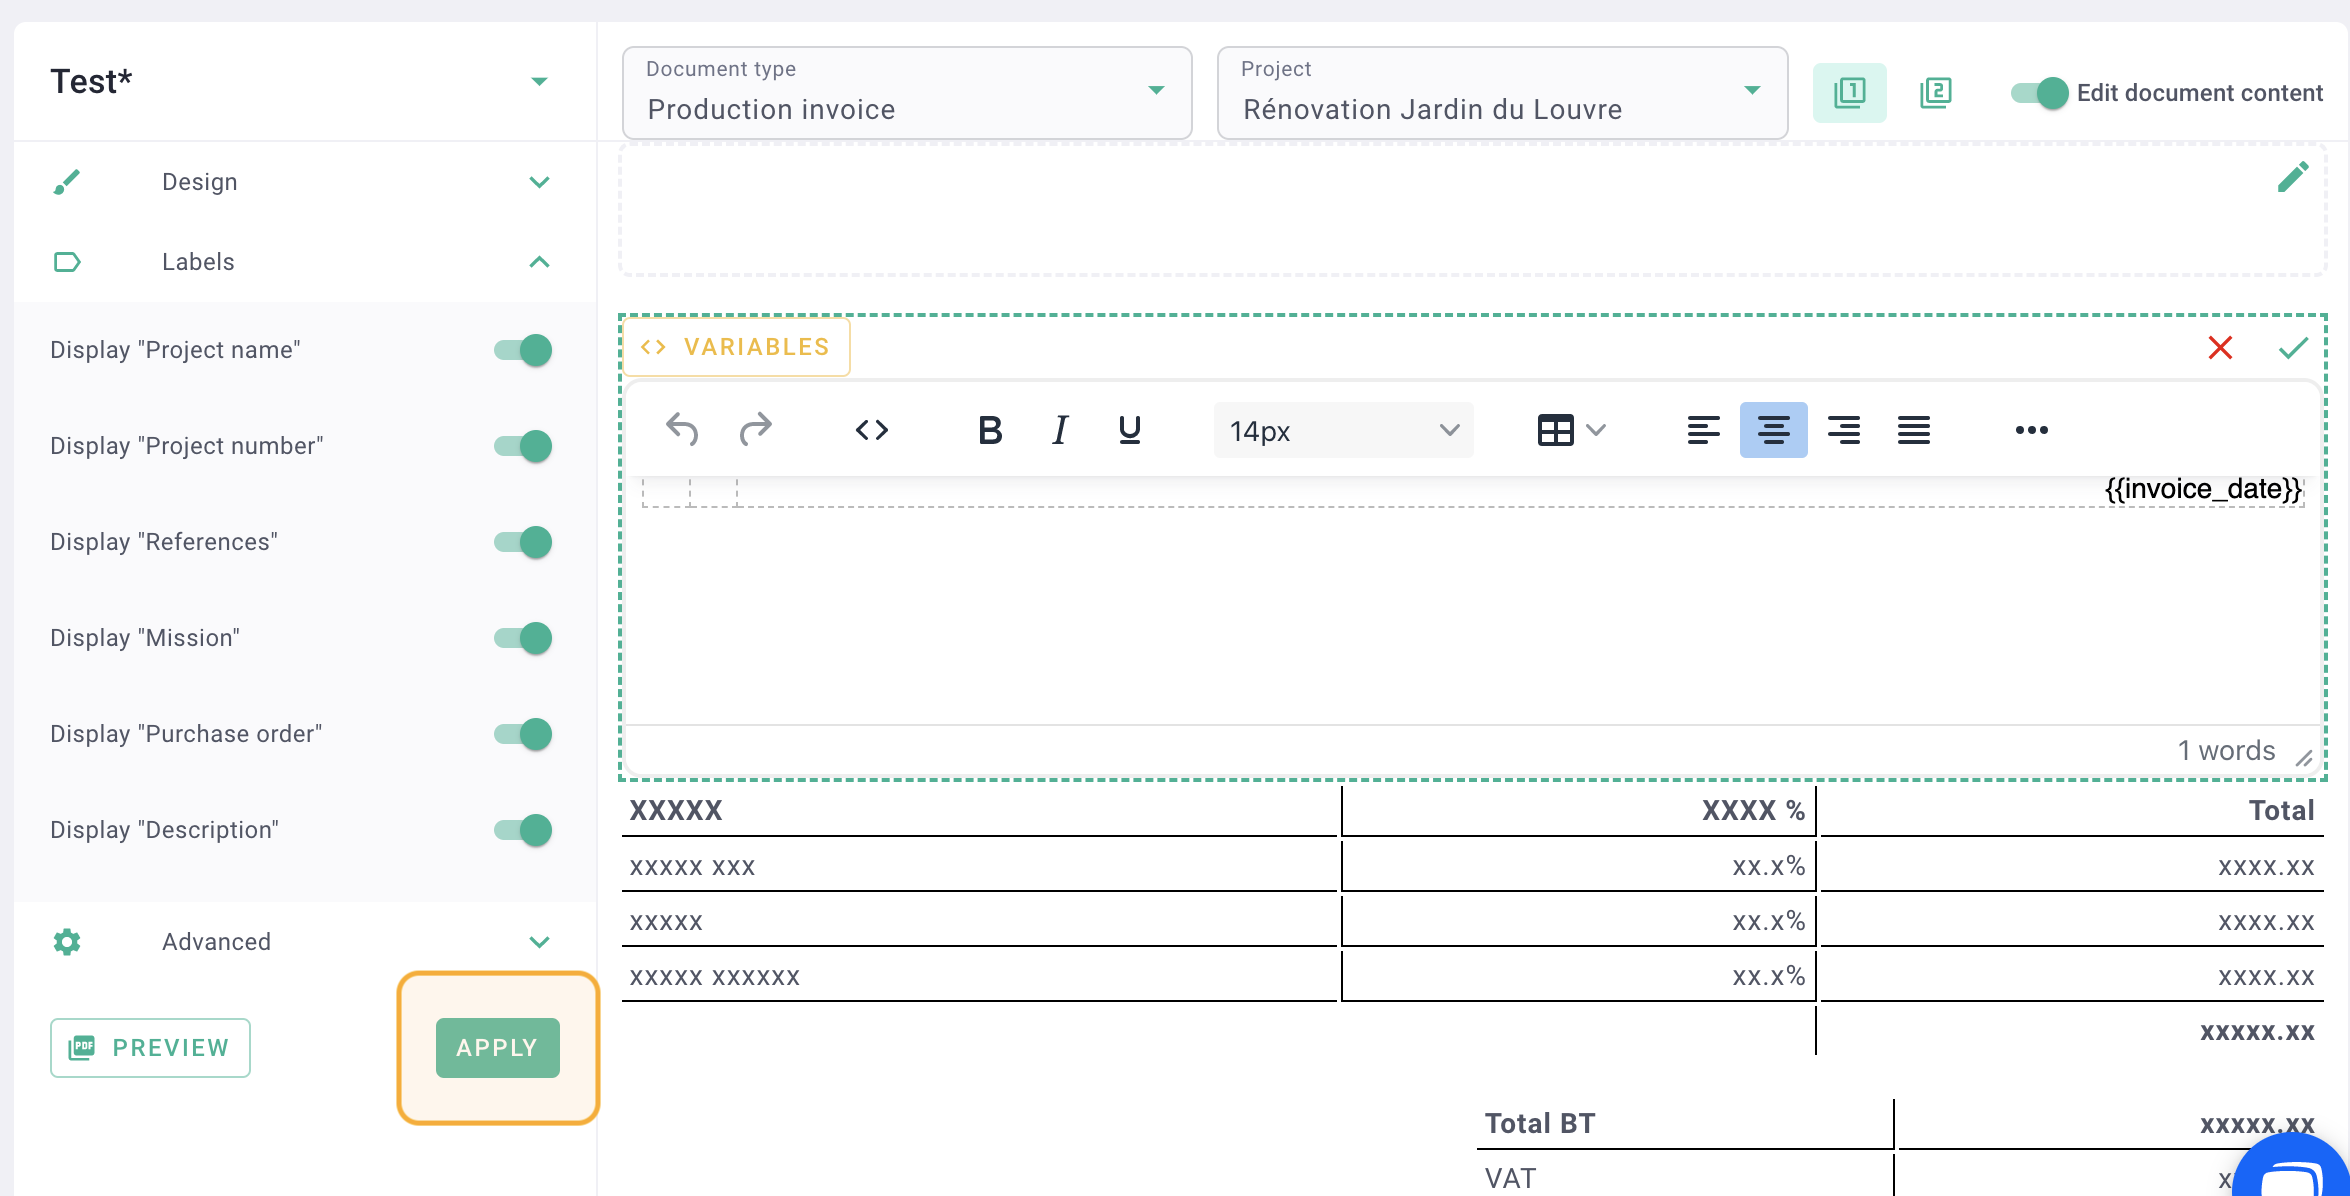
Then check Edit document content where you can change the titles of the labels by clicking on them.
For example, a draft invoice is named "Proforma" by default, you can replace it with "Quote." By default, an invoice with a code is called "Invoice," you can replace it with "Honorarium Note" or "HN," and "Project" with "Project" or "Contract."
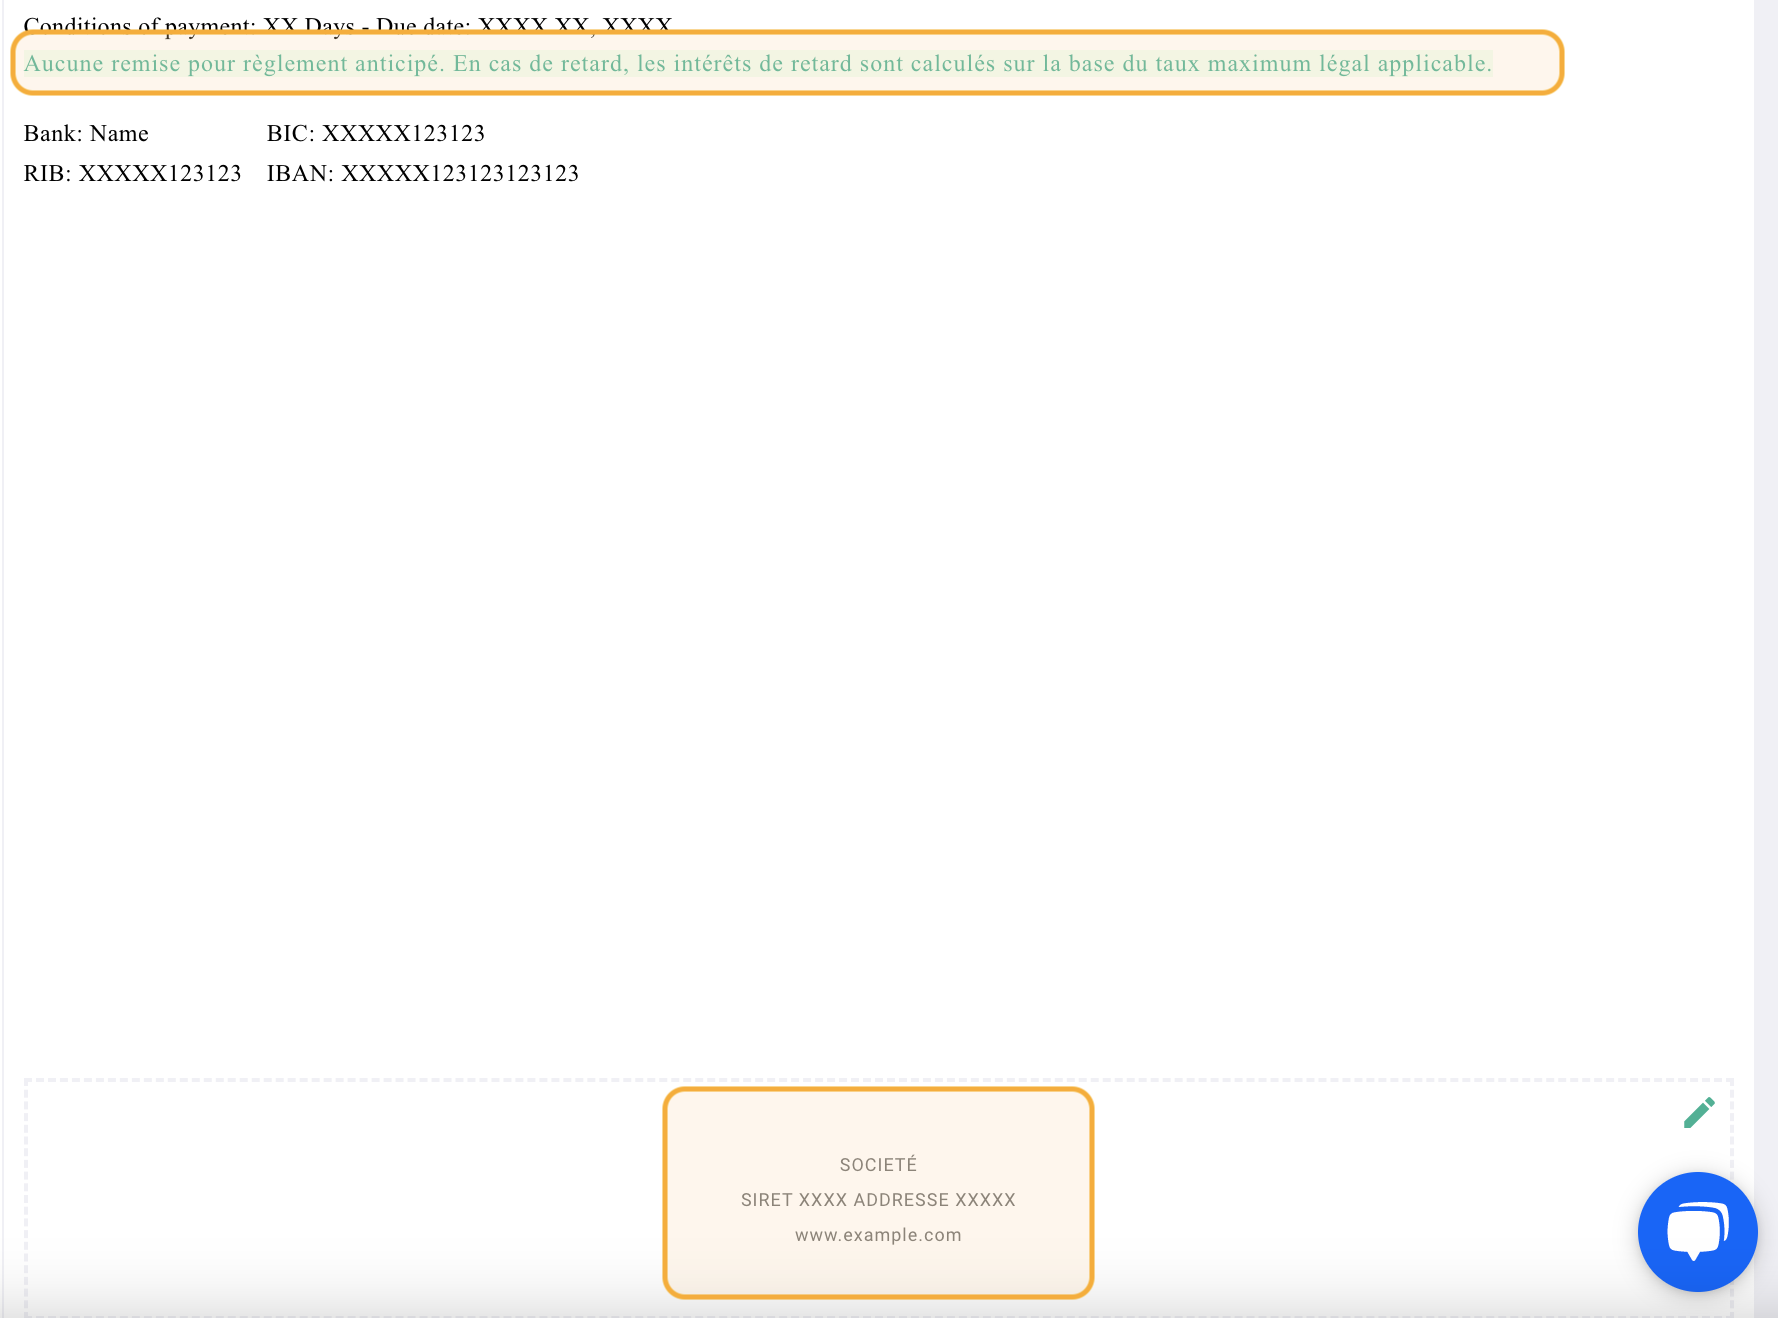
At the bottom of the visual, you can complete the legal notices and the footer.
Once all your changes are made, click on the "Apply" button.
You have configured the style guide for invoices!
III/ Bank details
Display your bank details on all sales invoices you create on OOTI.
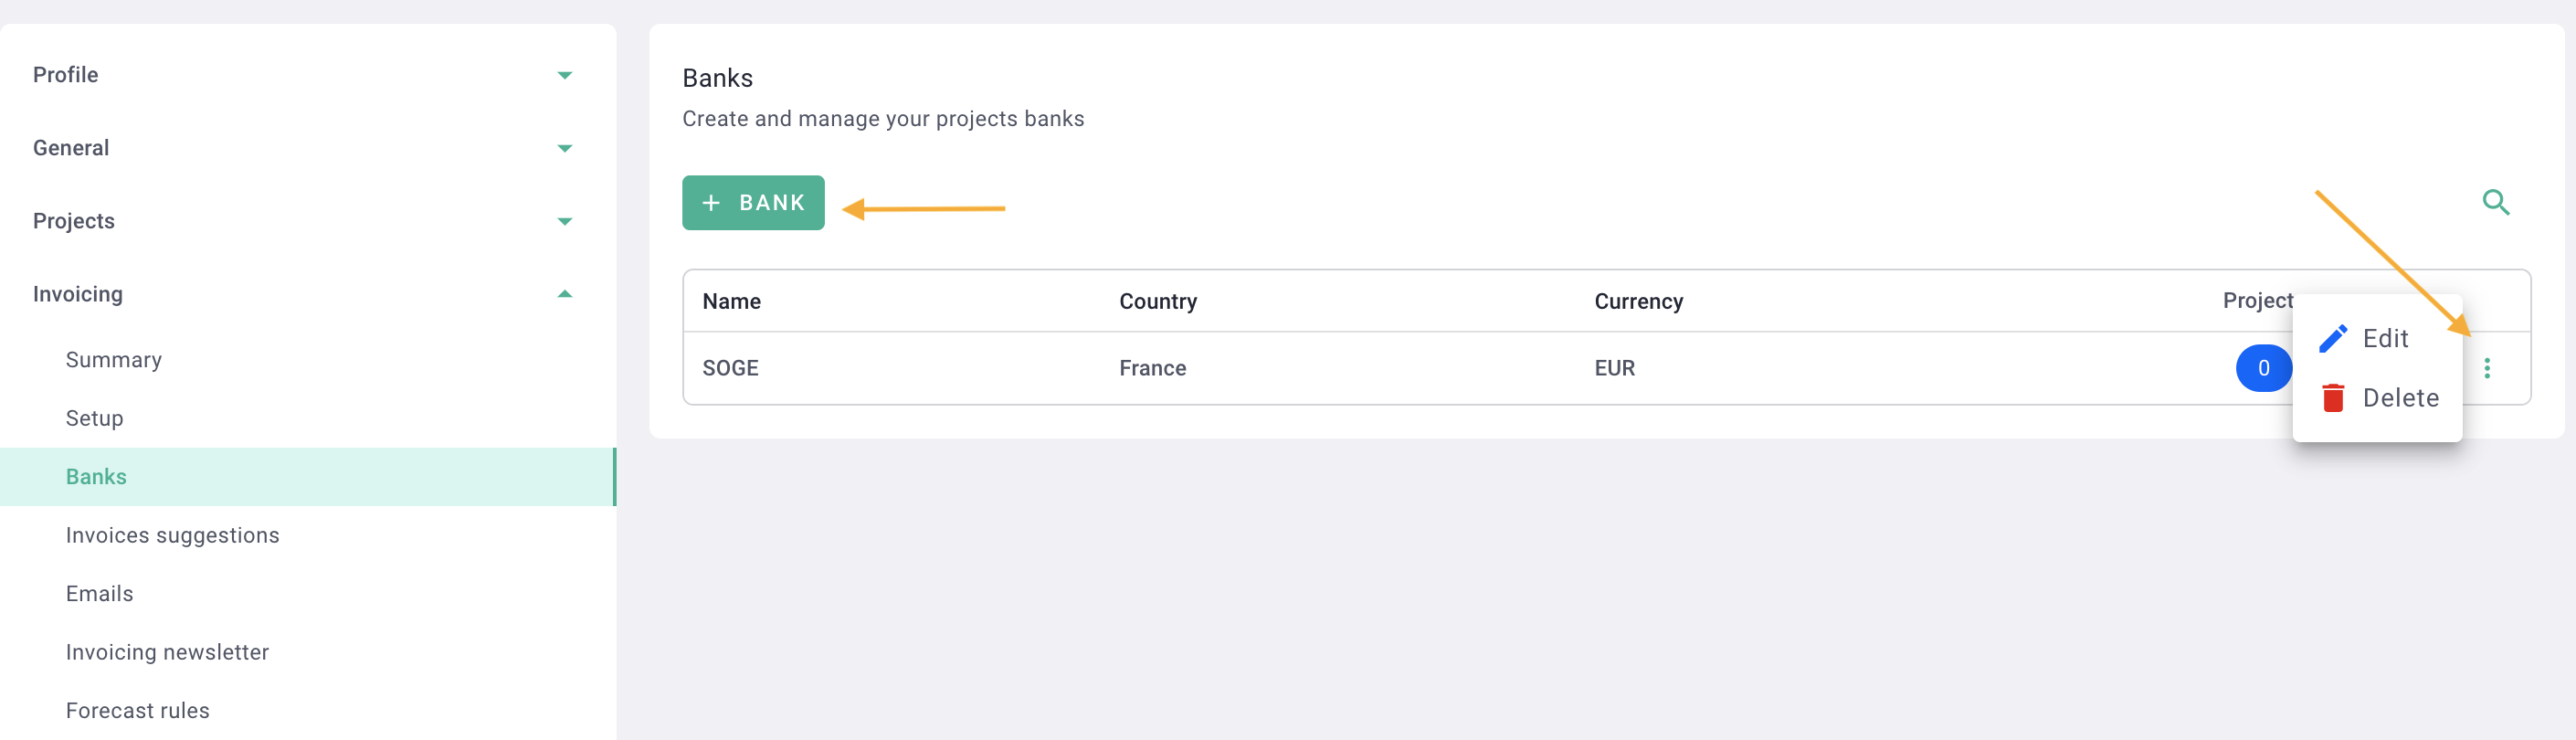
Click on your first name in the top right corner > select "Settings" from the dropdown menu > on the left-hand side, click on "Billing," then choose "Banks" > click on the "+ Bank" button.
Fill out the form with your bank details, such as IBAN, BIC, and RIB. You can choose to fill out only the fields that are applicable to your bank.
If you want this bank to be added by default to all your projects, make sure to select all projects from the list.
Click "Save" to add the bank.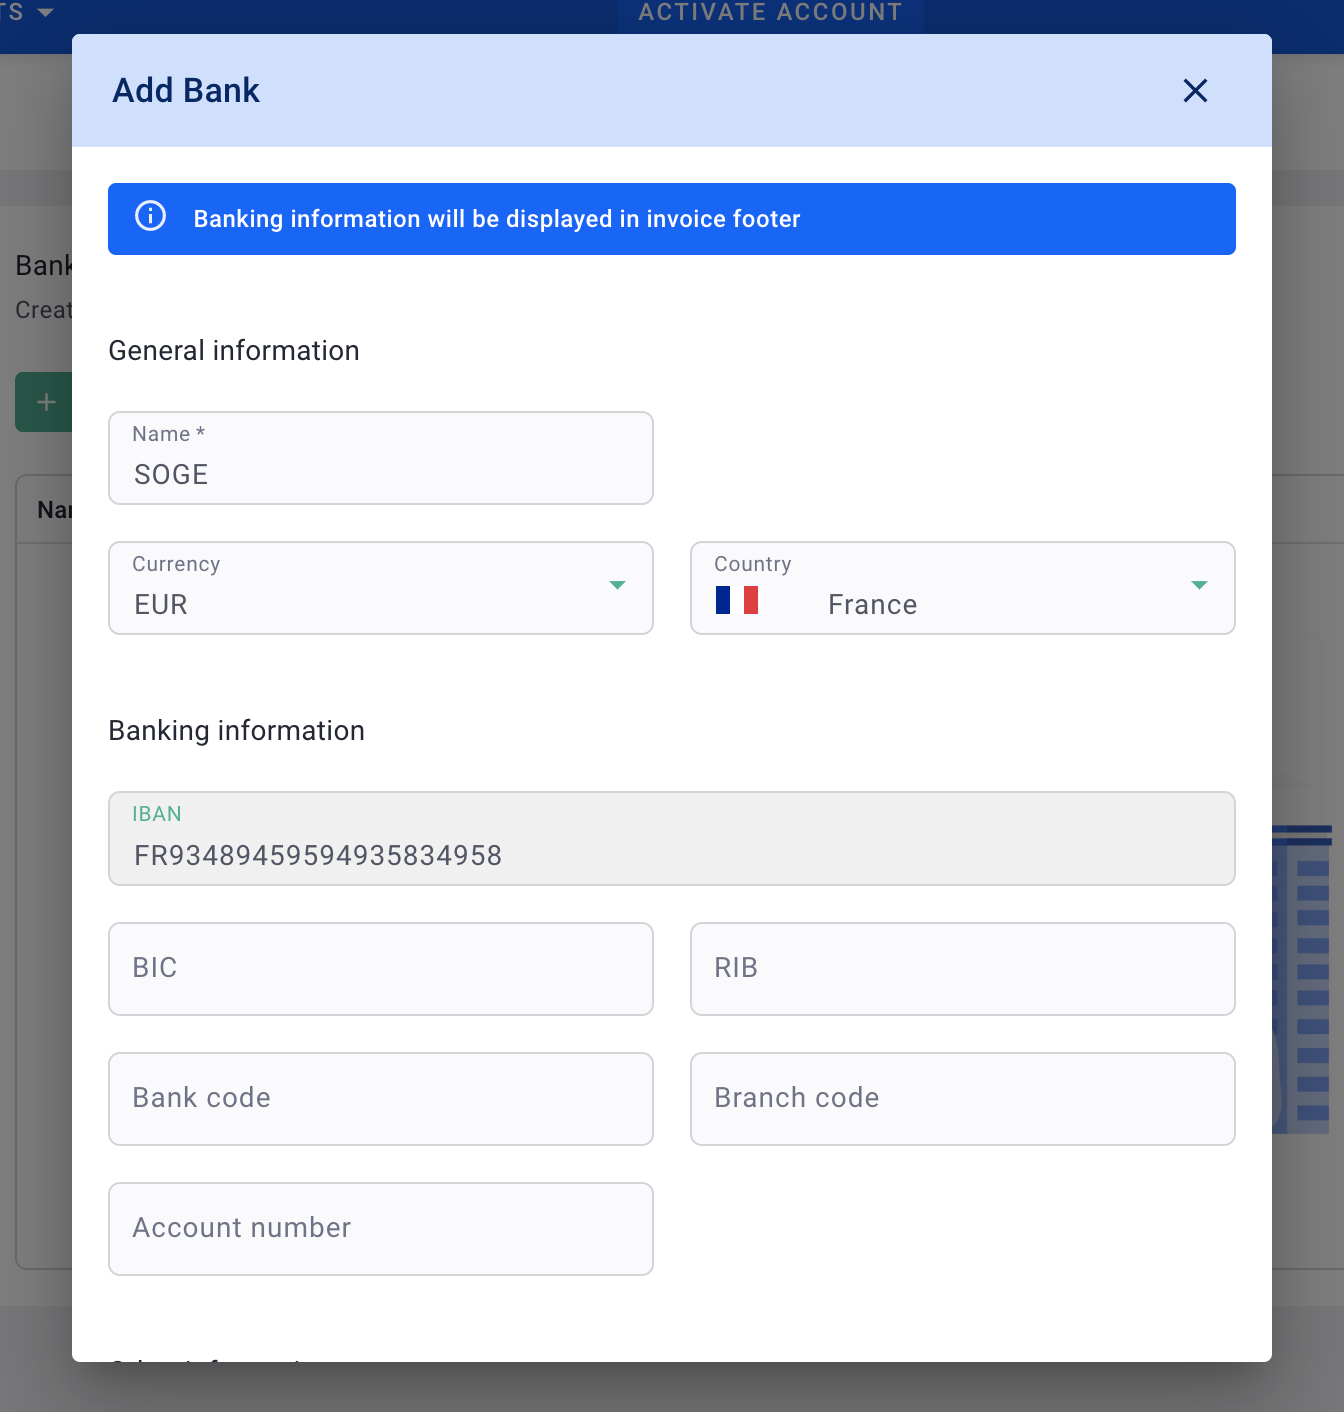
You have now added a bank!
Click on "+ Bank" to create a new one.
IV/ Invoice numbering/code
1) Format
Configure your invoice numbers: format, next invoice code, etc.
Click on your first name in the top right corner, then select "Settings" from the dropdown menu. On the left-hand side, click on "Invoicing," and then choose "Setup."
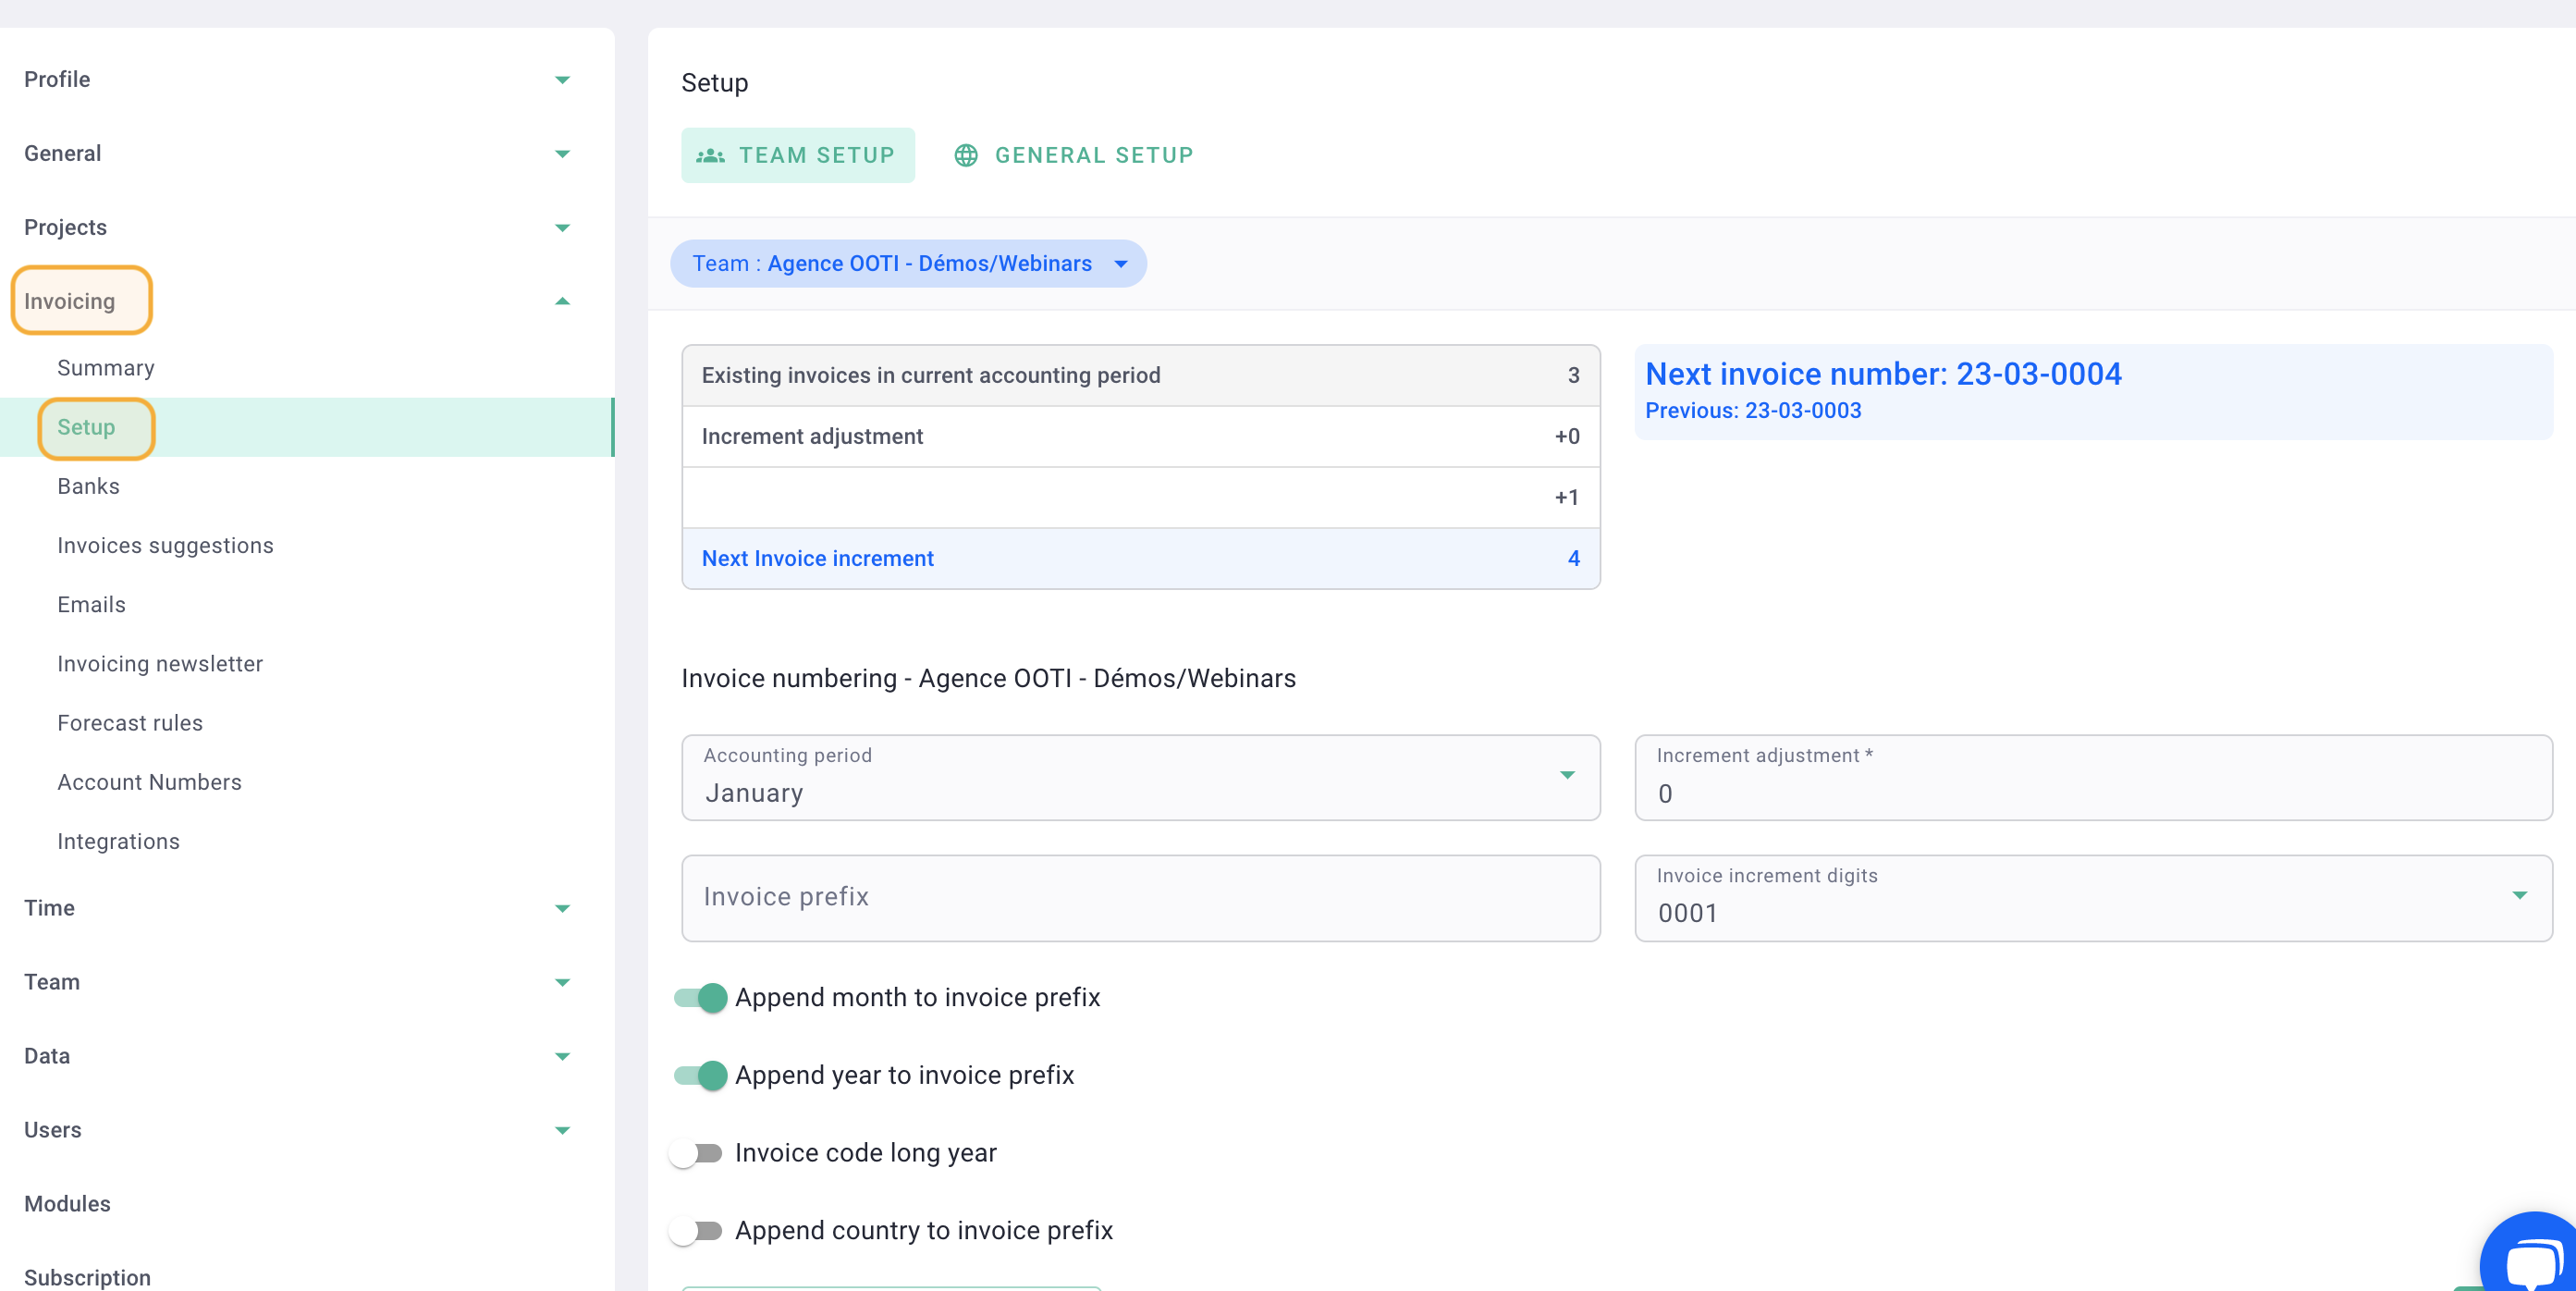
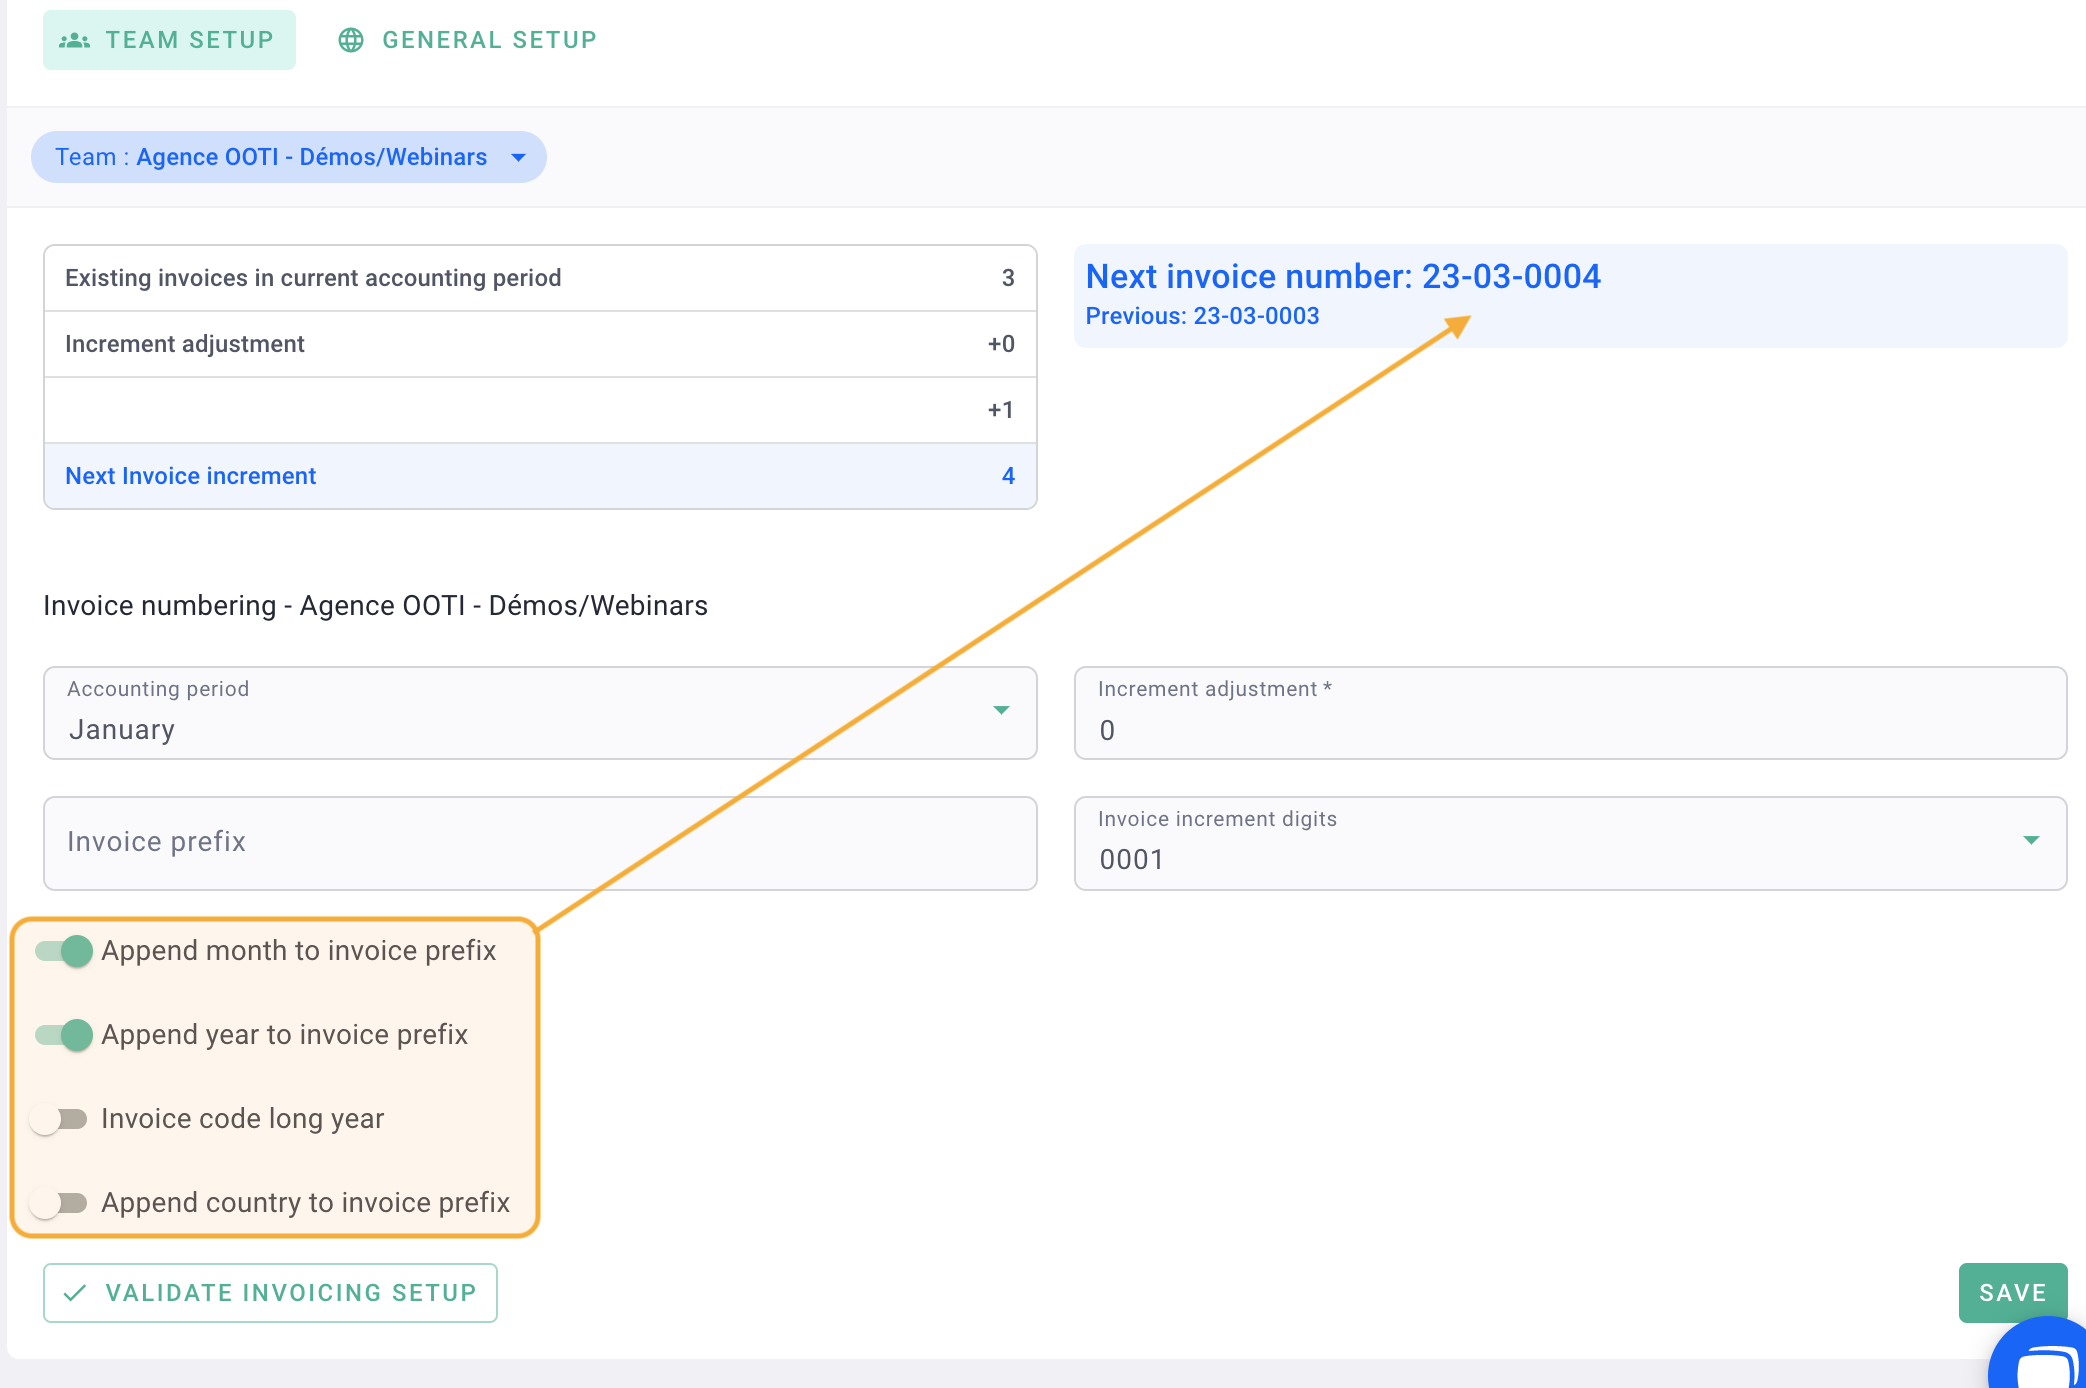
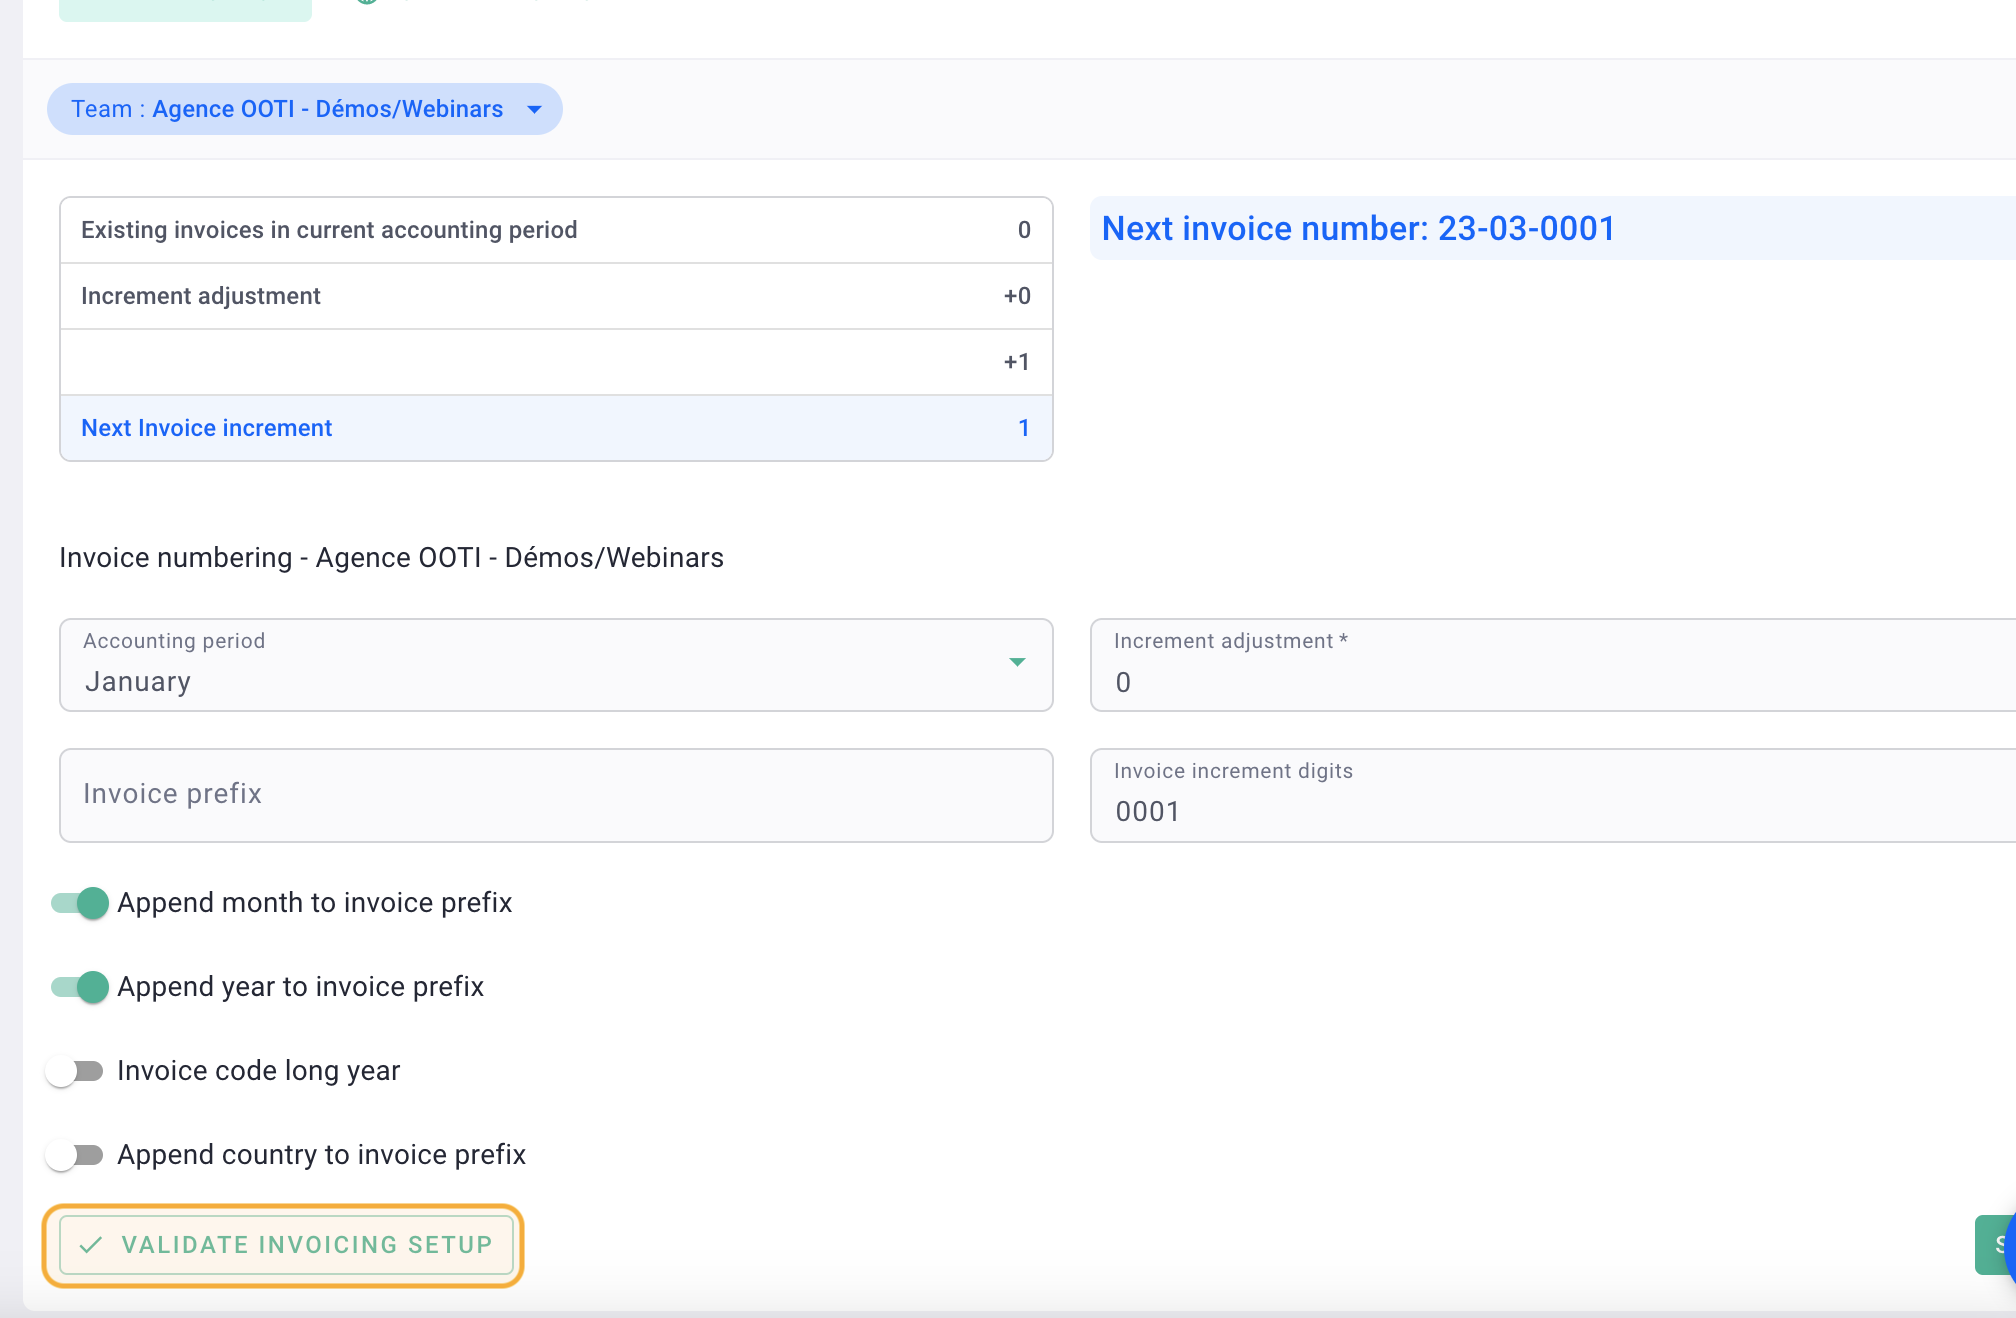
Refer to the blue preview, as it shows you the next invoice code that you will use in OOTI. You can then view and configure the format of your invoice codes.
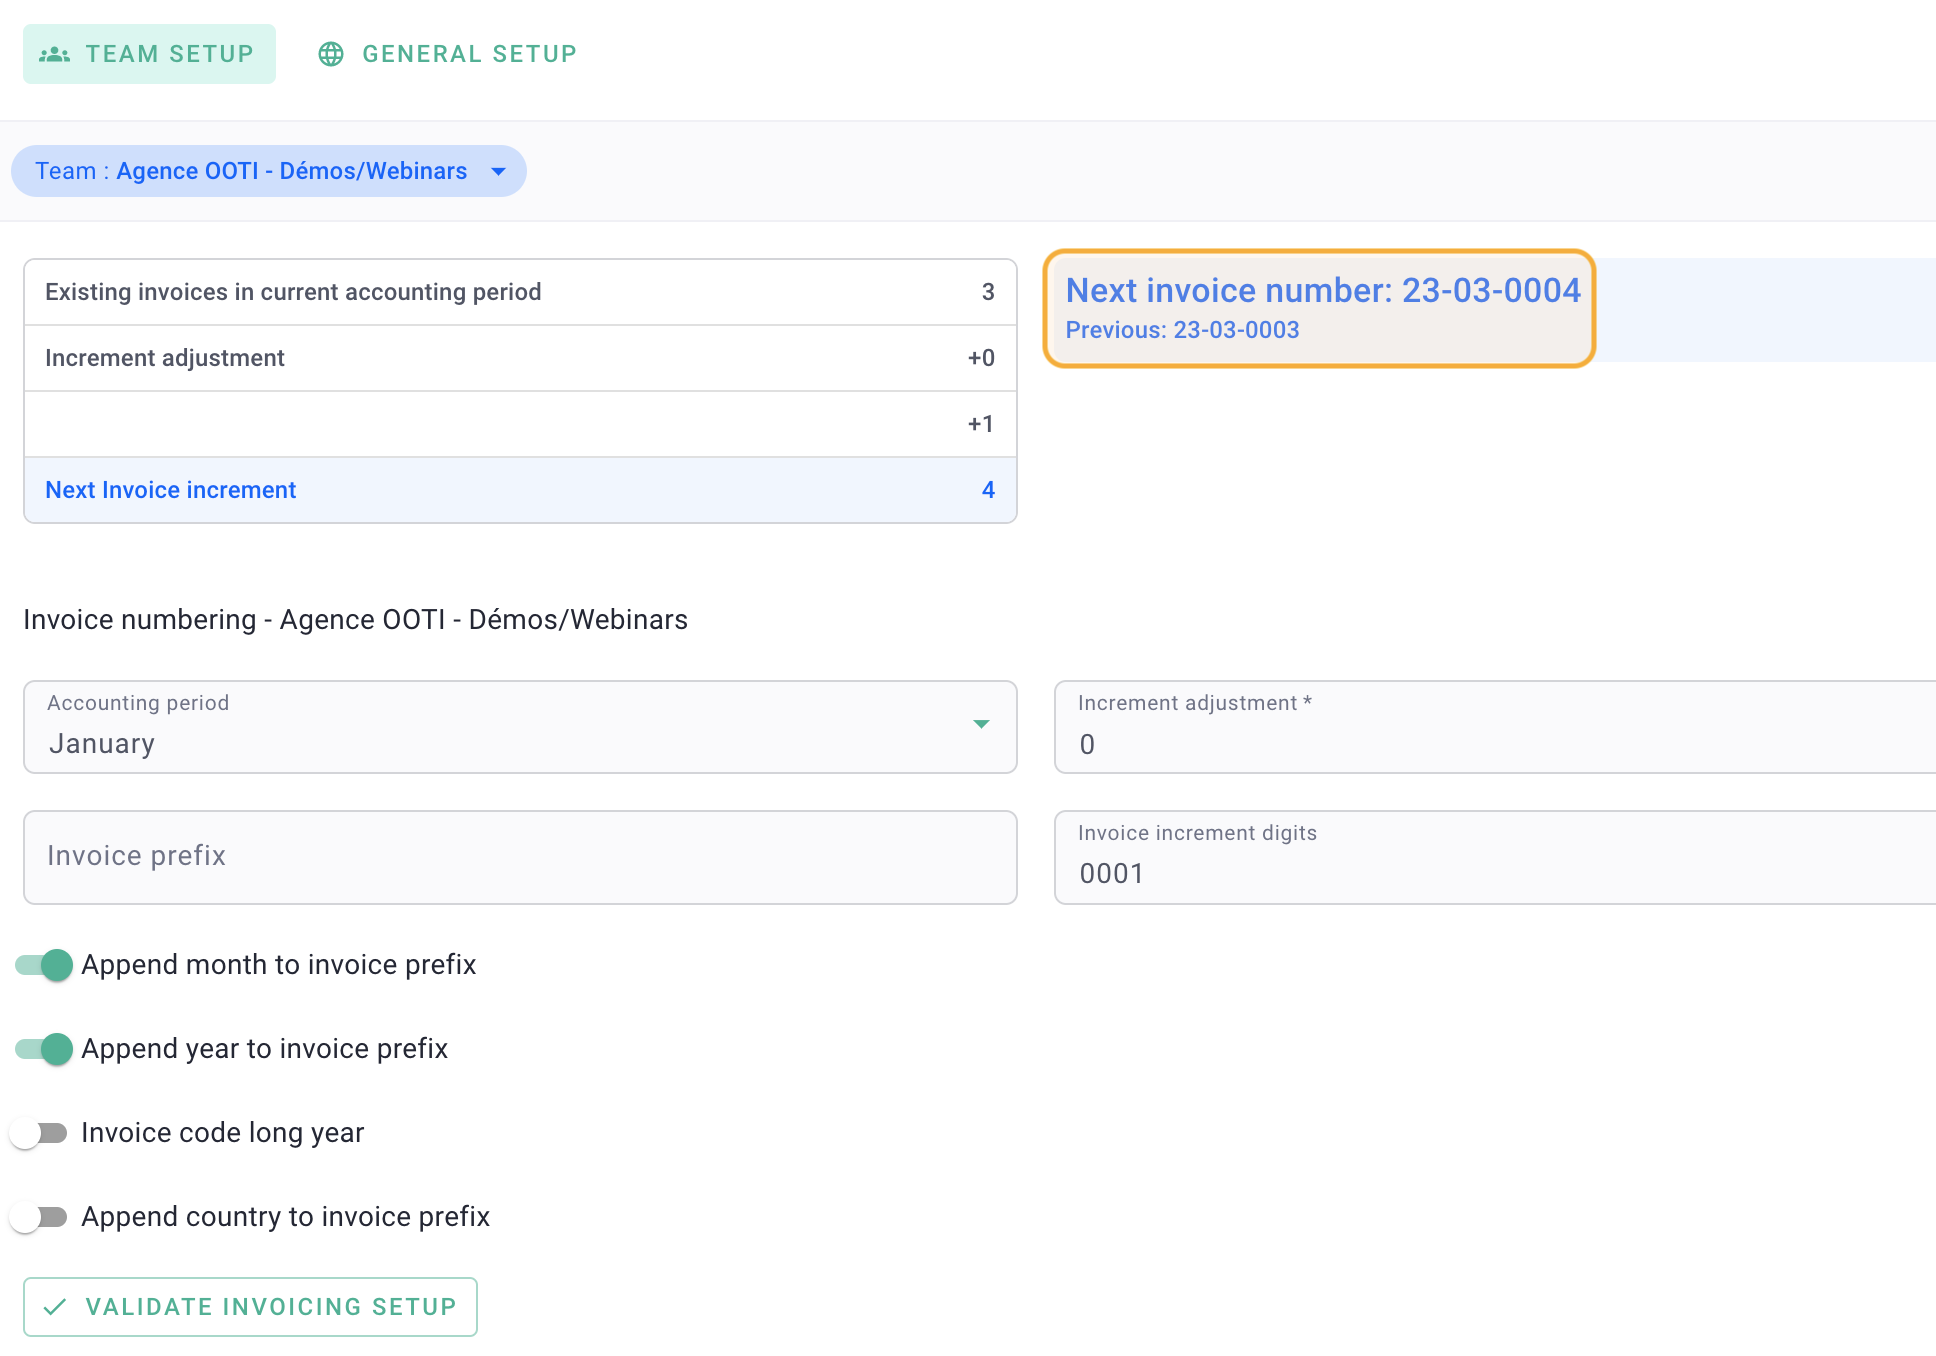
This box provides a summary of the number of invoices present on OOTI if you have already created any.
To set the format of your invoice numbering, use these modules:
- The month, which appears based on the issuance date, so "02" if the invoice is issued in February and "10" if the invoice is issued in October.
- The year in 2 digits, like "22," "23," etc.
- The year in 4 digits, like "2020," "2021," etc.
- The prefix for your agency's country, "FR" for France, "BE" for Belgium, etc.
Click on the "General Configuration" tab to set the separator between the code information.
- "Dash" -> 2022-03-0001
- "Slash" -> 2022/03/0001
- "None" -> 2022030001
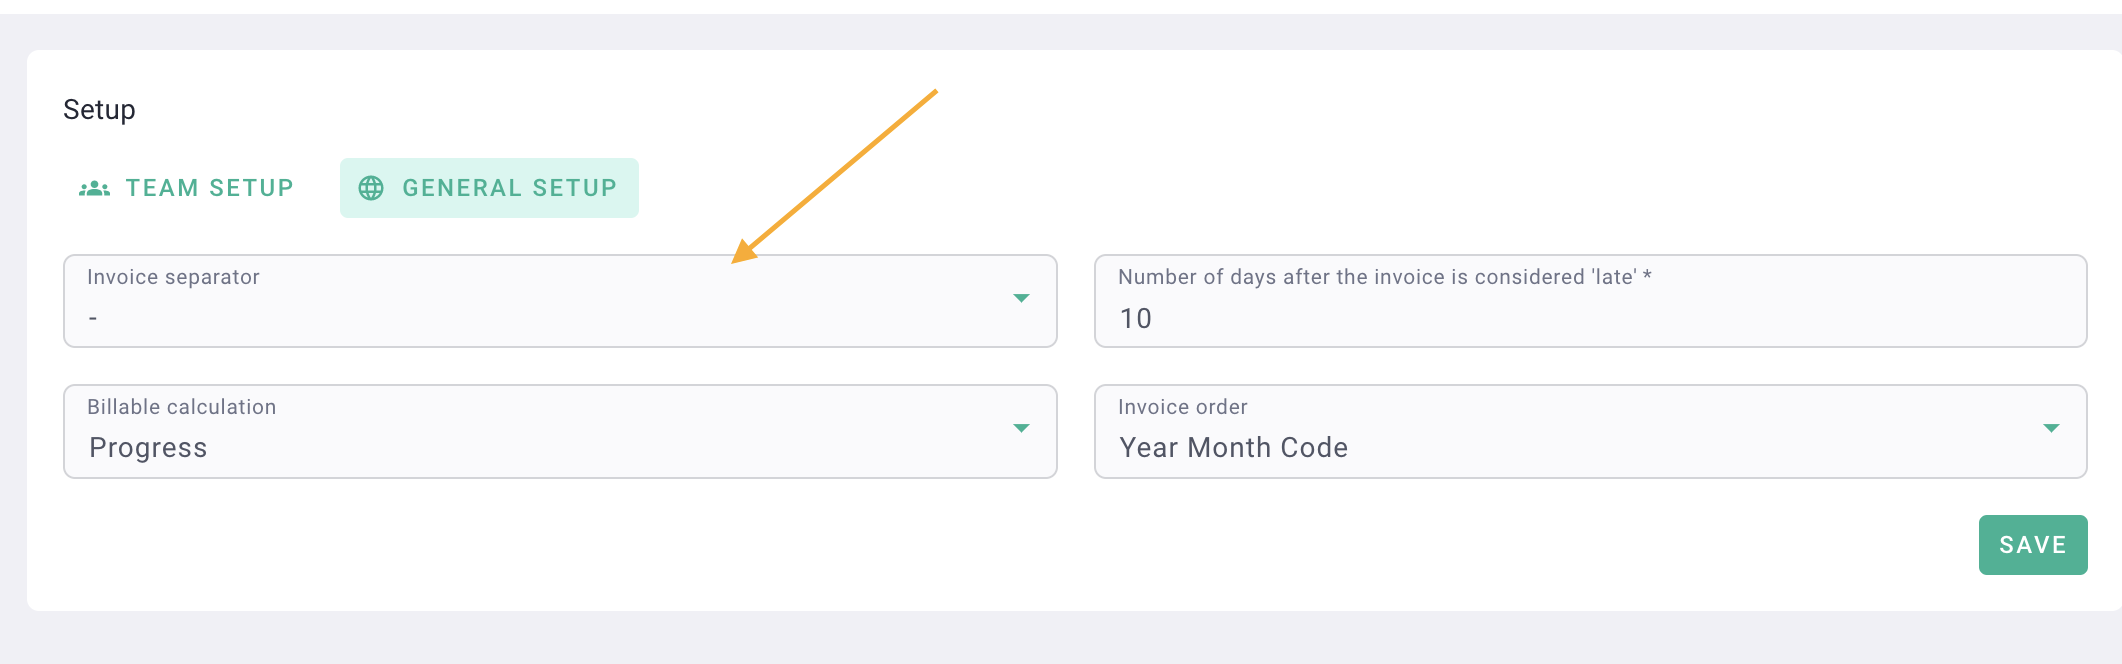
Click on Save.
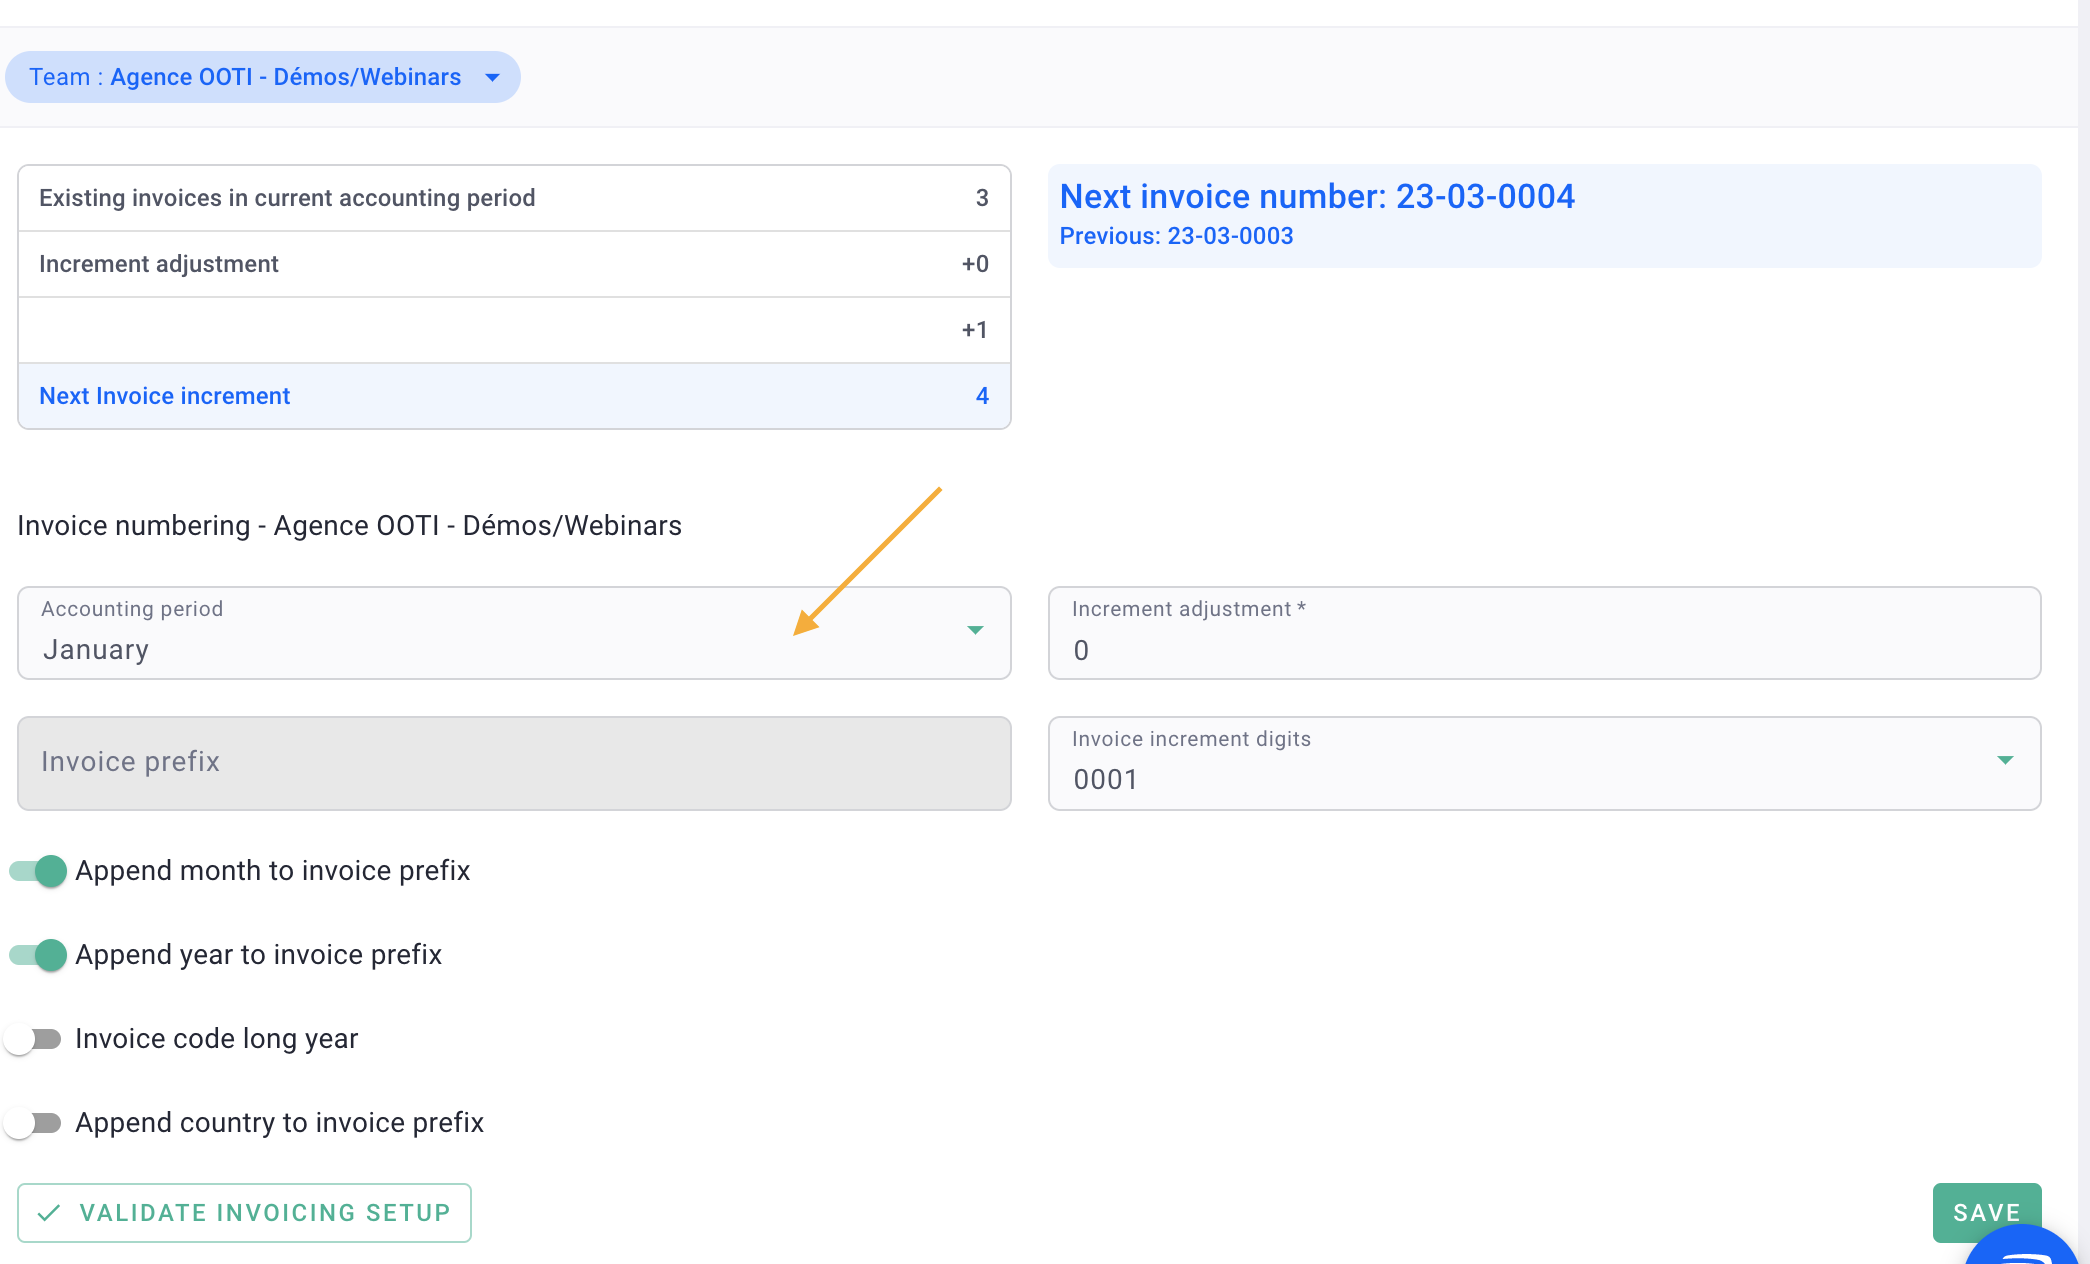
2) Accounting period
Set your accounting period: the month corresponds to the start month of your accounting period.
If you set September as the start month, your accounting period will be from September to August.
3) Code incrementation
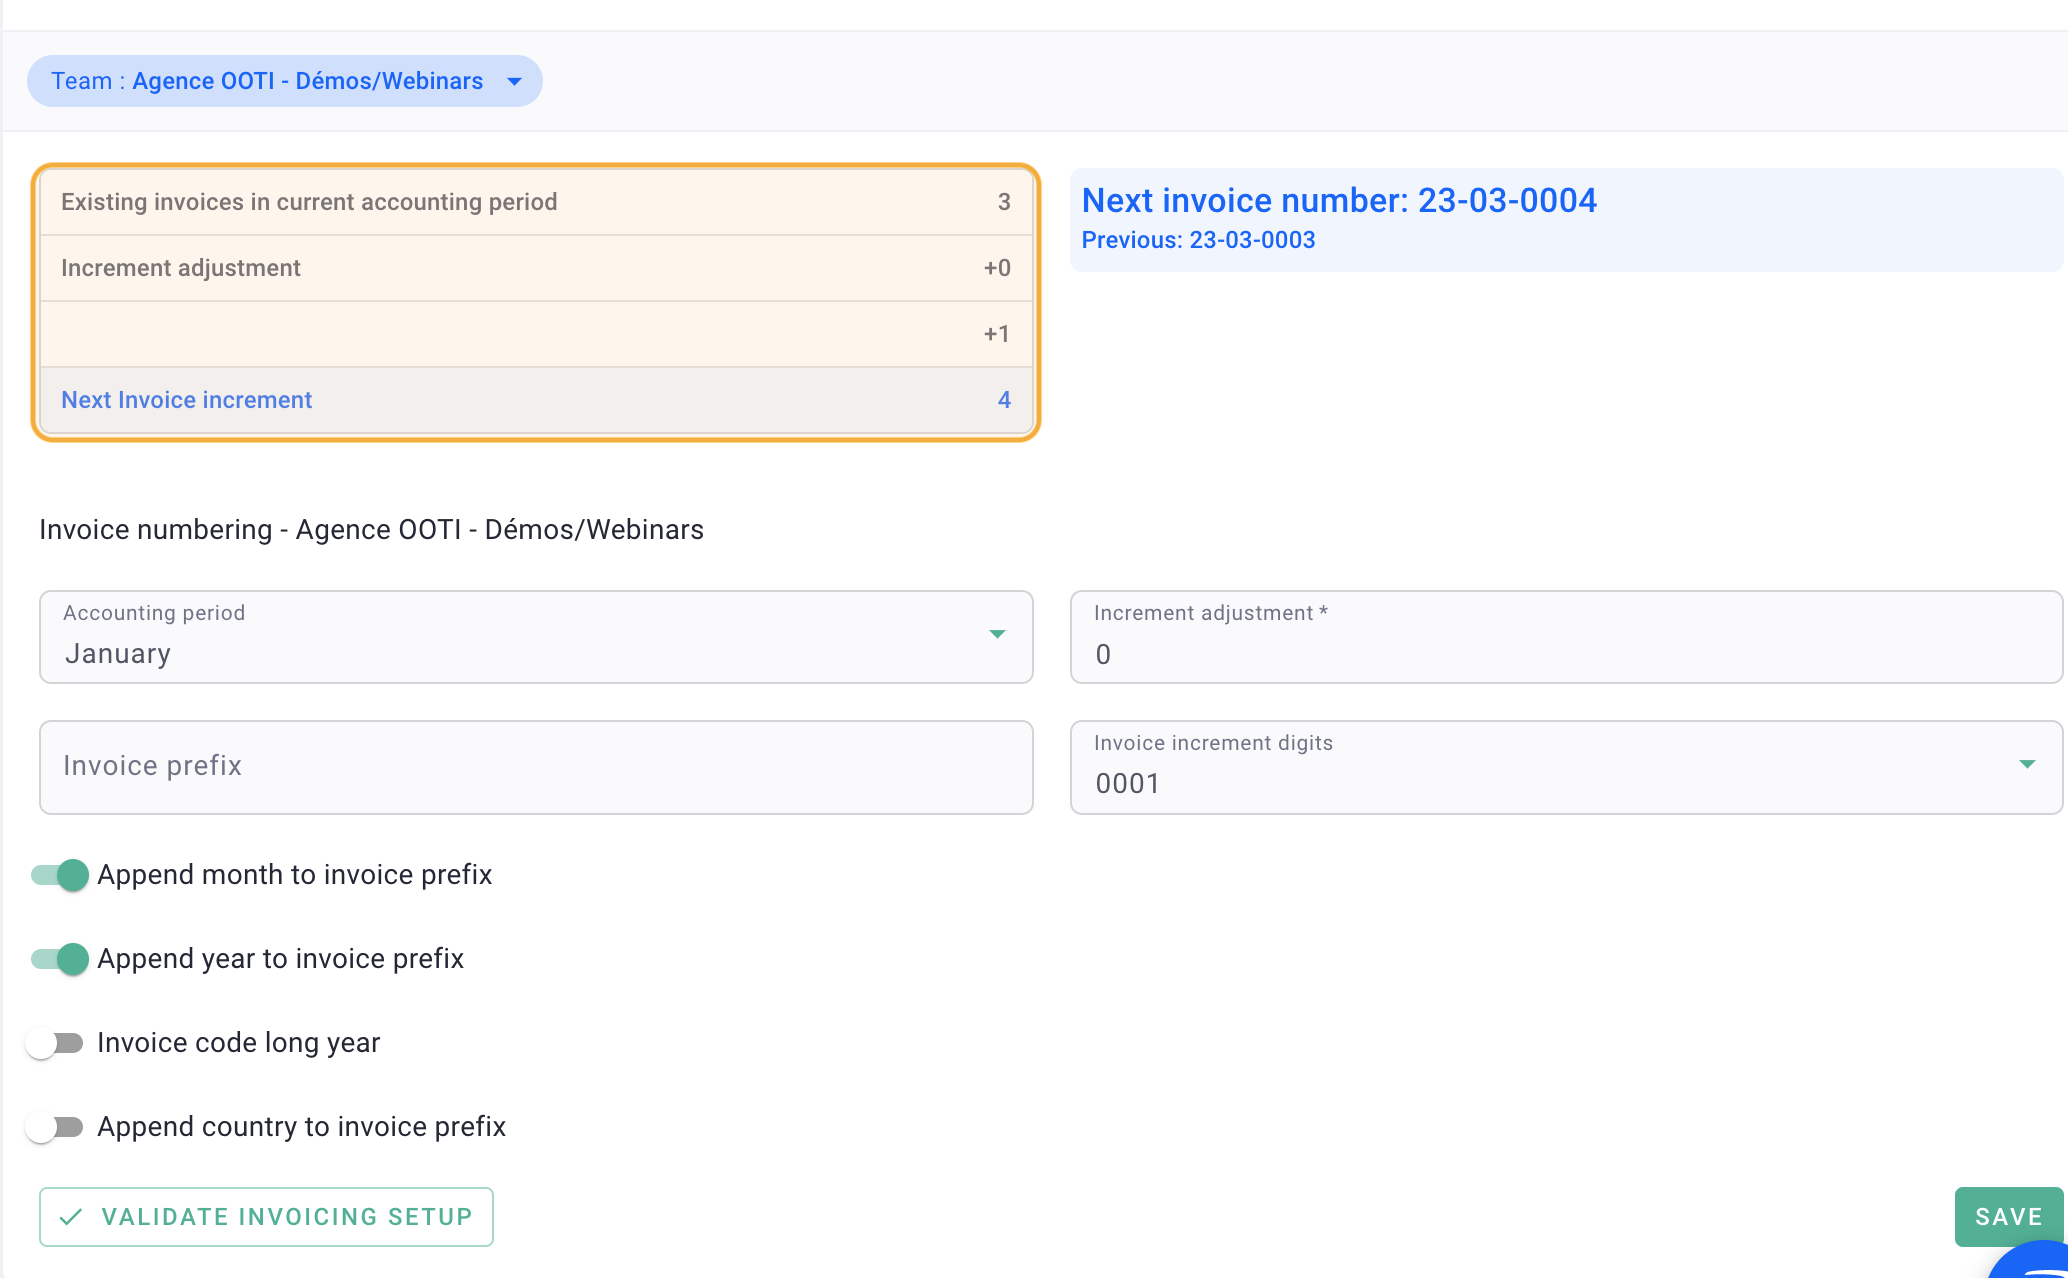
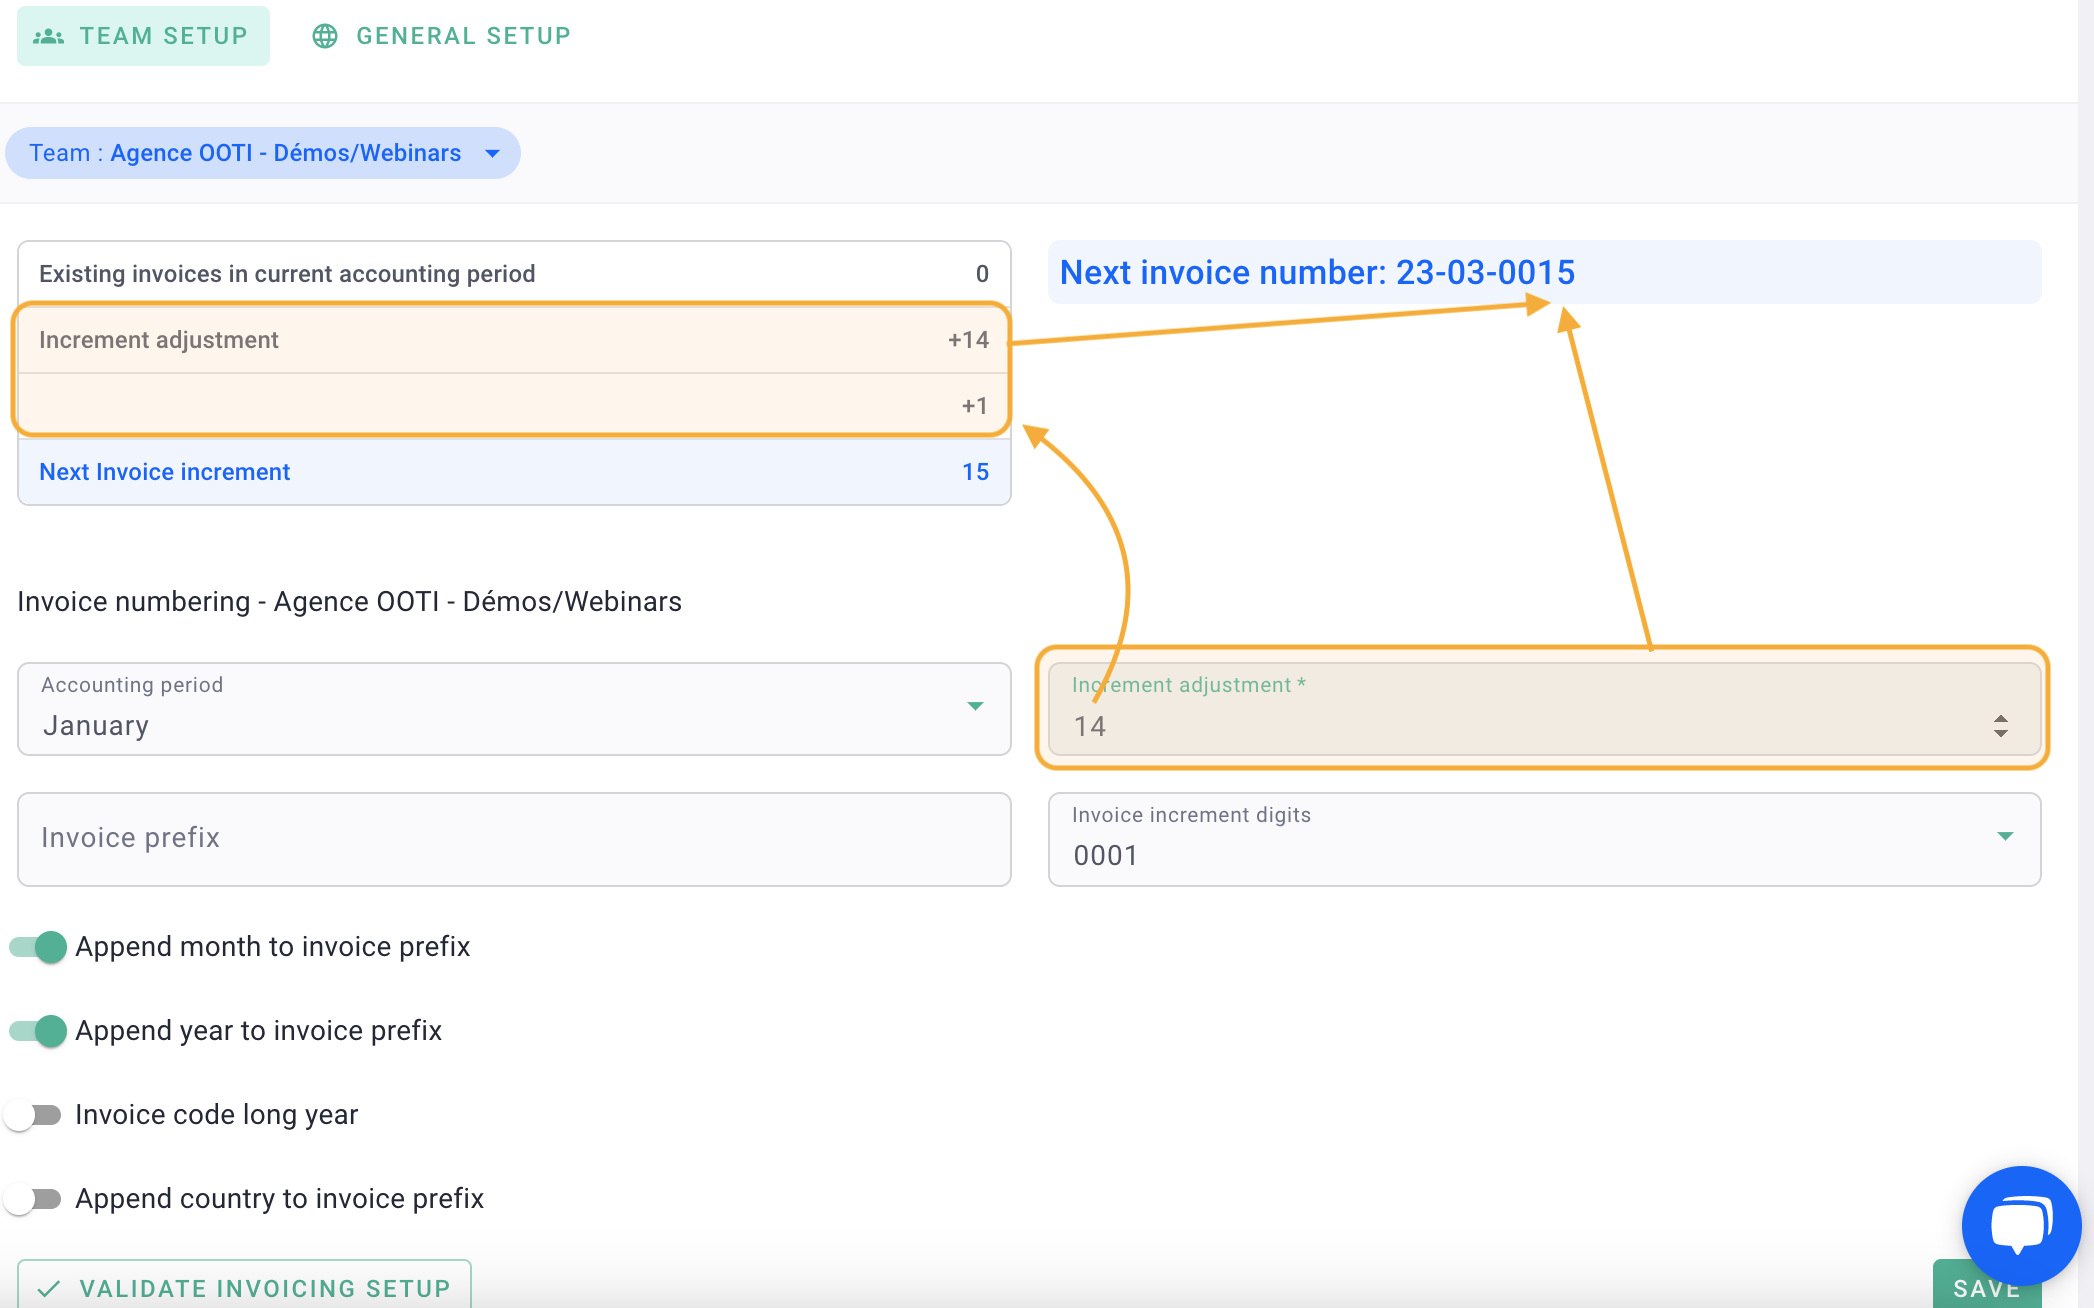
You have already made invoices with codes, but OOTI is suggesting 0001 for the next invoice?
You can add an increment, which means that if before using OOTI you made invoice 0017, you can ensure that the next invoice will be number 0018.
This way, you will maintain continuity with your previous numbering and that of OOTI.
Below, an increment of 17 (which would correspond to the number of my last invoice outside OOTI) has been added. The next invoice will be number 18 because:
0 (0 invoices for the current fiscal year) + increment 17 + 1 (new invoice) = 18
V/ Invoicing lock
As long as you have not locked the invoicing:
- Your invoices will all have a blue text "Finish configuring invoicing - Validate invoicing in settings" on all PDFs.
- You can delete your invoices.

⚠️ Warning, as long as your account is unlocked, the invoicing is not compliant.
If you have everything configured and everything seems fine to you, you just need to lock the invoicing of the account in the settings. Click on your First Name in the top right corner > Settings > Invoicing on the left > Setup then click on the button "Validate invoicing setup".
By doing this, your invoicing will be compliant.
You will no longer be able to delete invoices, each invoice will have a unique code automatically generated by OOTI, and the blue message on the PDFs will disappear.