
Create invoices of type "Other," which means they are outside of any project or not linked to a specific phase. These invoices will be counted in the agency's revenue.
🔓 Required permissions
Team : View Invoices and Manage Invoices
Project : View Invoices and Manage Invoices
| Reading time | 5 min |
| Setup length | 5 min |
| Steps | 3 |
Summary
I/ Create a non-project invoice
II/ Create an invoice within a project without phases
III/ Create a client
I/ Create a non-project invoice
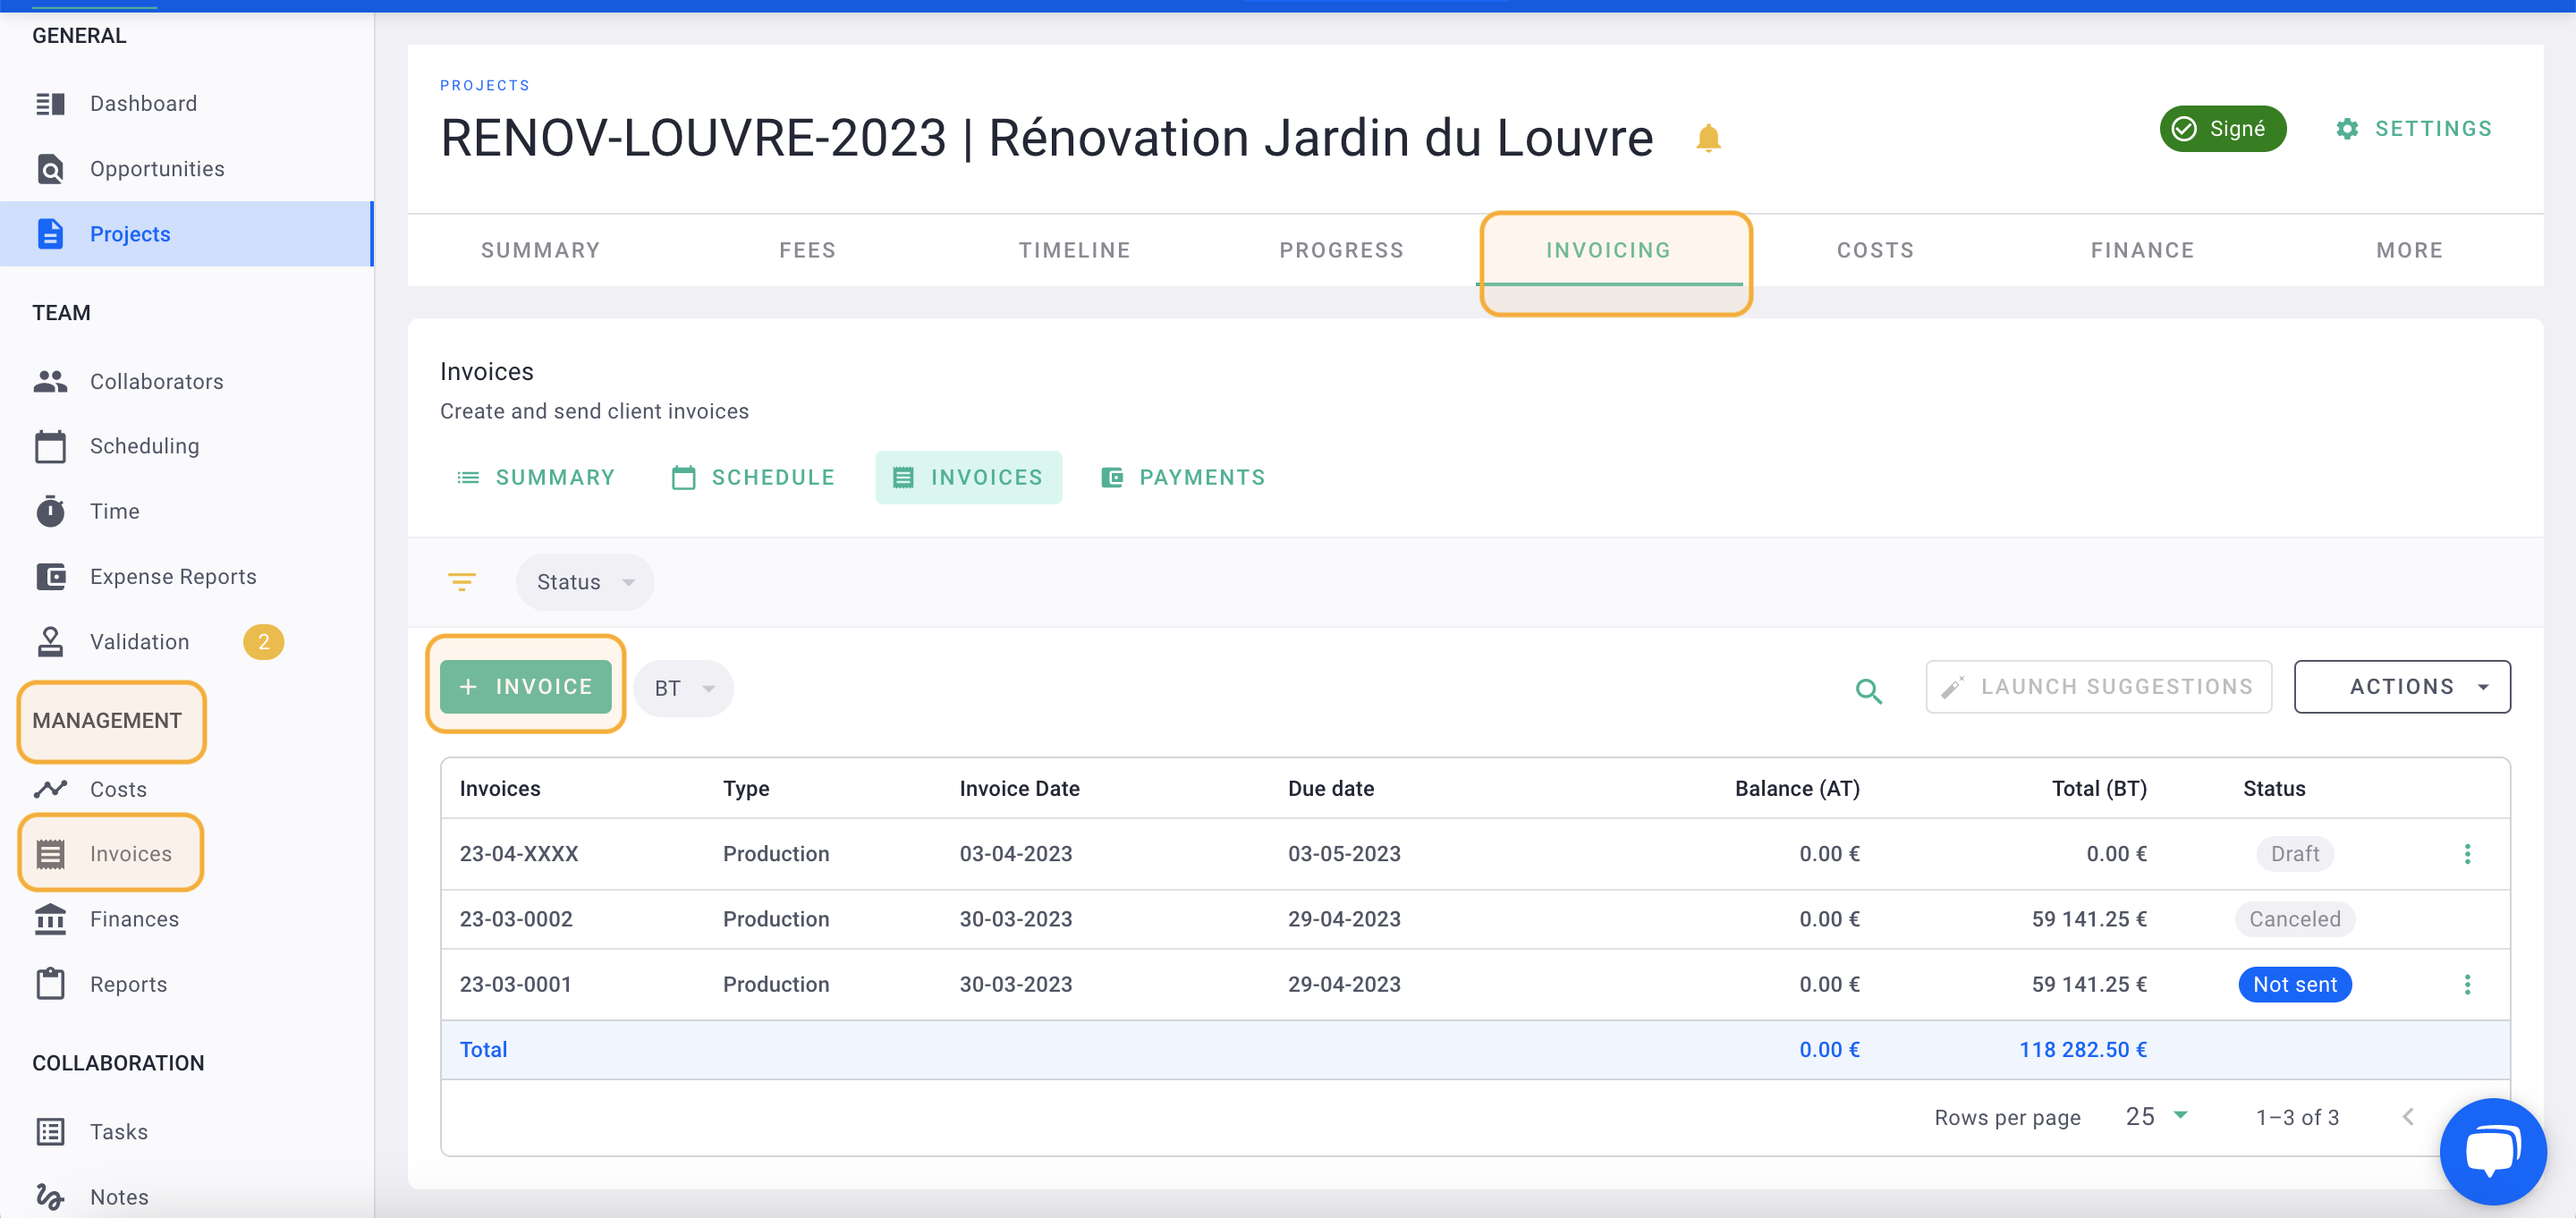
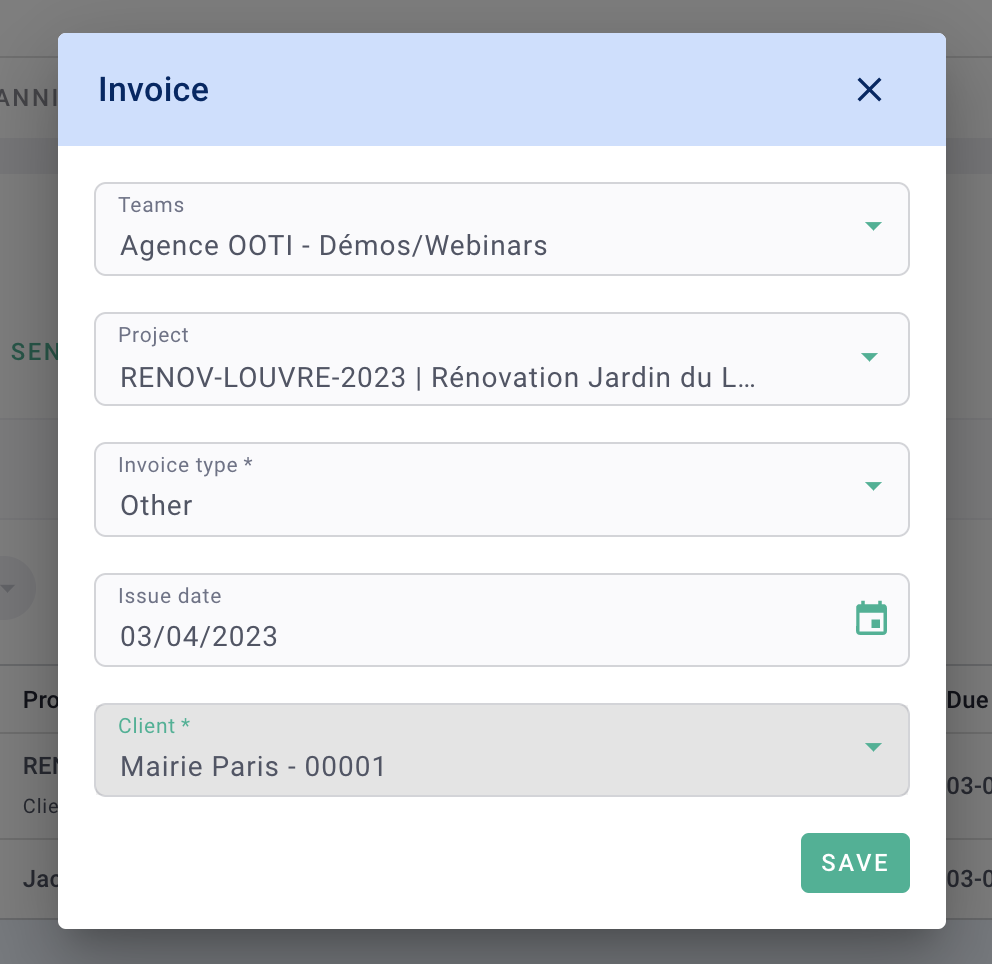
To create a non-project invoice, go to the Invoices menu on the left-hand side, then click on the Invoices tab, and then click on + Invoice.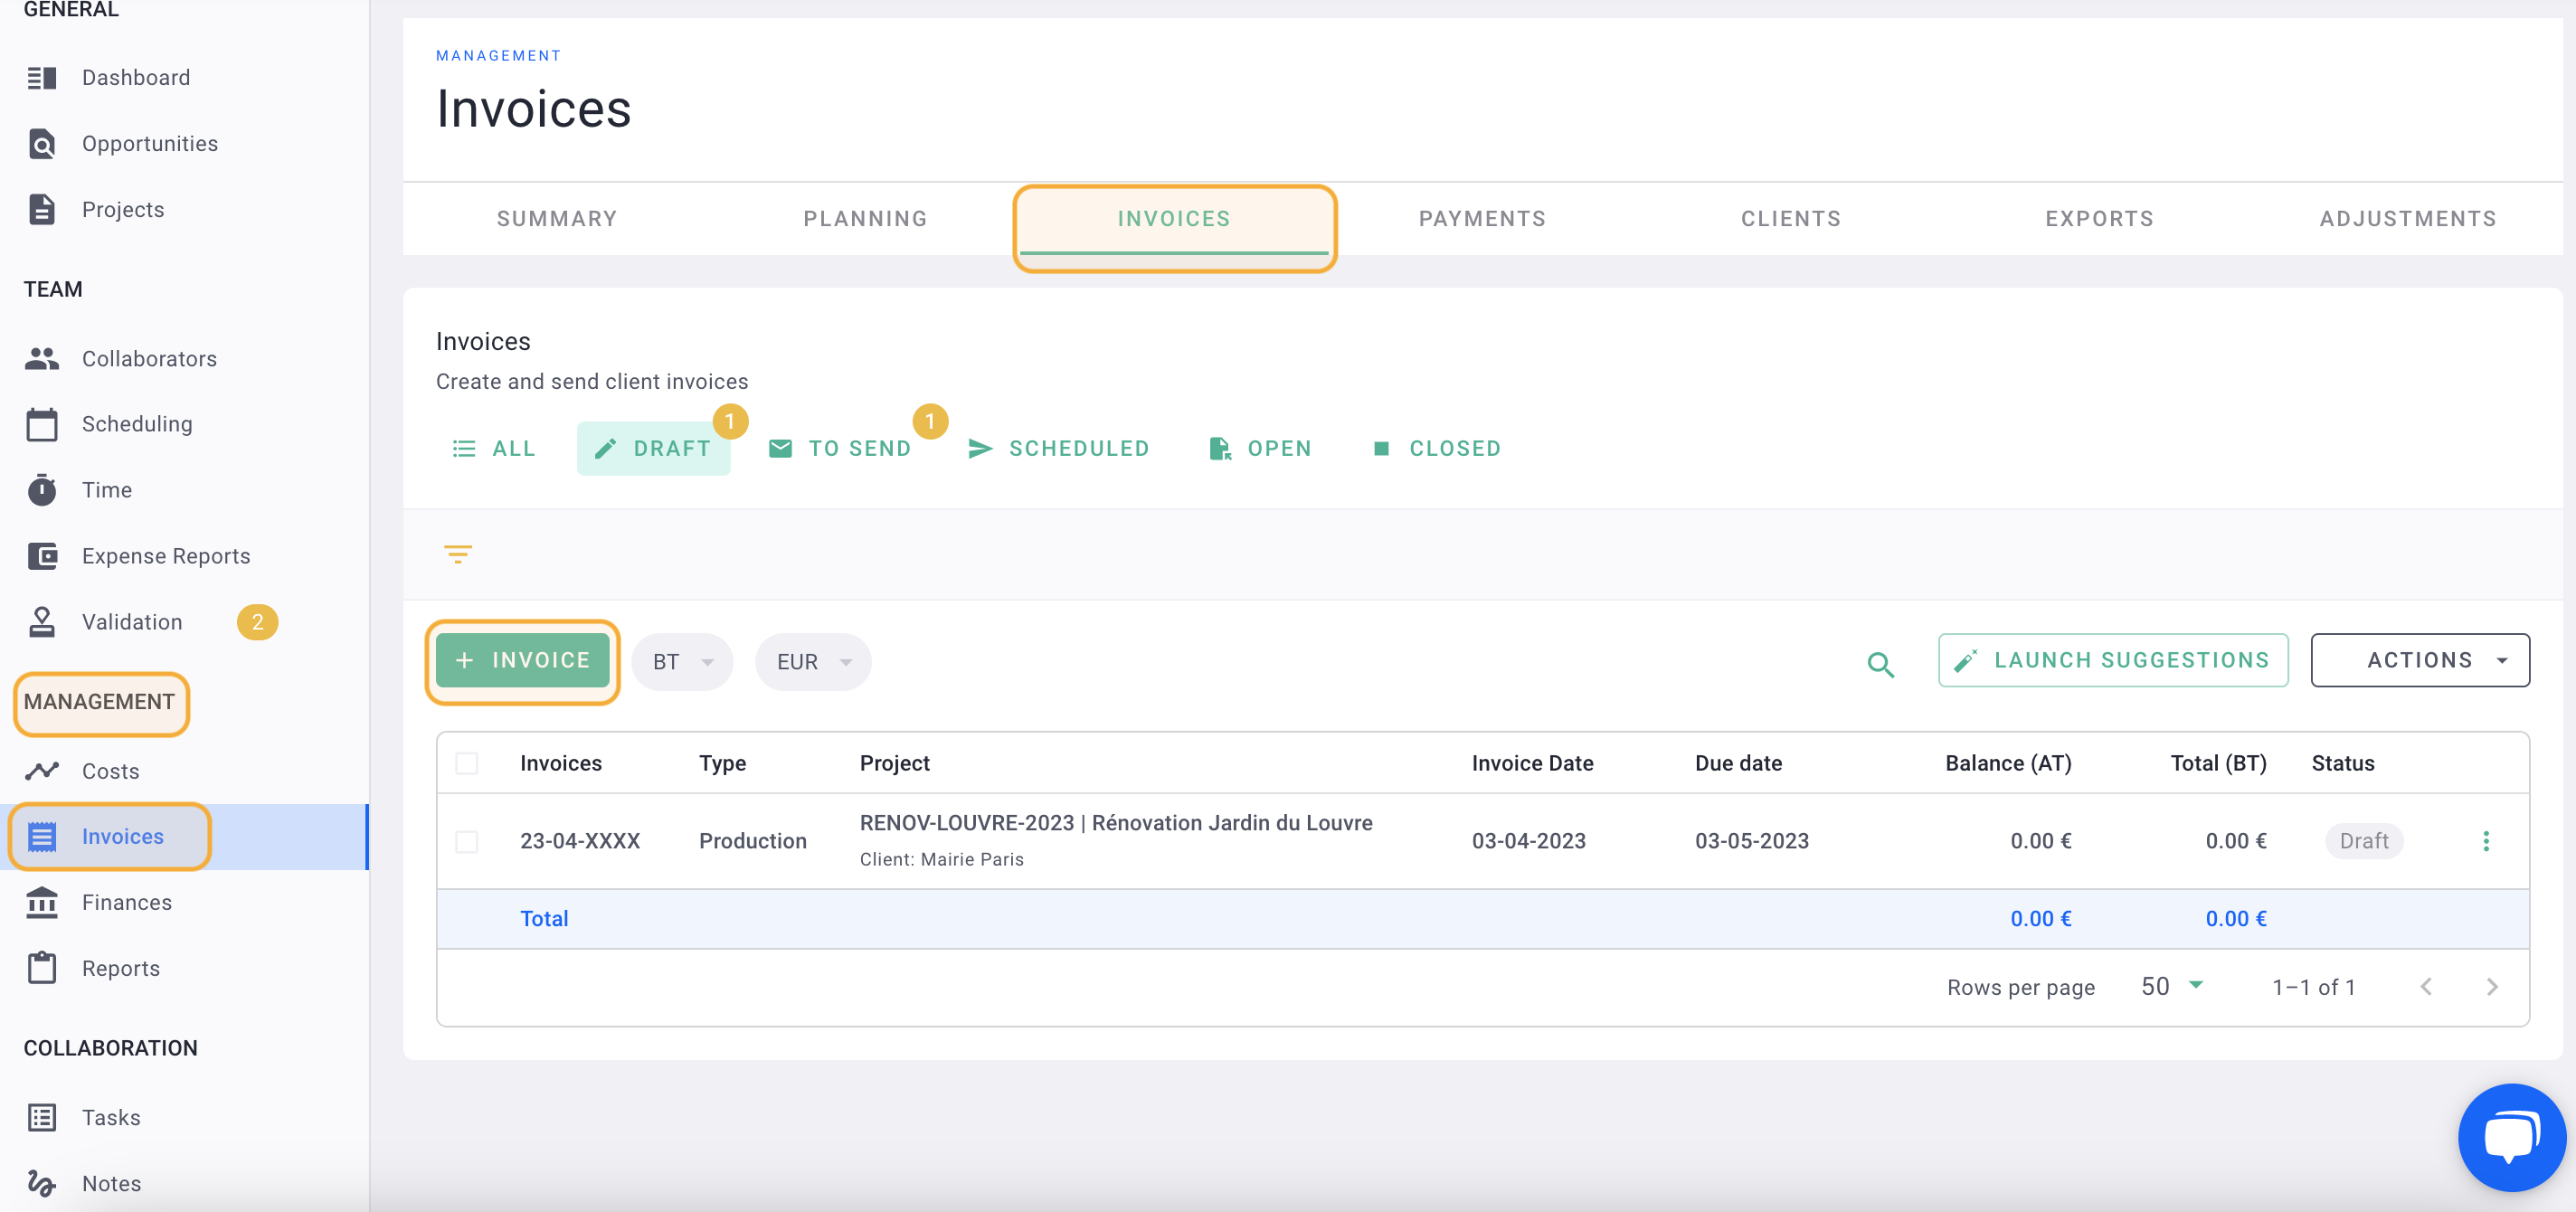
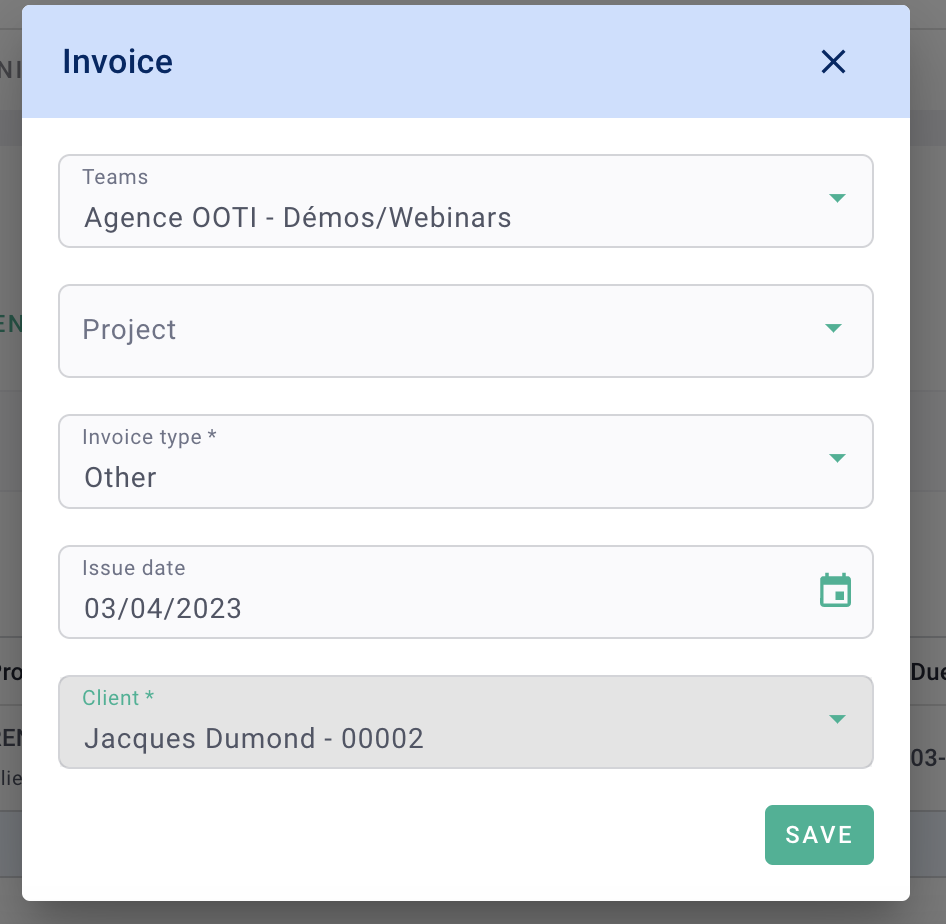
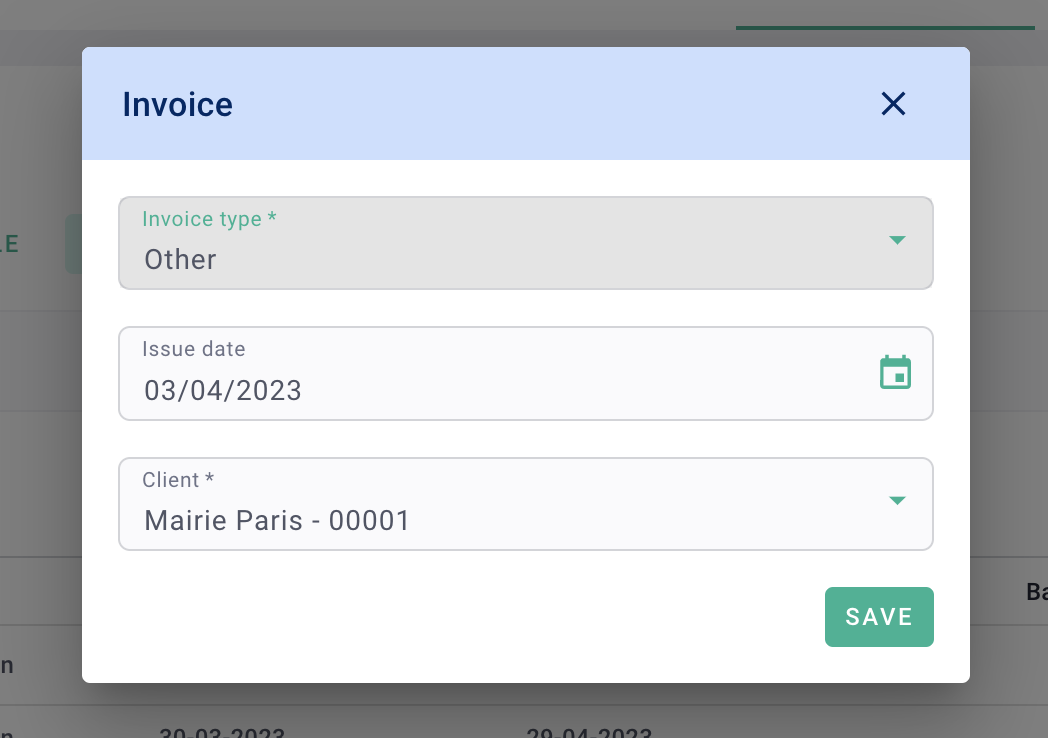
Do not select any project if this invoice is not part of any project's revenue. In the Invoice Type field, select "Other." Finally, select the Issuance Date and the Client, then click on Save.
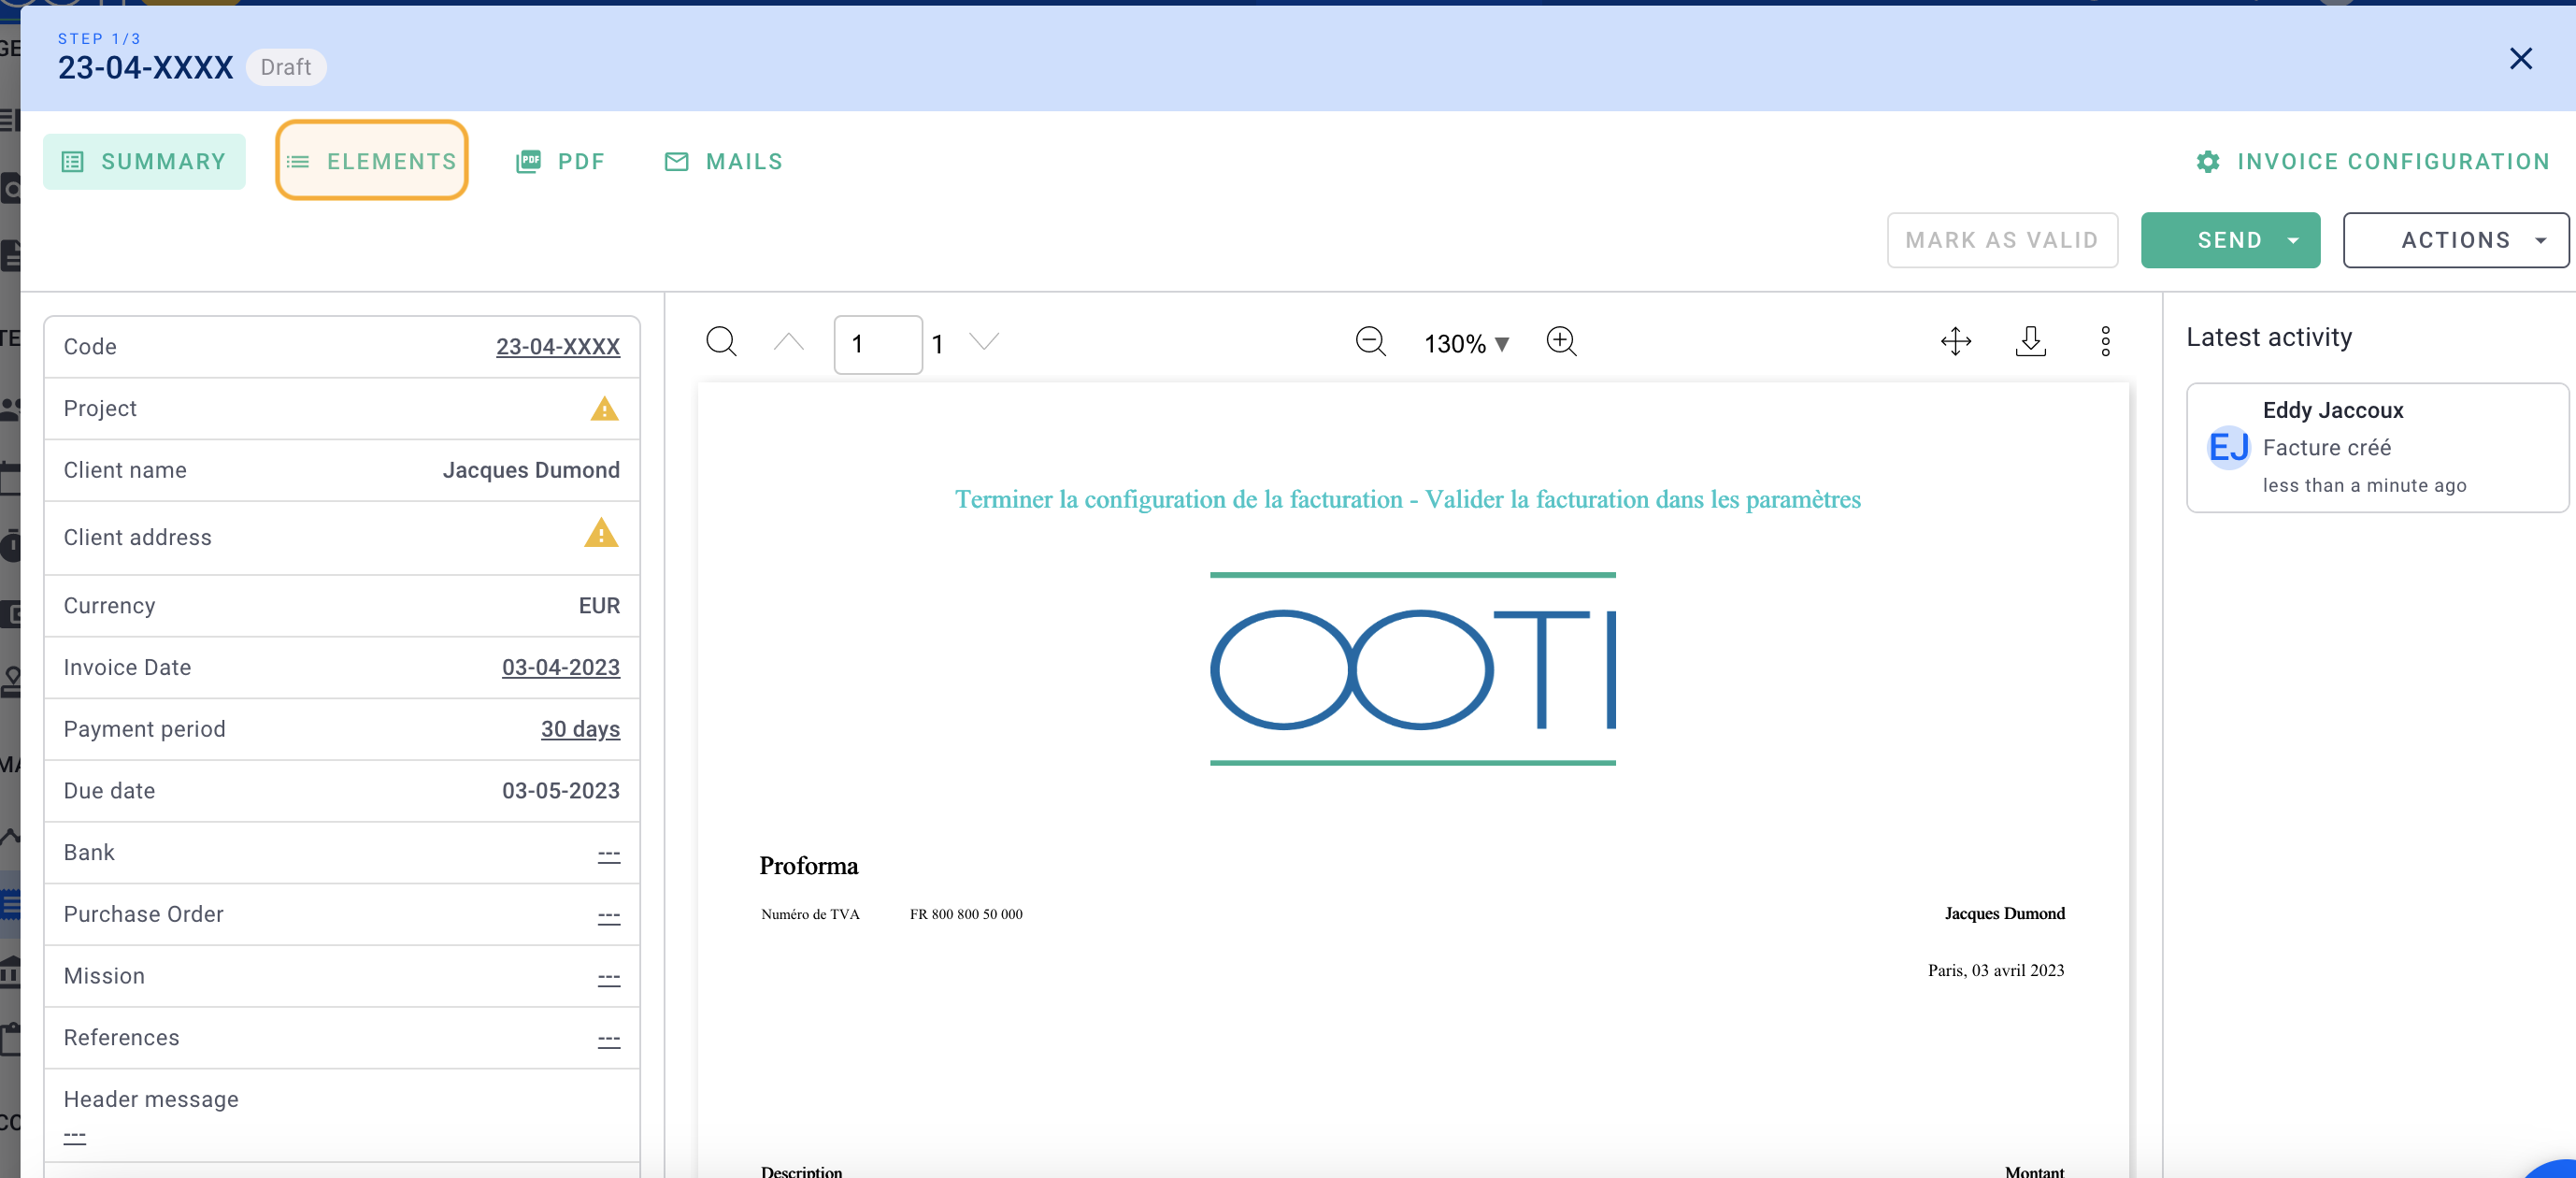
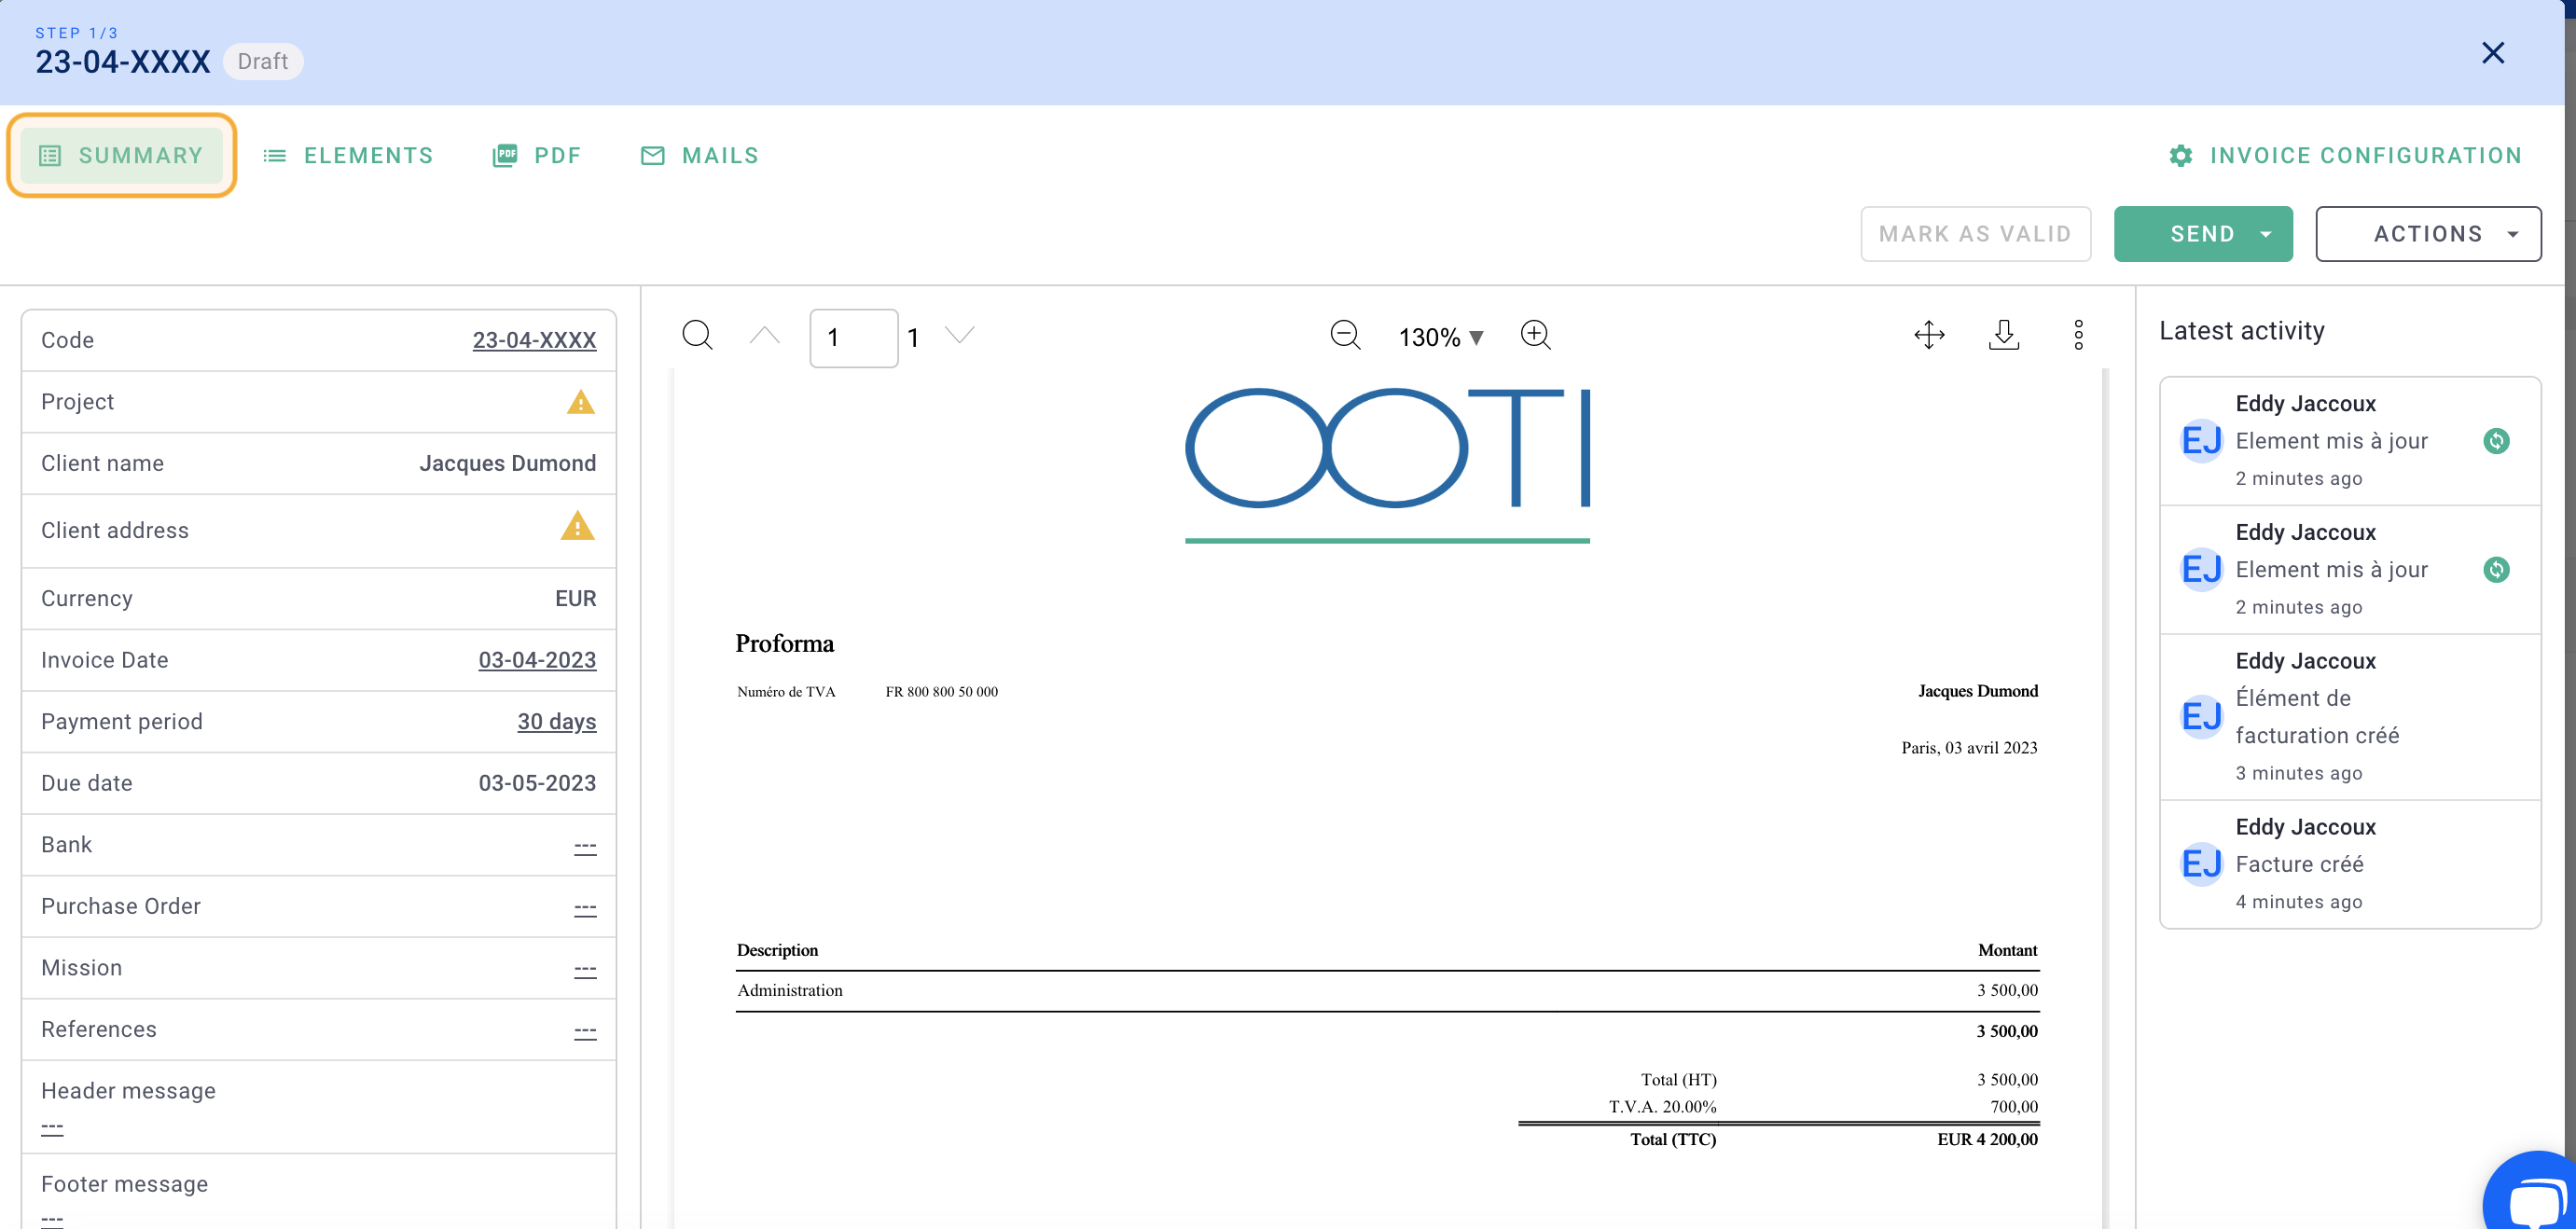
You will enter the invoice details.
Go to the Elements tab.
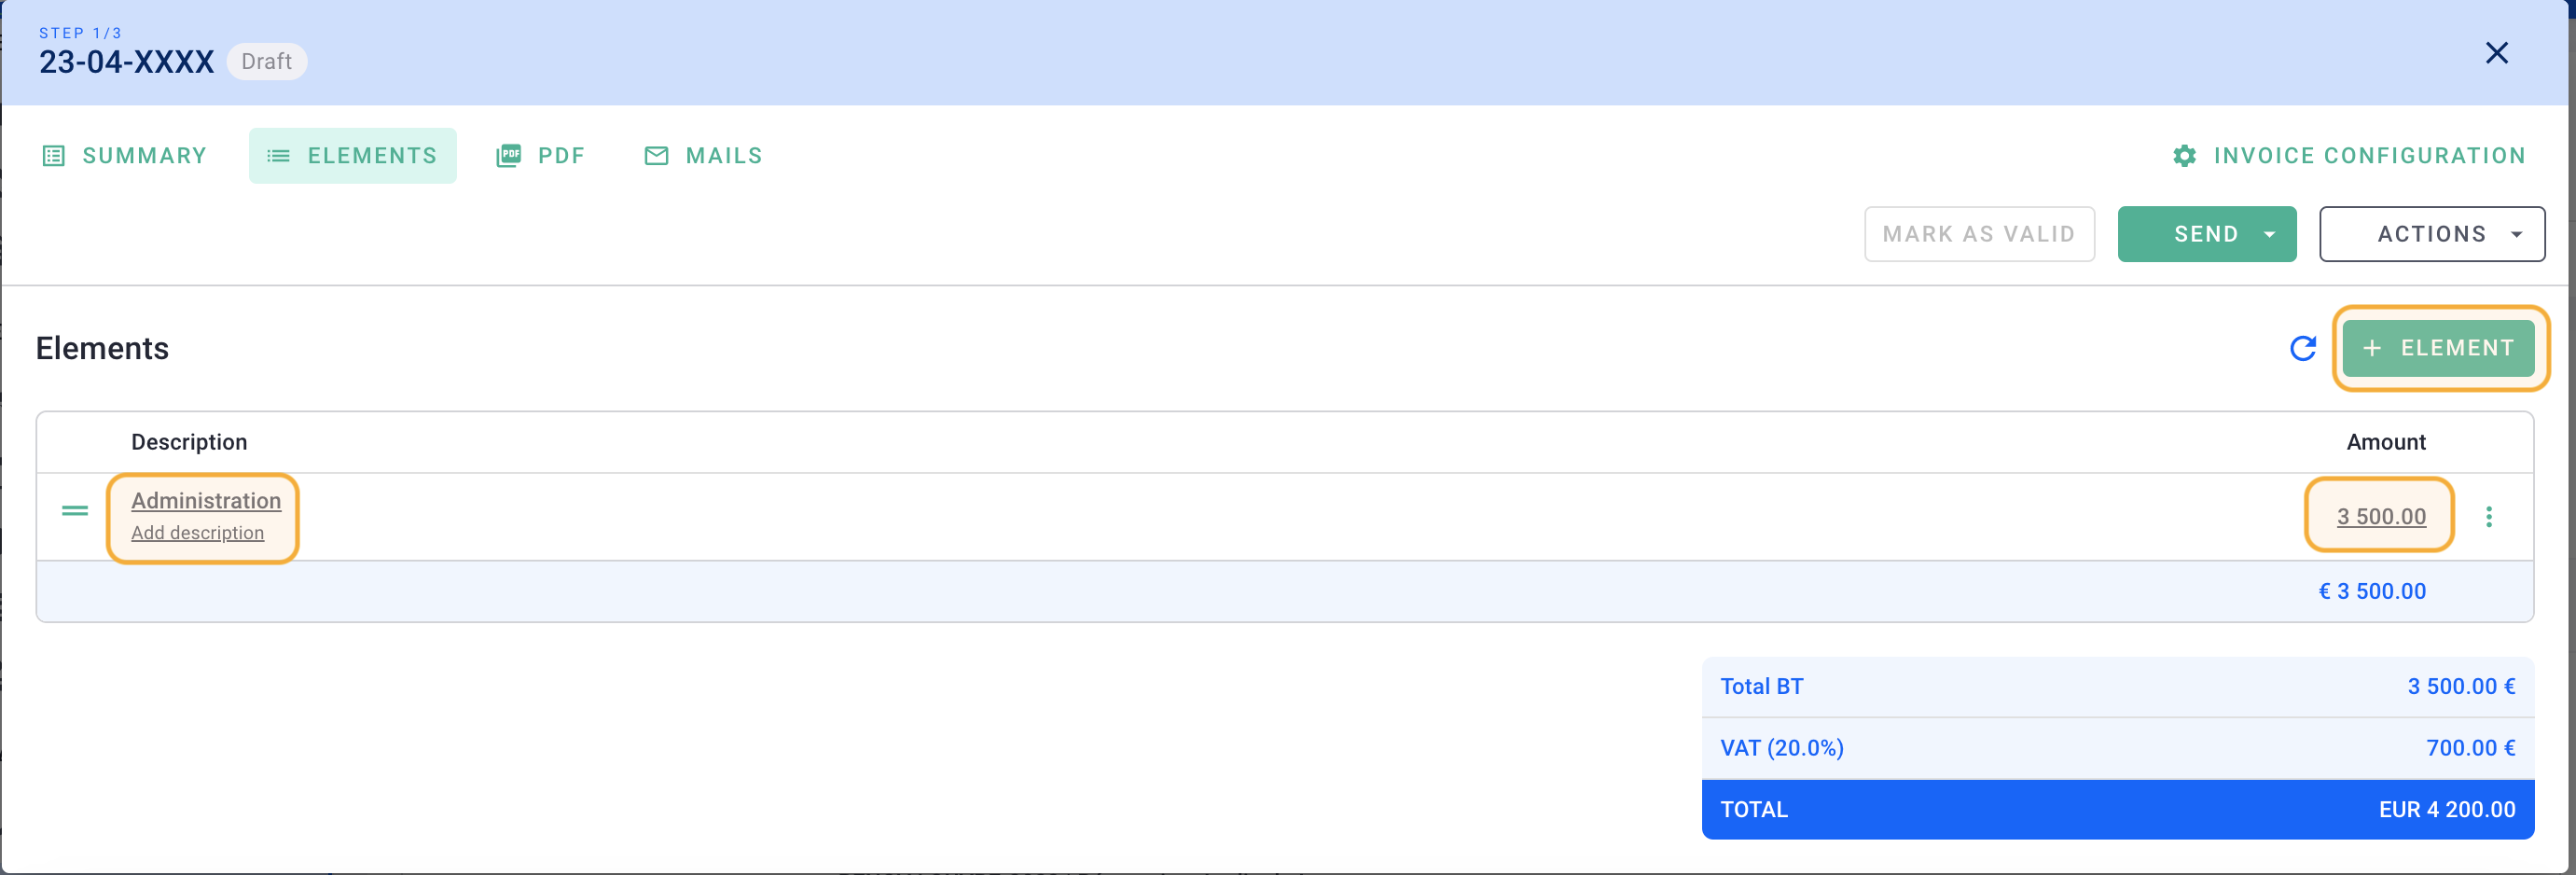
In the Elements tab, click on the + Element button. Add a label for your element and specify the amount. Verify if the VAT is correct.
 Finally, go back to the Summary tab to have an overview of the invoice.
You can always modify the elements or details of the invoice as long as it is not sent.
Afterward, manage this invoice as a regular production invoice:
- Mark it as validated to generate a unique code.
- Mark it as sent if applicable.
- Mark it as paid when the payment is received.
💡 Click here to read the article on the creation of an invoice.
There you go! 🎉 You have created a non-project invoice!
II/ Create an invoice within a project without phases
To create an "Other" type invoice, there are two possible paths: from a project or from the Invoices menu.
-
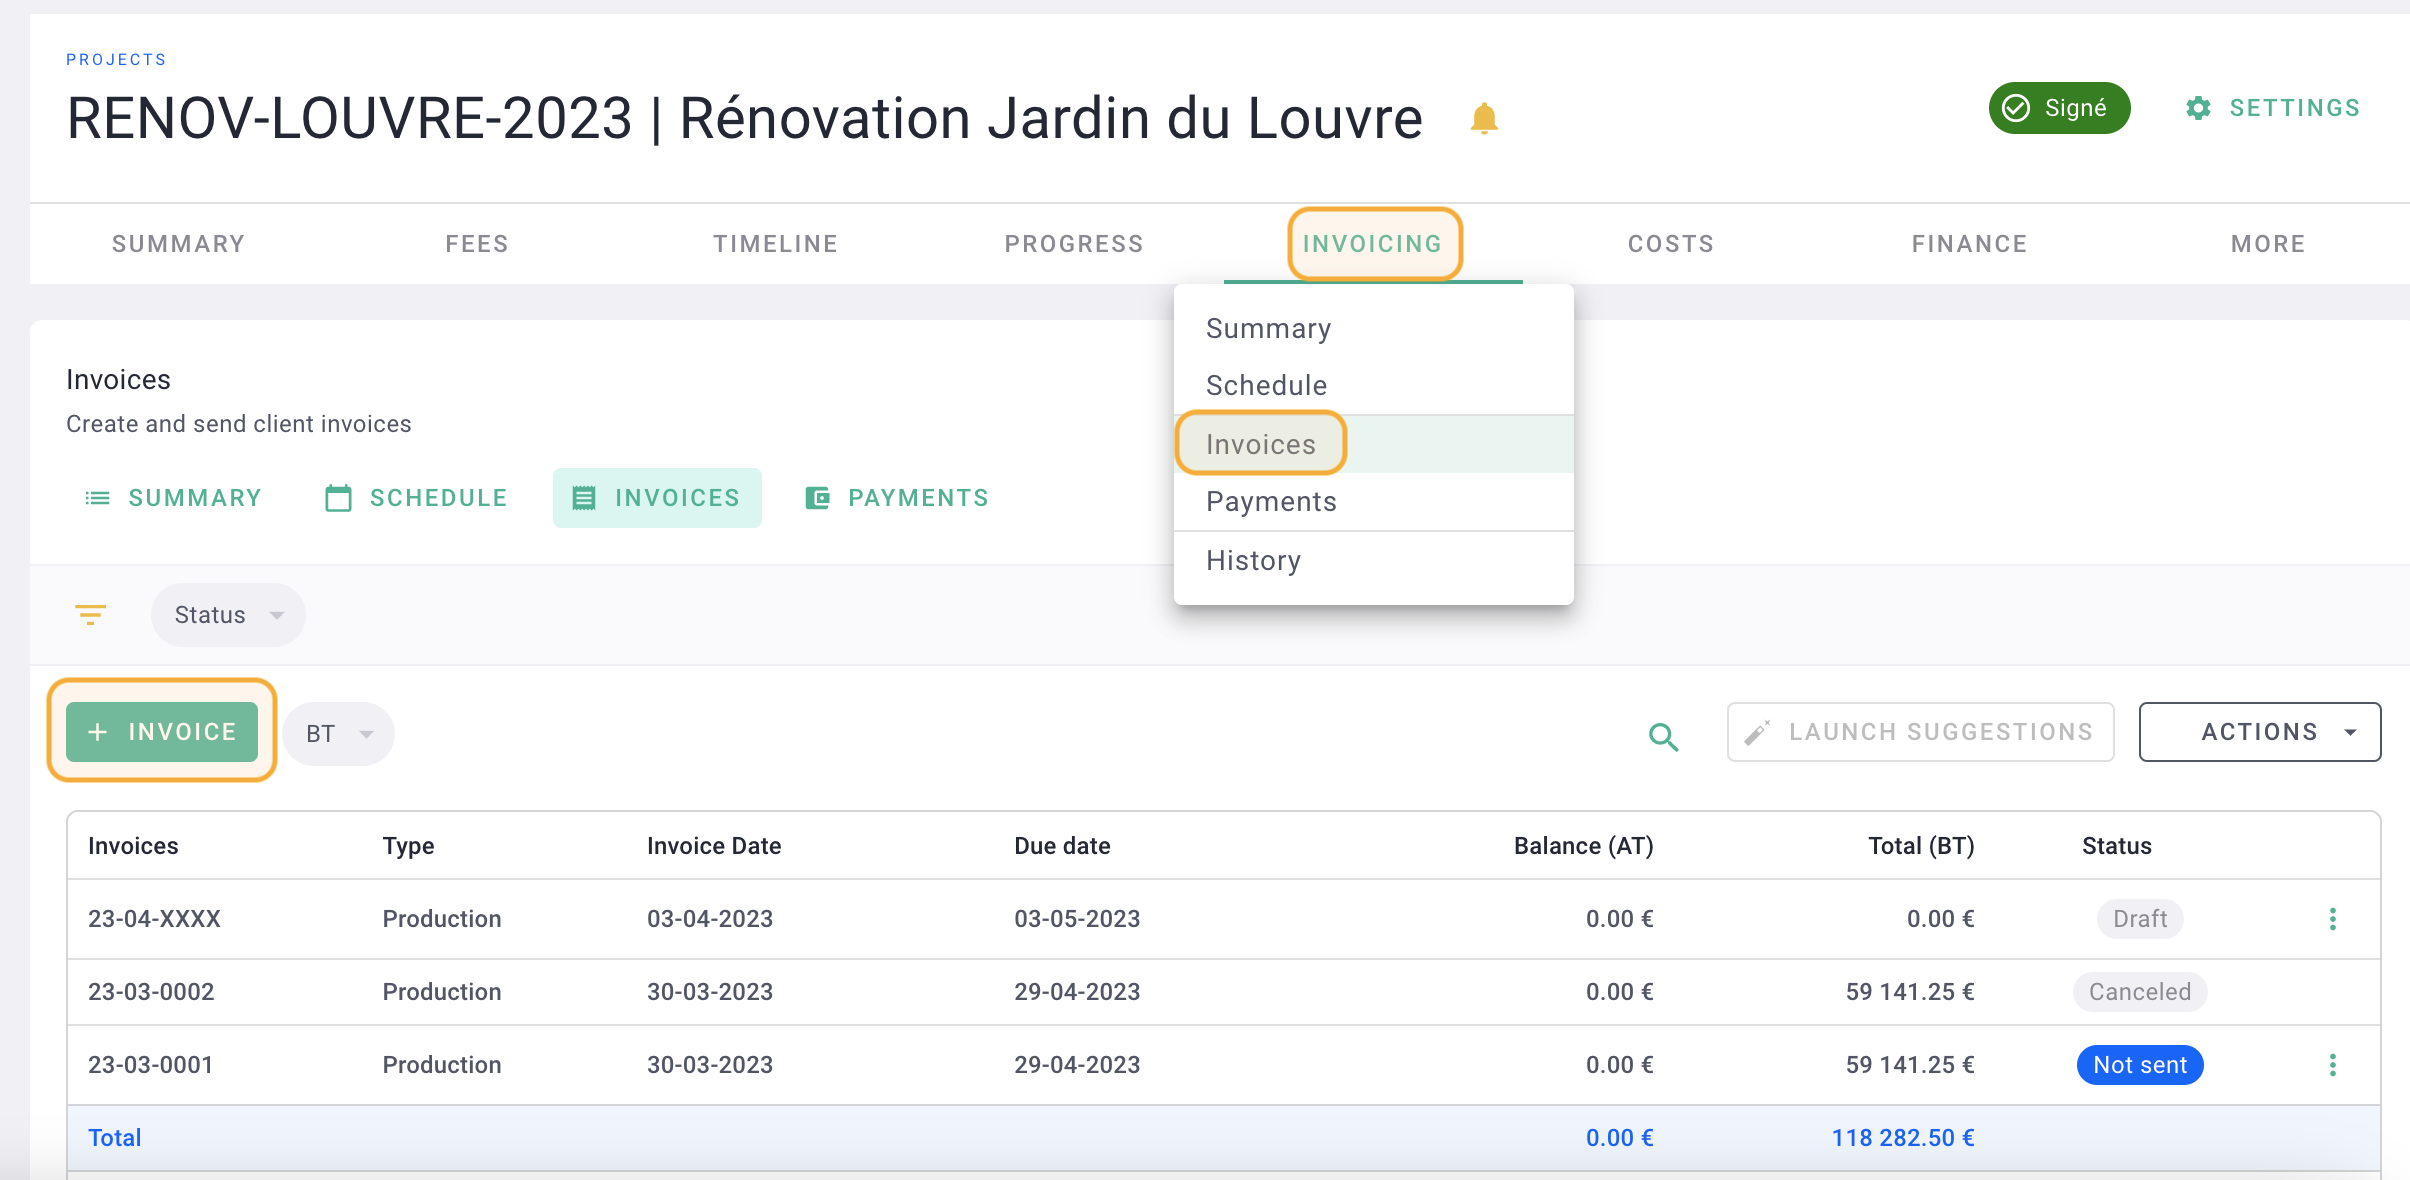
From the Project:
Go to the Invoicing tab > Invoices tab and click on + Invoice.
-
From the Invoices Menu:
This invoice is not associated with any project phase, but it will be considered as part of the project's revenue. Manage this invoice as a regular production invoice.
Make sure that the client has been created before creating the invoice.
Your client database might already be populated with clients linked to projects, but you can add new clients to the list.
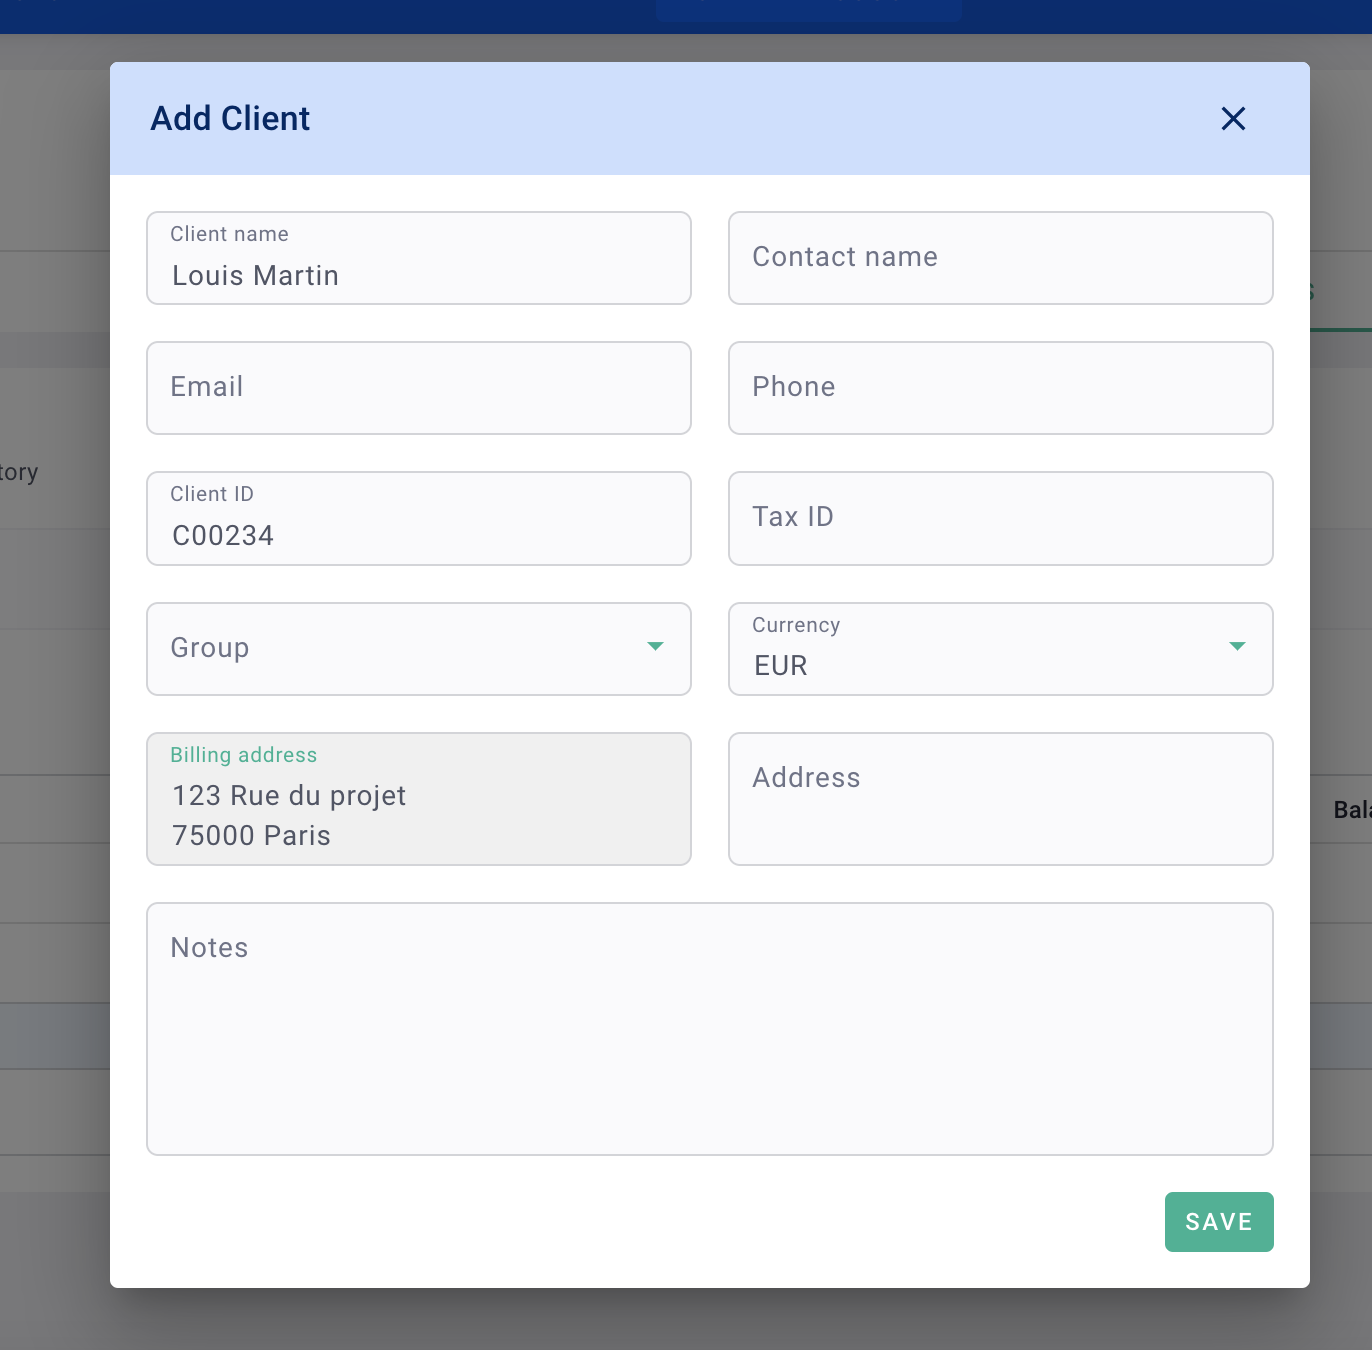
Go to the Invoices menu on the left-hand side > Clients tab, and click on + Client.

Fill in the required details such as the Client Name and Billing Address, which will appear on the invoice.
Click on Save.You can complete additional optional information later by clicking on the client you just created.
 There you go, you have successfully created your client! 🎉